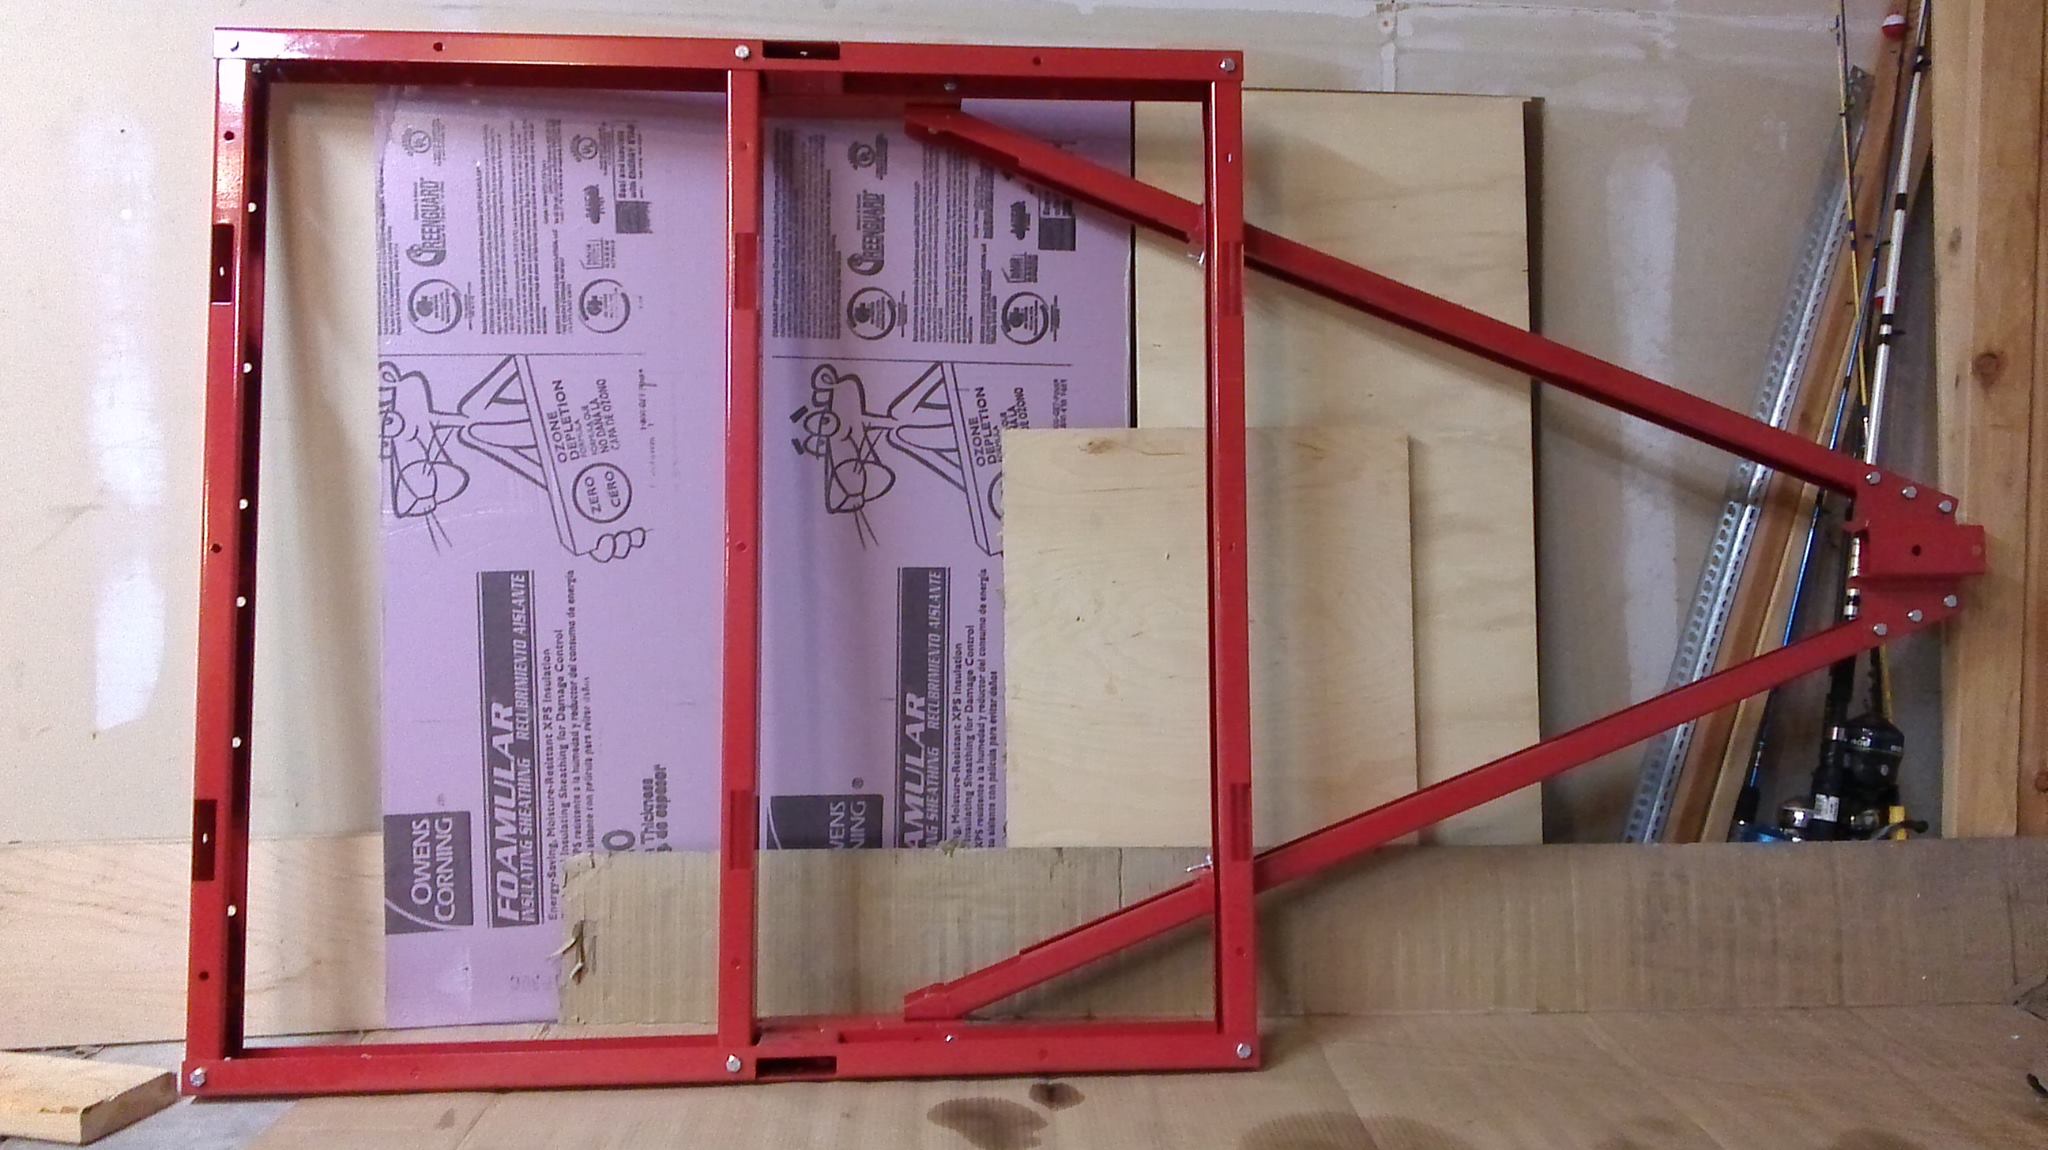
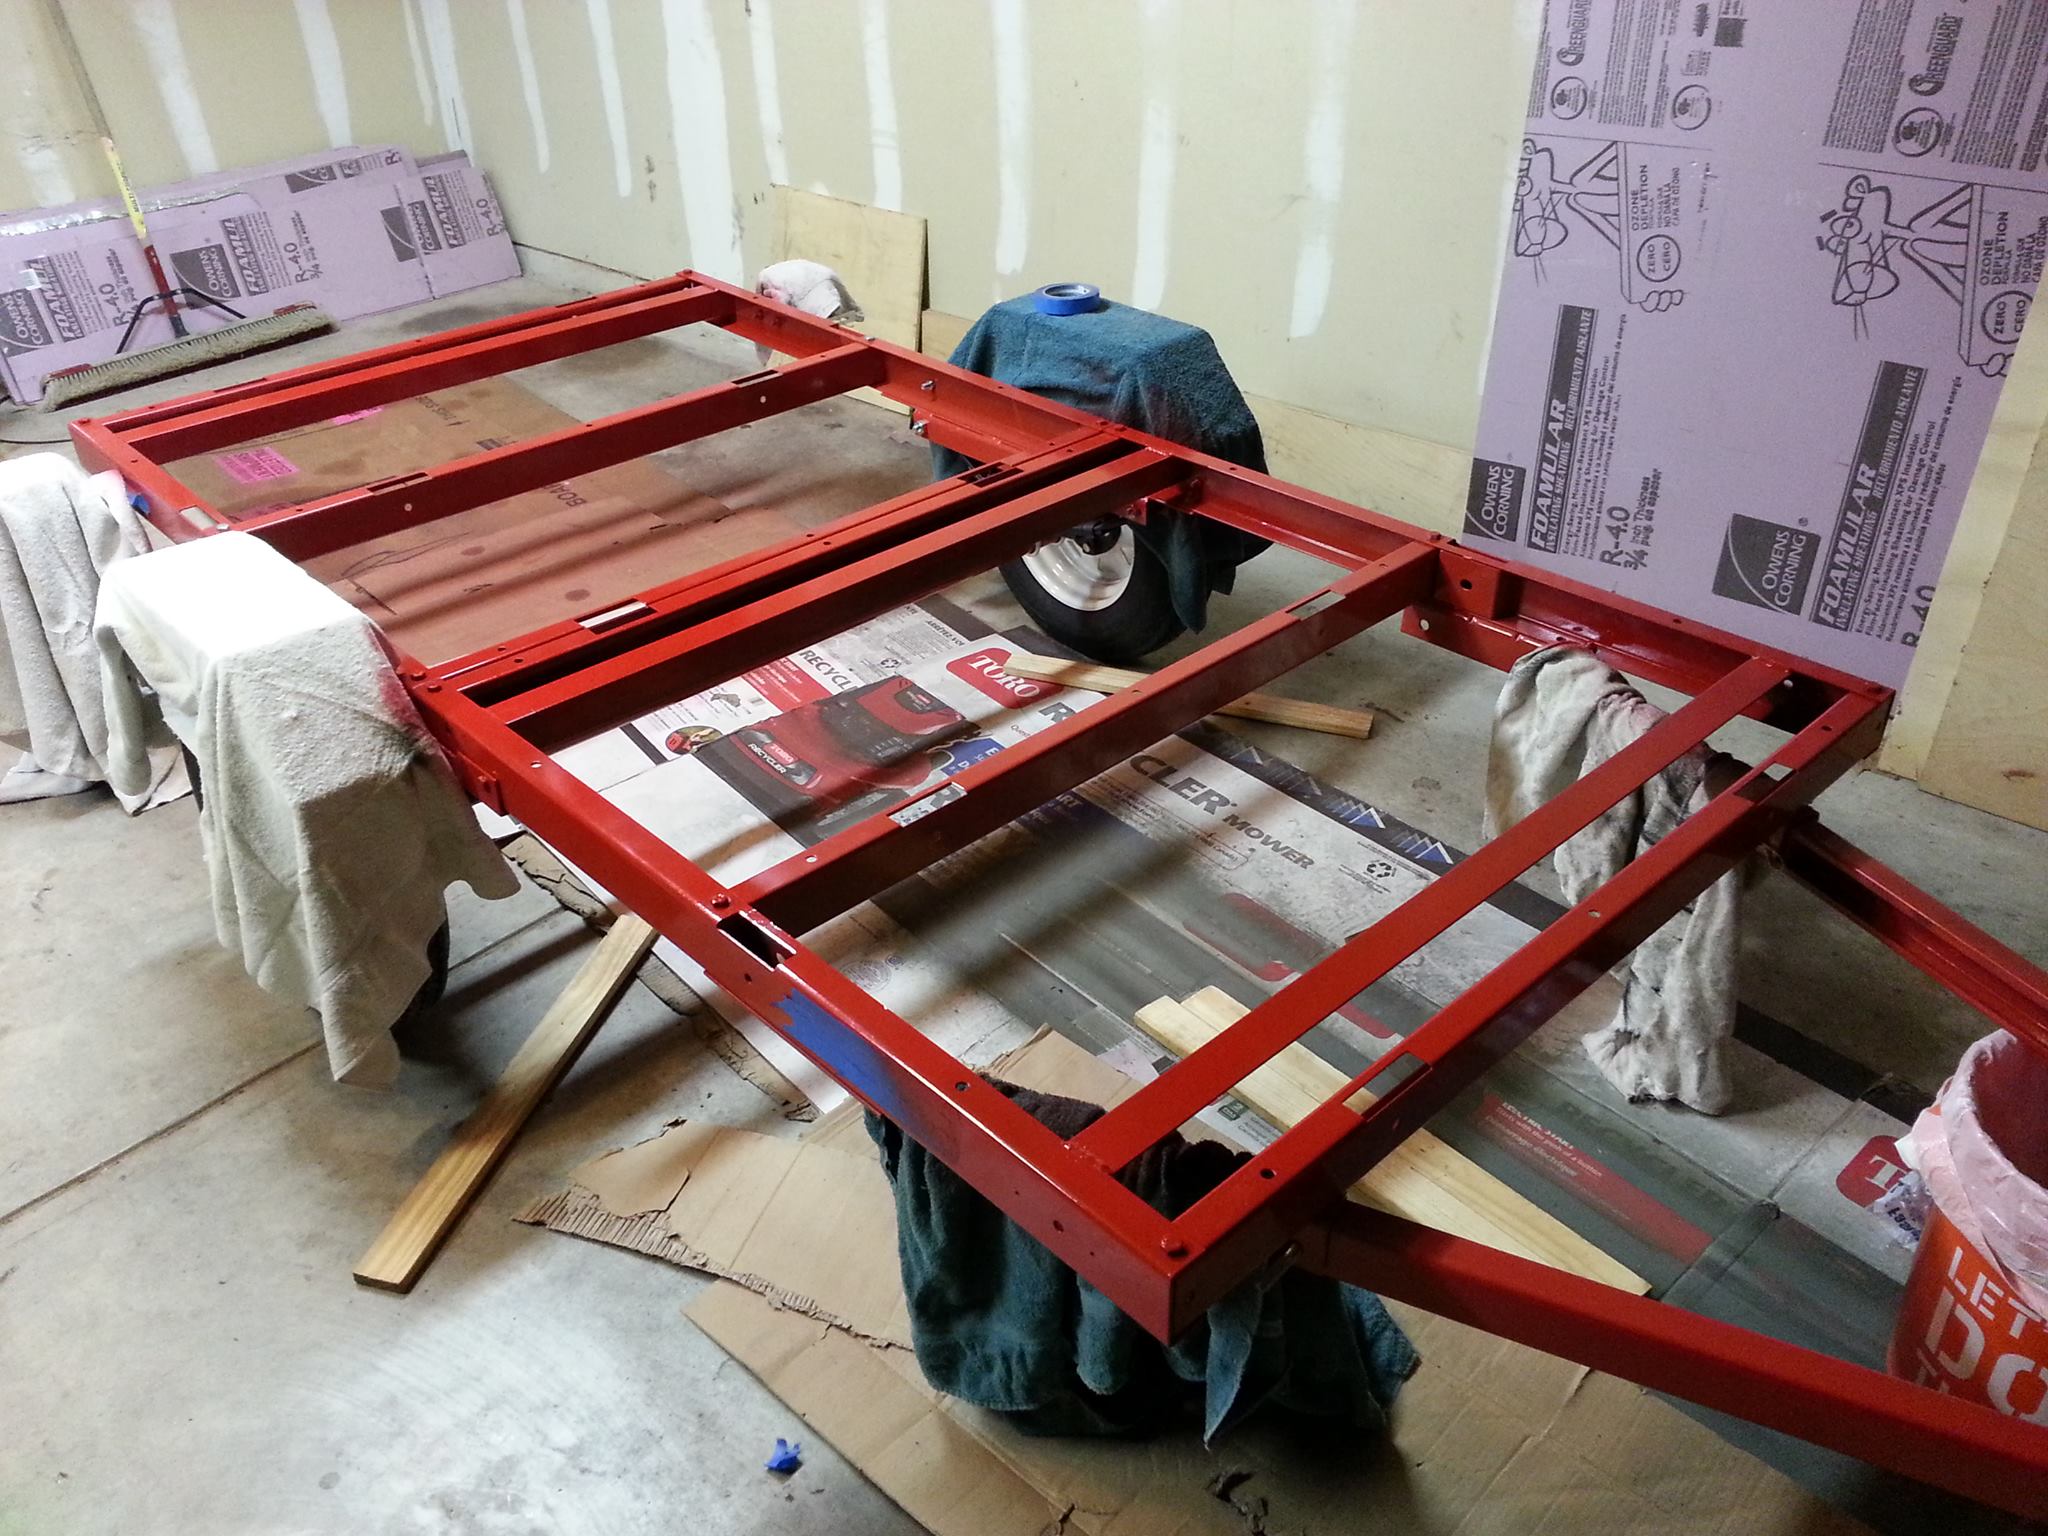
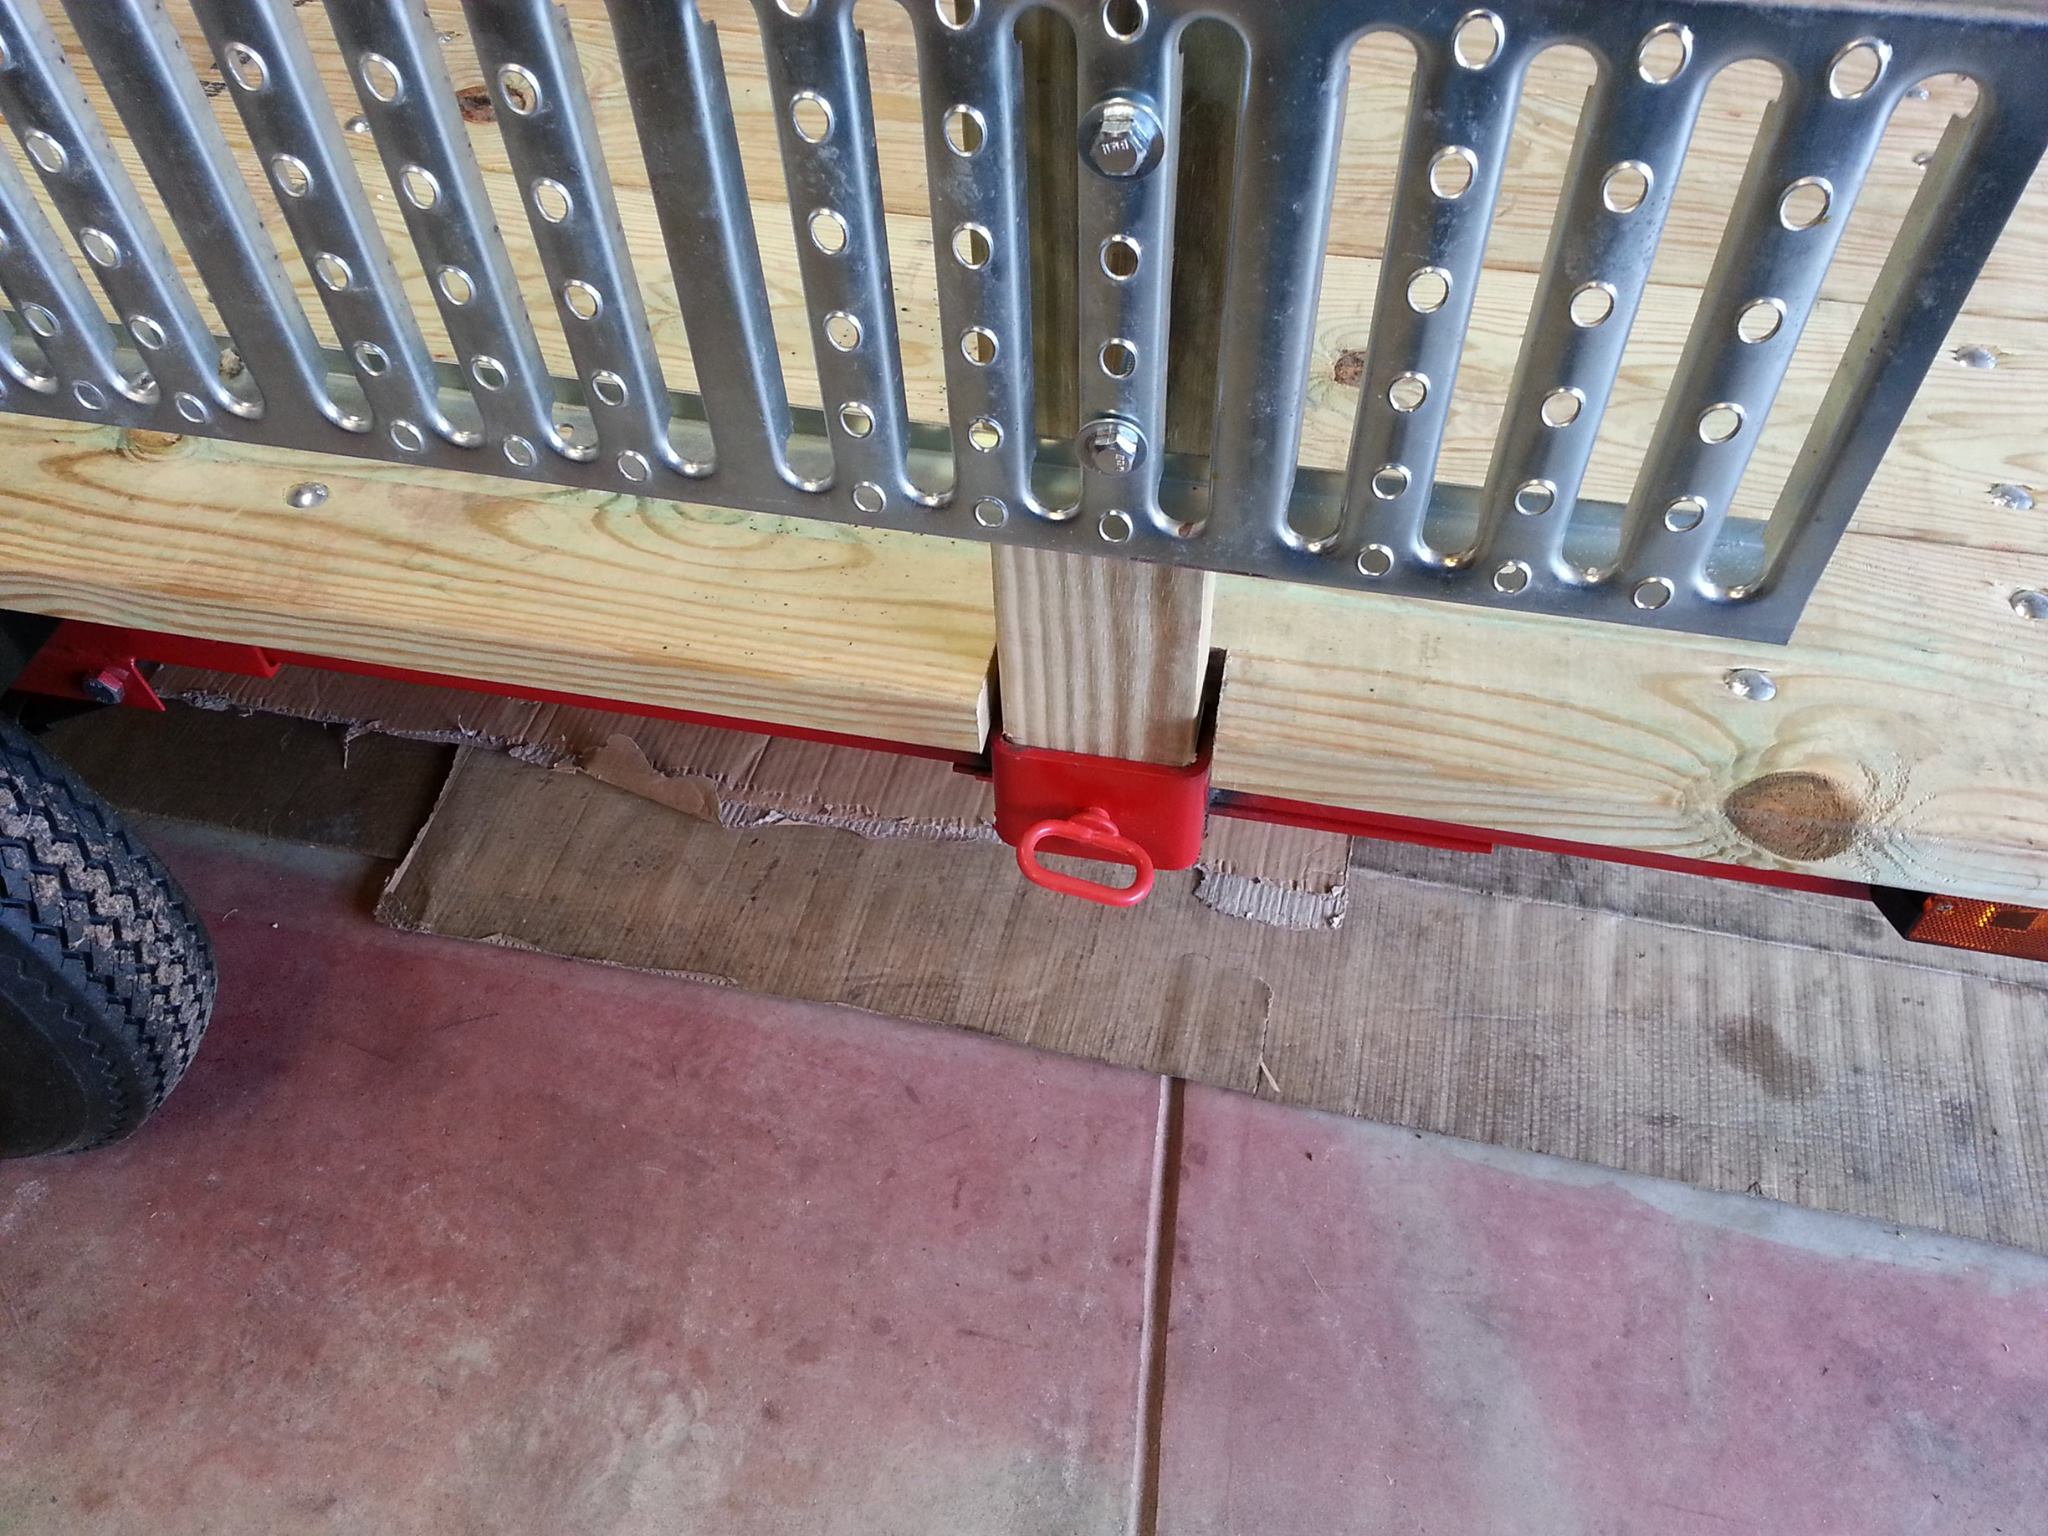
Front 4X4 section is assembled along with the tongue. The trailer is a basic bolt-together process and I utilized the flat surface of my garage floor with cardboard down to prevent it from being scratched. I also measured diagonally from corner to corner (making a 'X' pattern) on the front and rear sections to ensure each section was indeed square.
The gauge of steel is beefy enough to handle two motorcycles, a pit bike, tools, gear, gas cans, and ramps. I've had another trailer similar to this but the gauge was thinner and it could only handle 1 bike plus a few odds and ends.

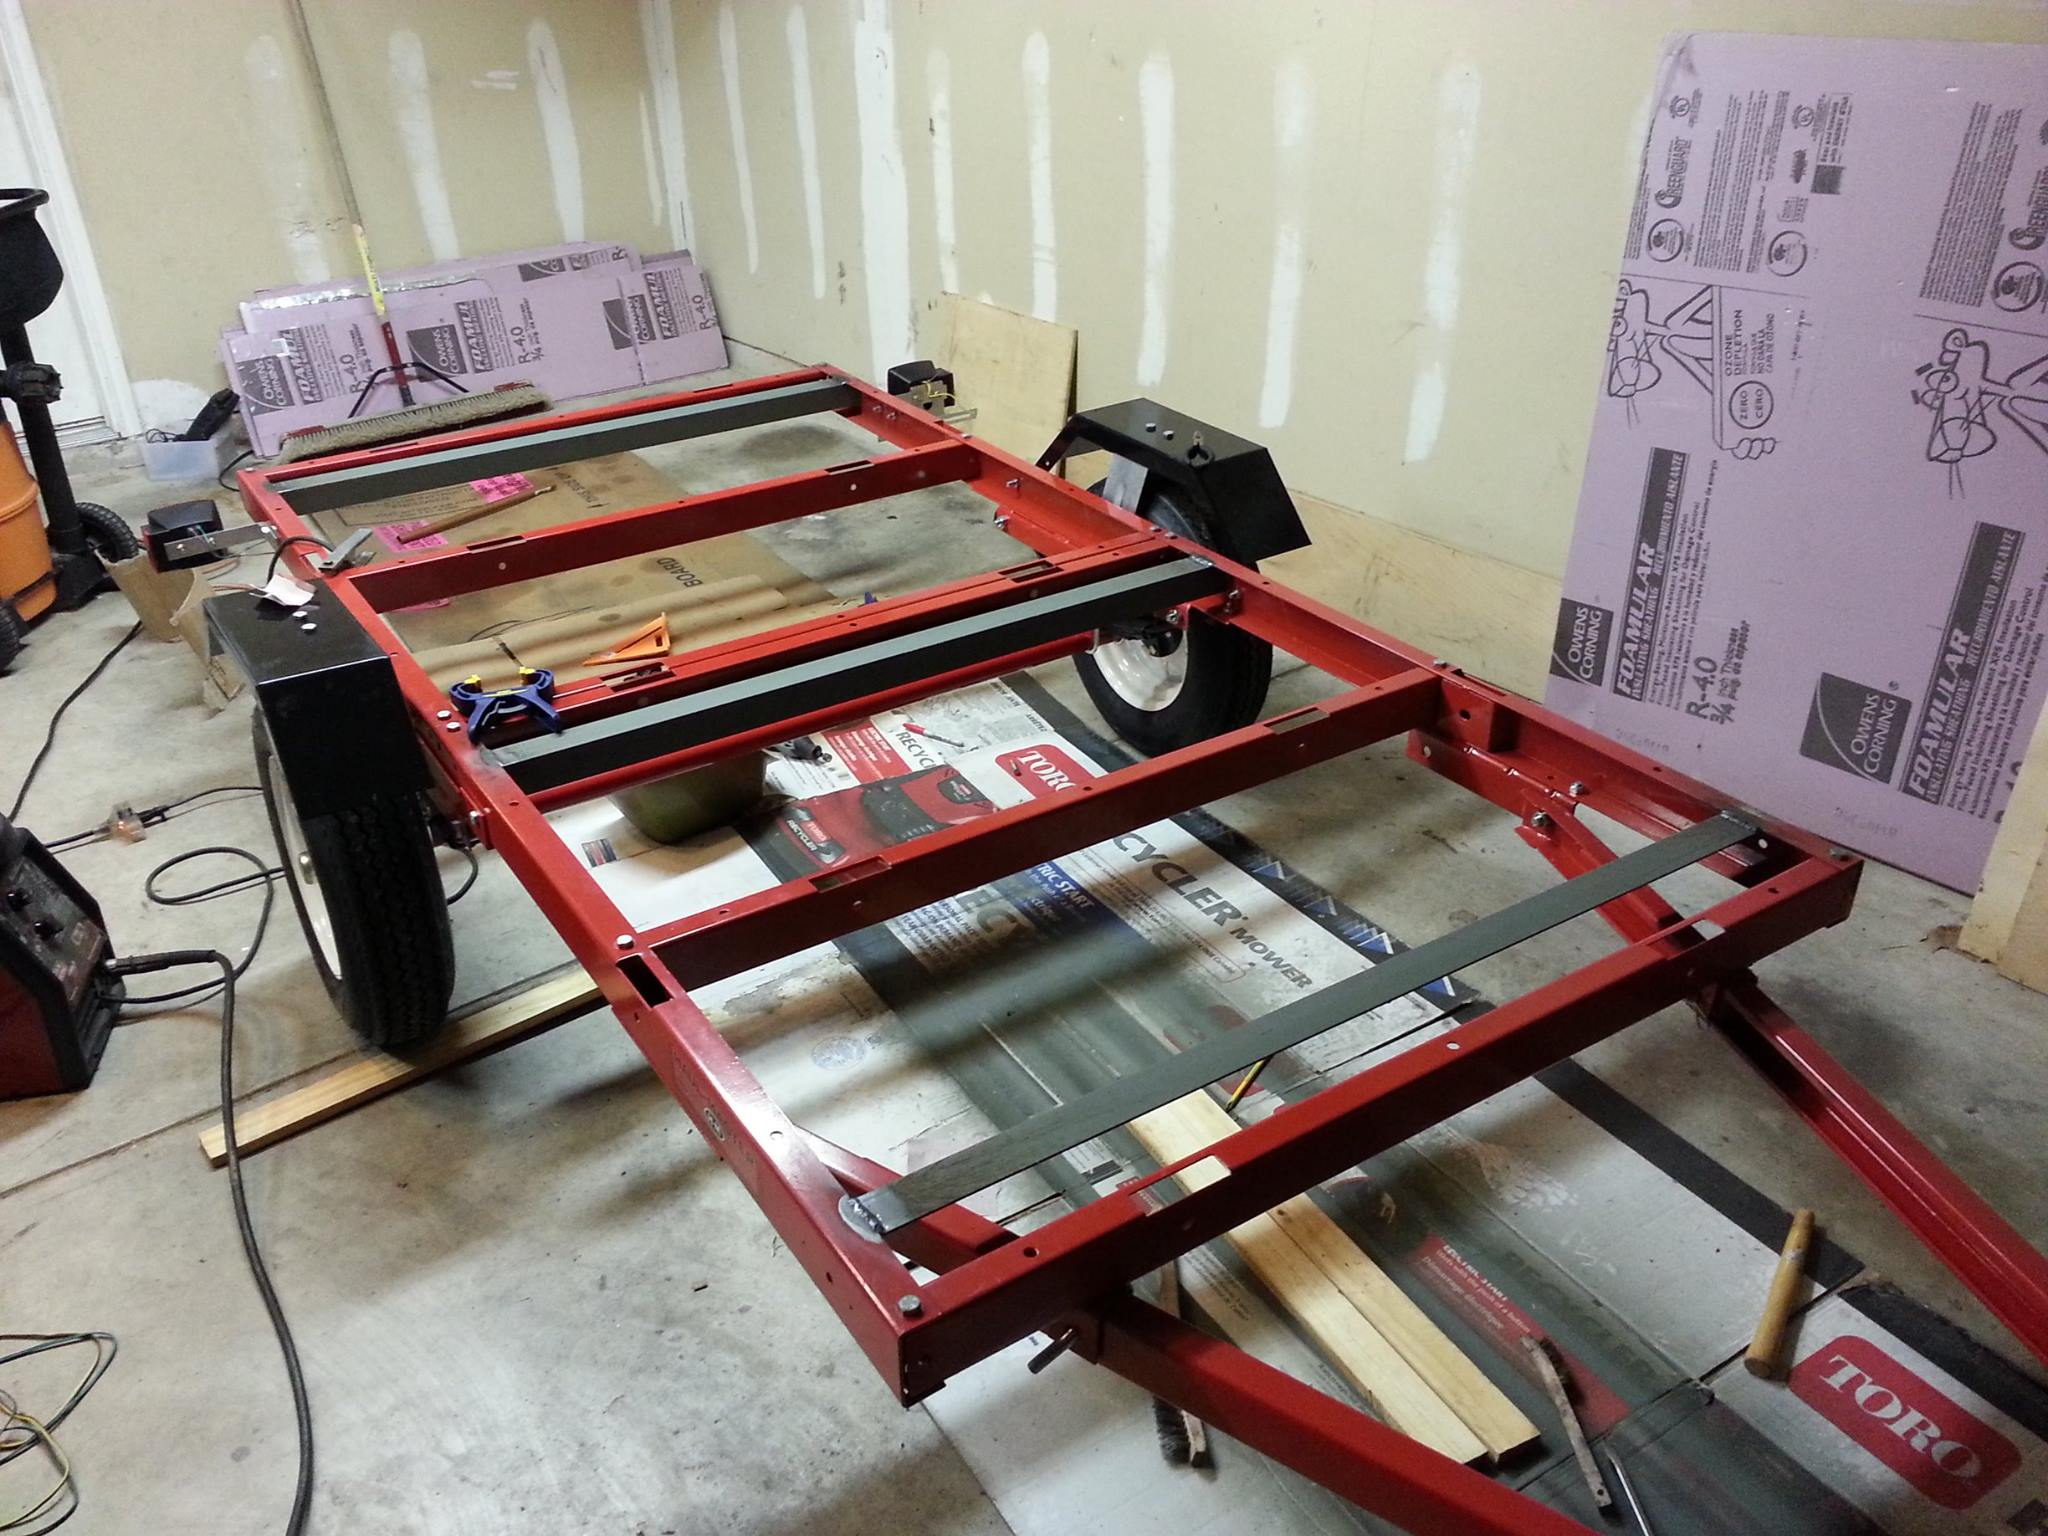
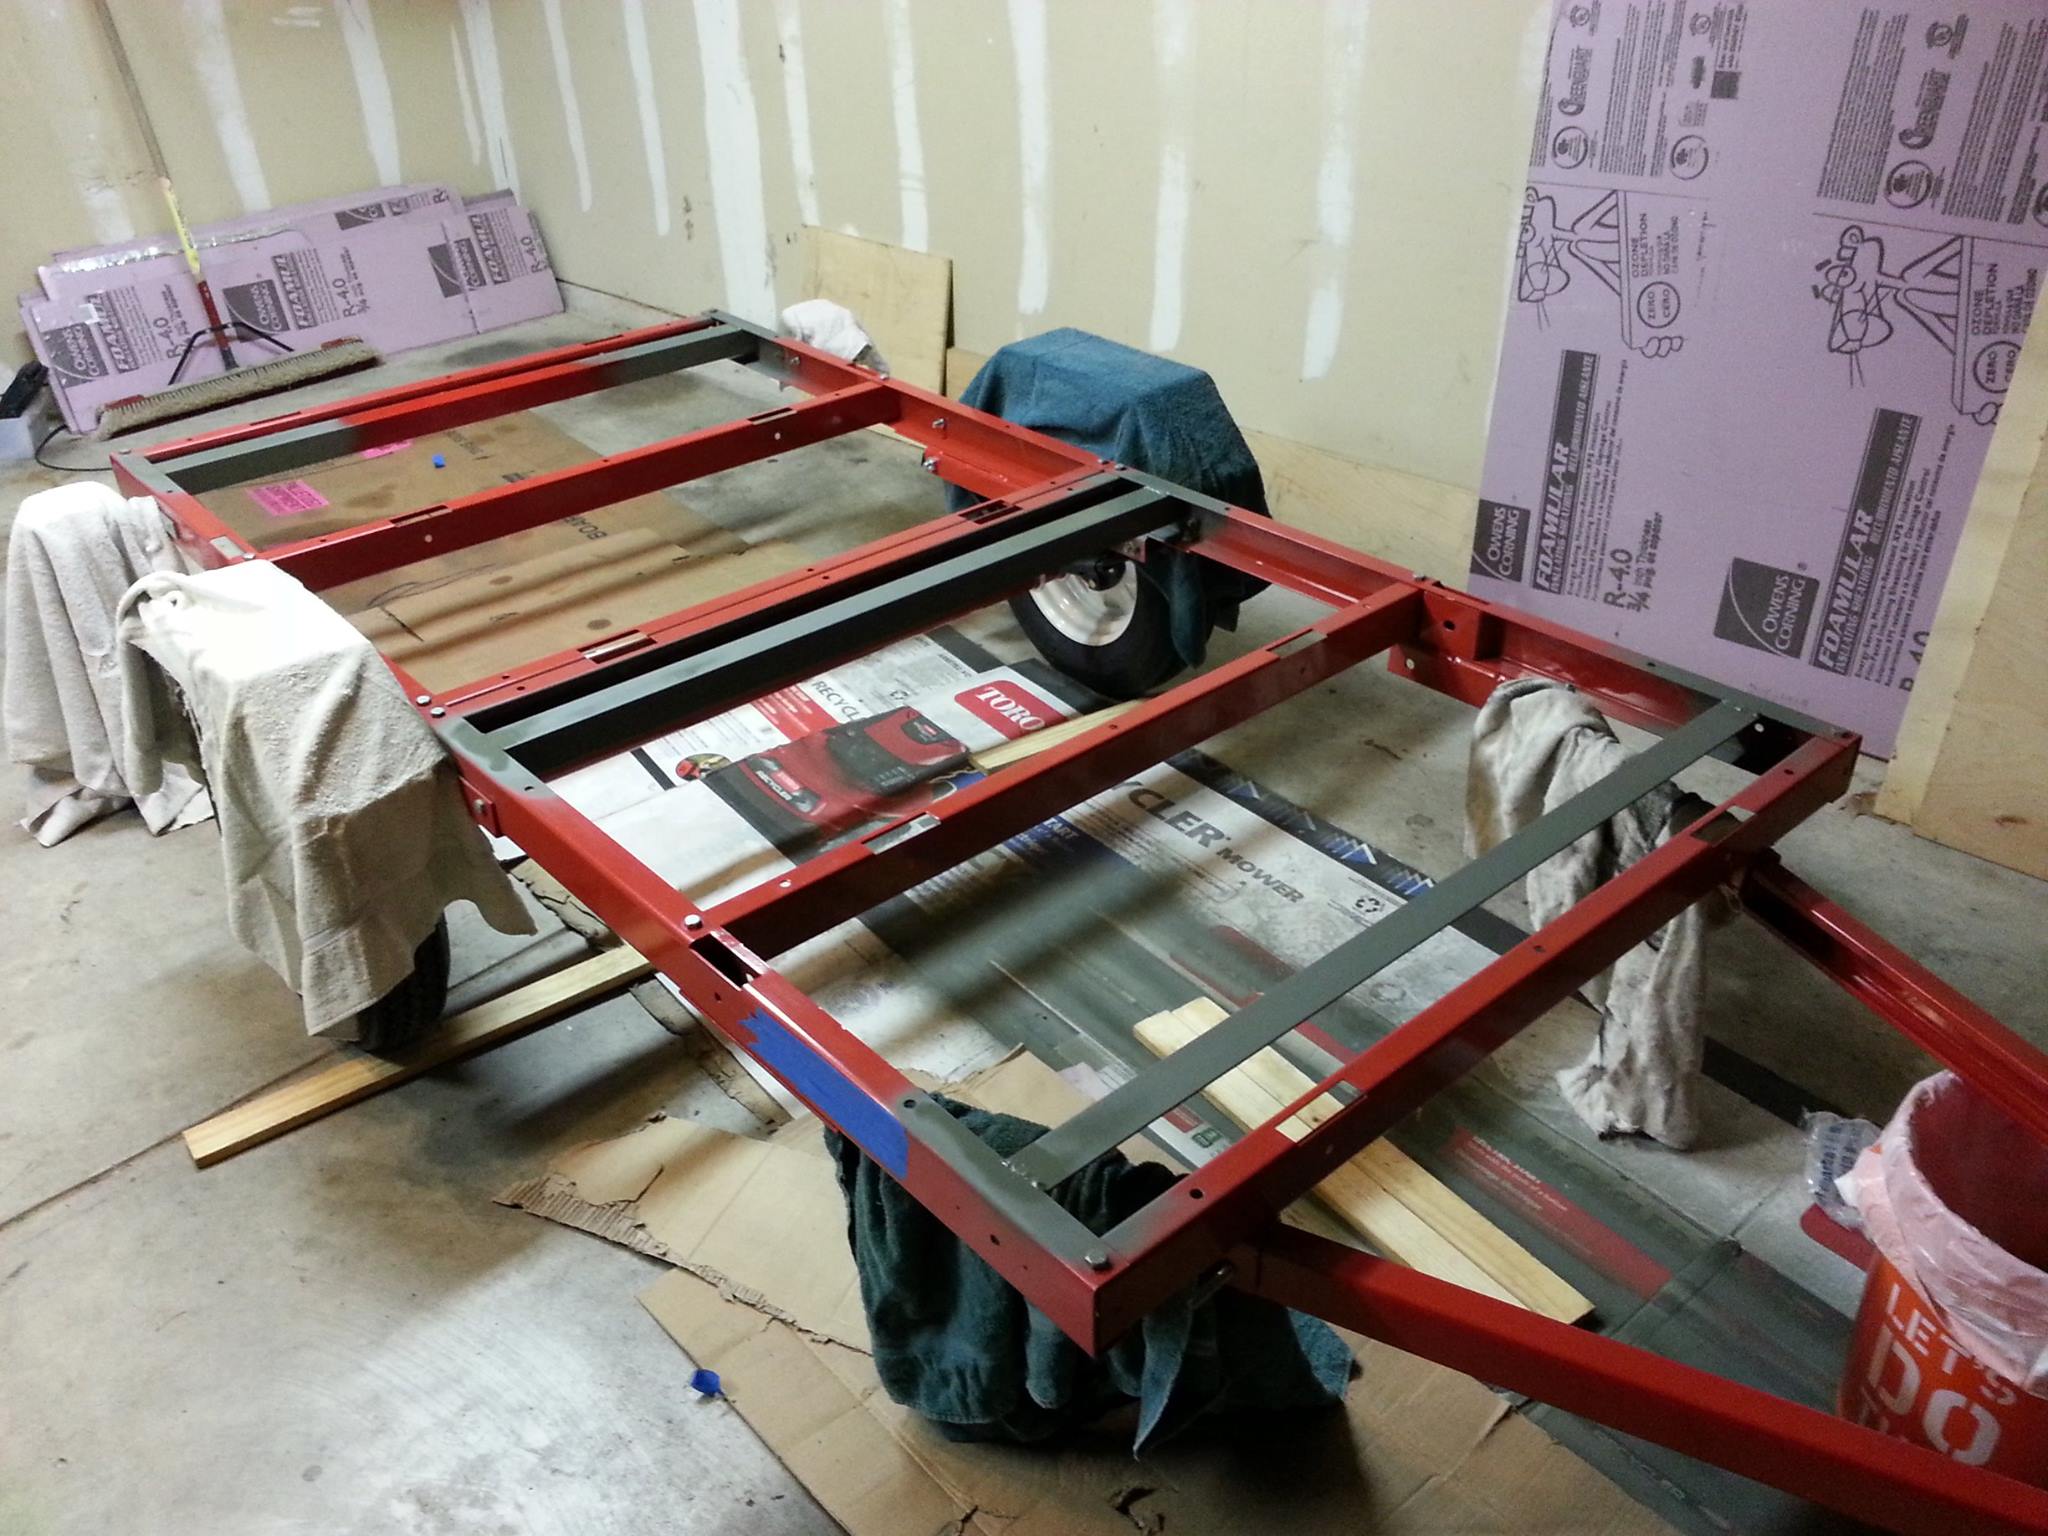
Main chassis completely assembled (sorry about vertical photo). All bolts are to specifications, hubs were cleaned and fully greased, and it is now ready for the next stage. It is very, VERY important that you fully clean and grease the hubs for this trailer! They only put in enough grease to keep the bearings and races from rusting during storage at the store. If you do not do a full clean and lube then the bearings will end up failing very rapidly which could result in people getting seriously hurt or killed.

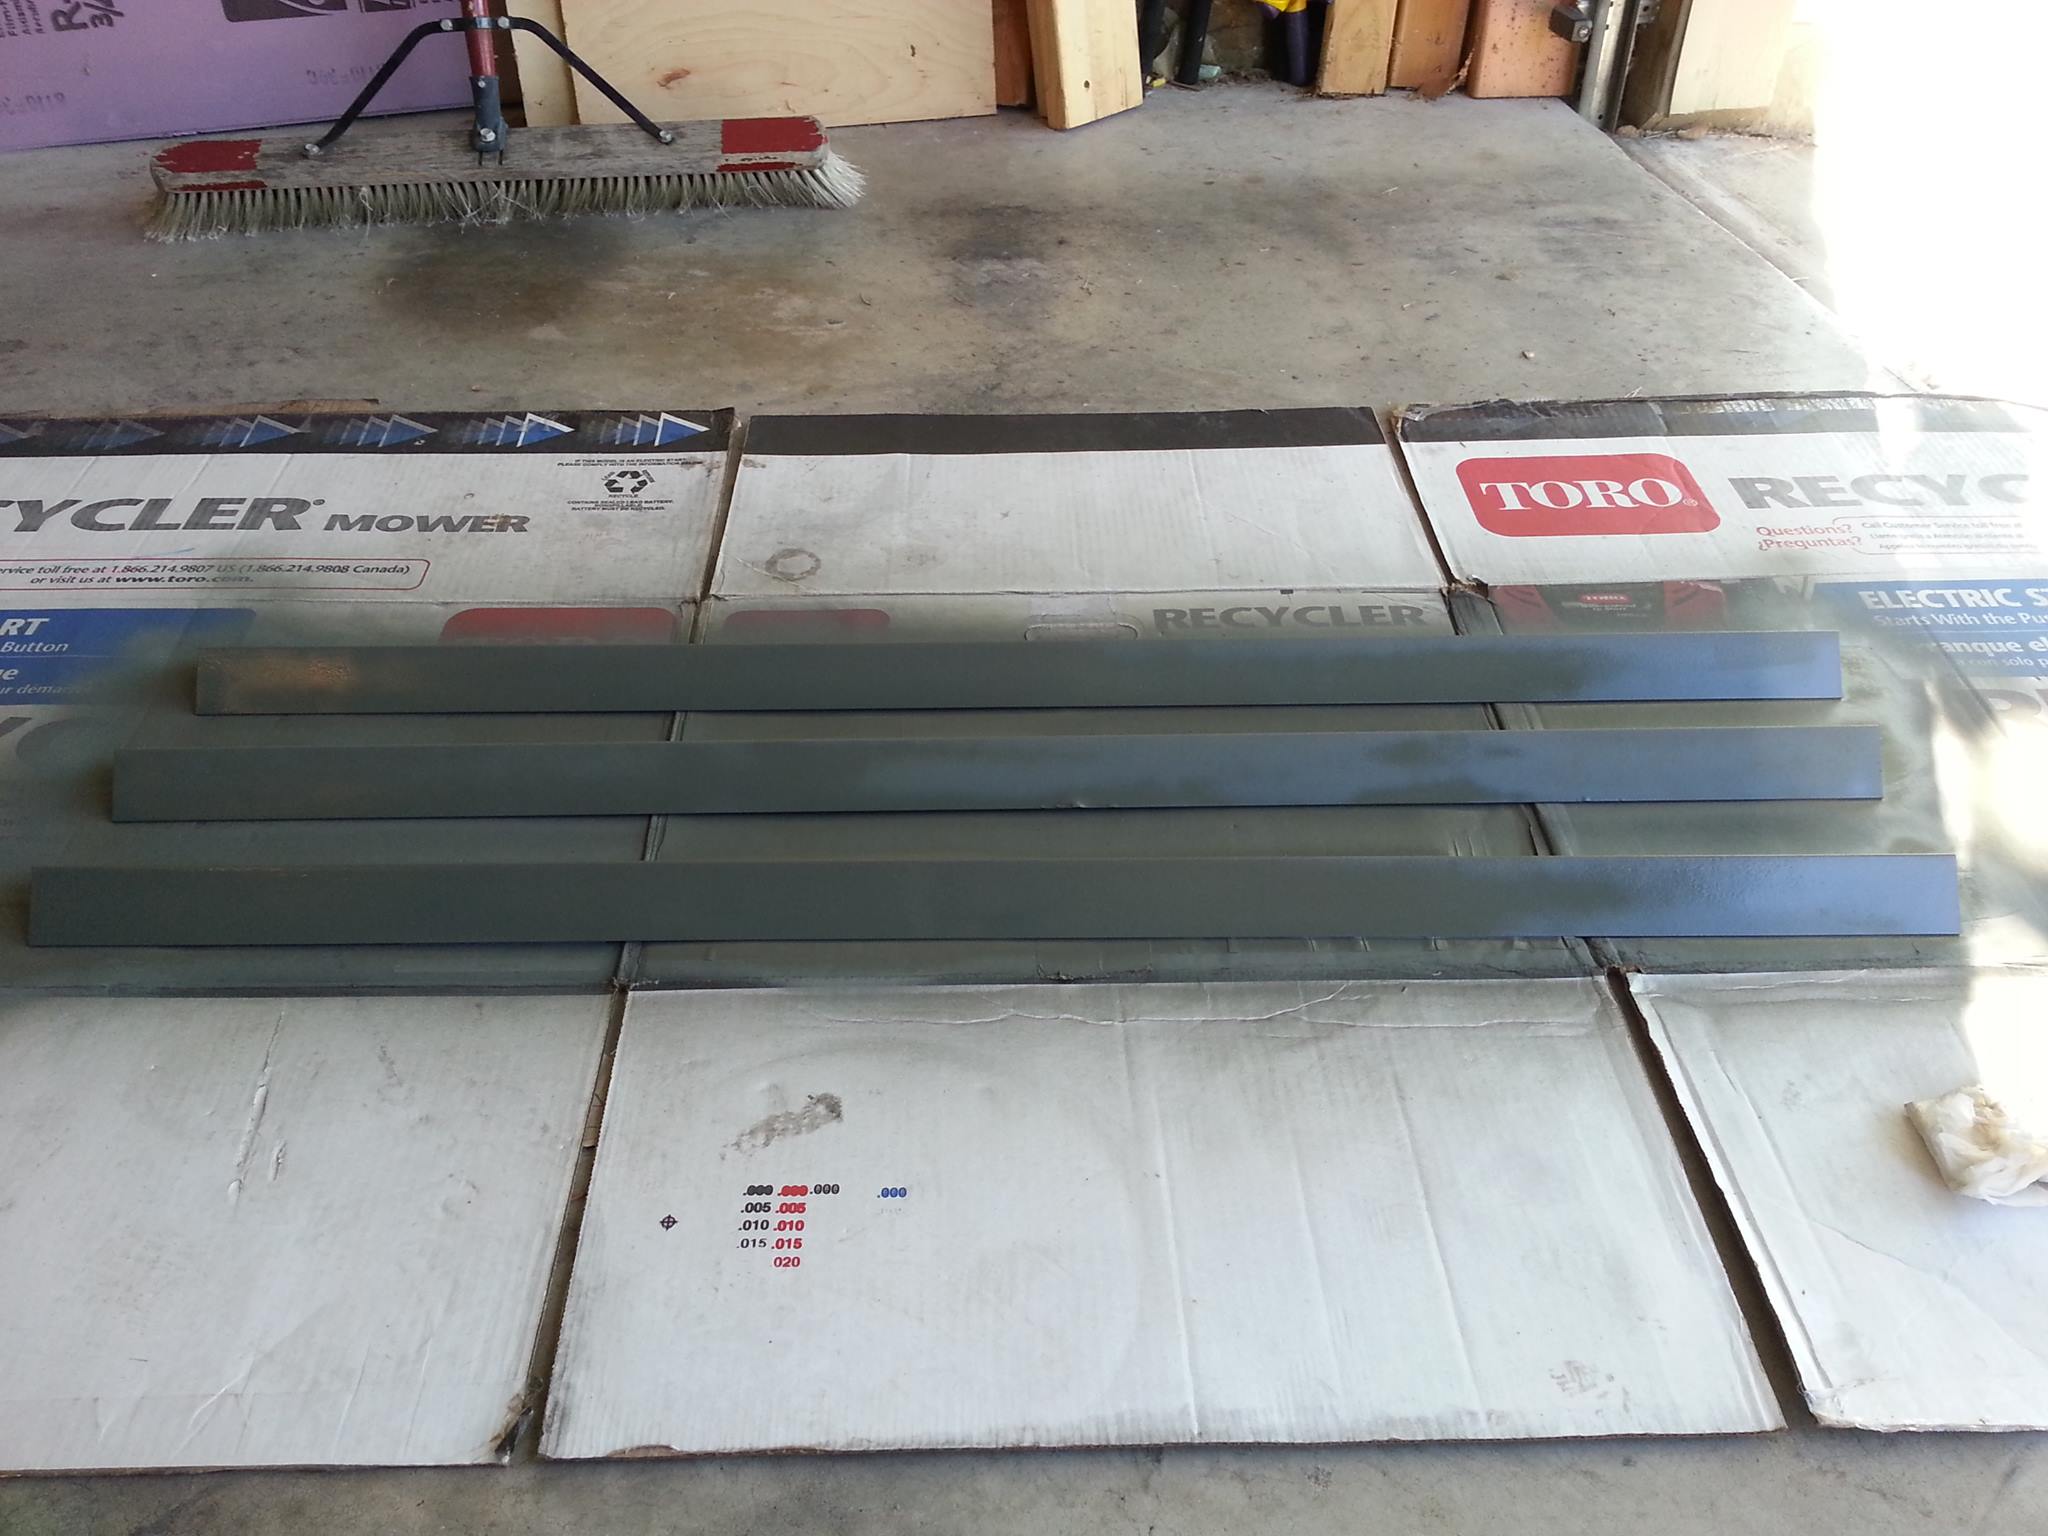
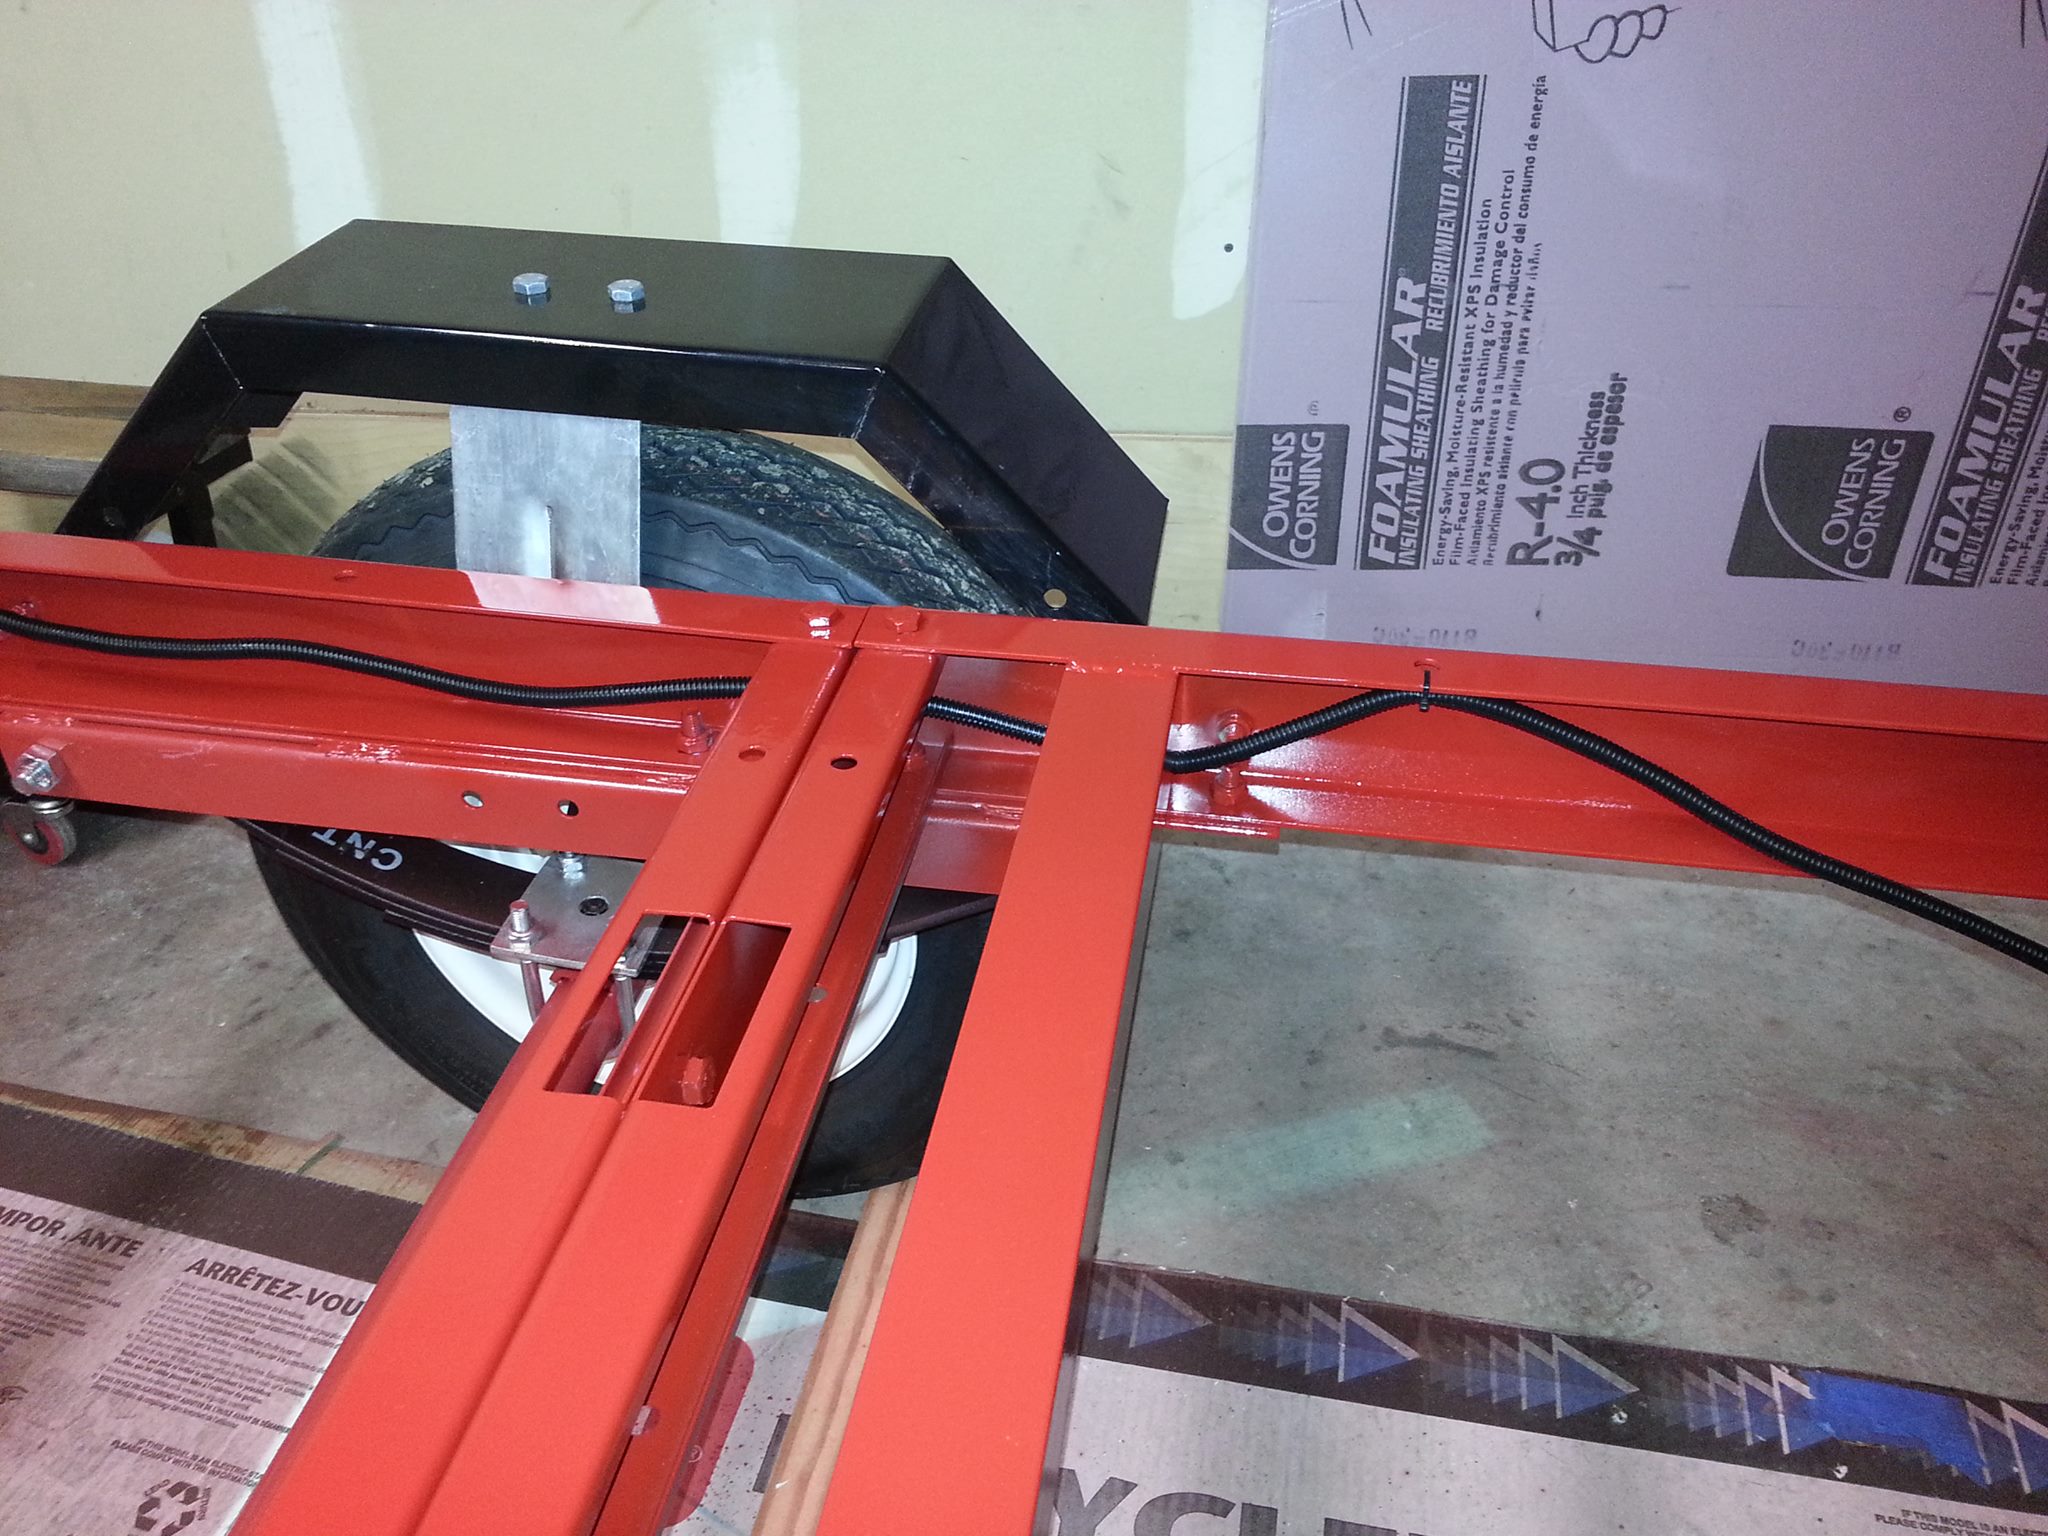
I opted to buy 3 pieces of 4' X 2.5" angle iron for strength and to give me a place to drill holes for attaching the decking. This allowed me to mount the boards and not worry about damaging any of the structural strength of the trailer. Here you can see them sand blasted, cleaned, and primed with self etching primer.
"
I am pleased with the welds and the added steel really stiffened the trailer. At this point I cleaned the slag some more, wire brushed the general area, cleaned it all with rubbing alcohol, and wiped clean with a fairly lent free cloth.

I applied more etching primer to the area, being sure to overlap the existing powder coat.


All joints have now been etch primed.
First top coat has been applied.
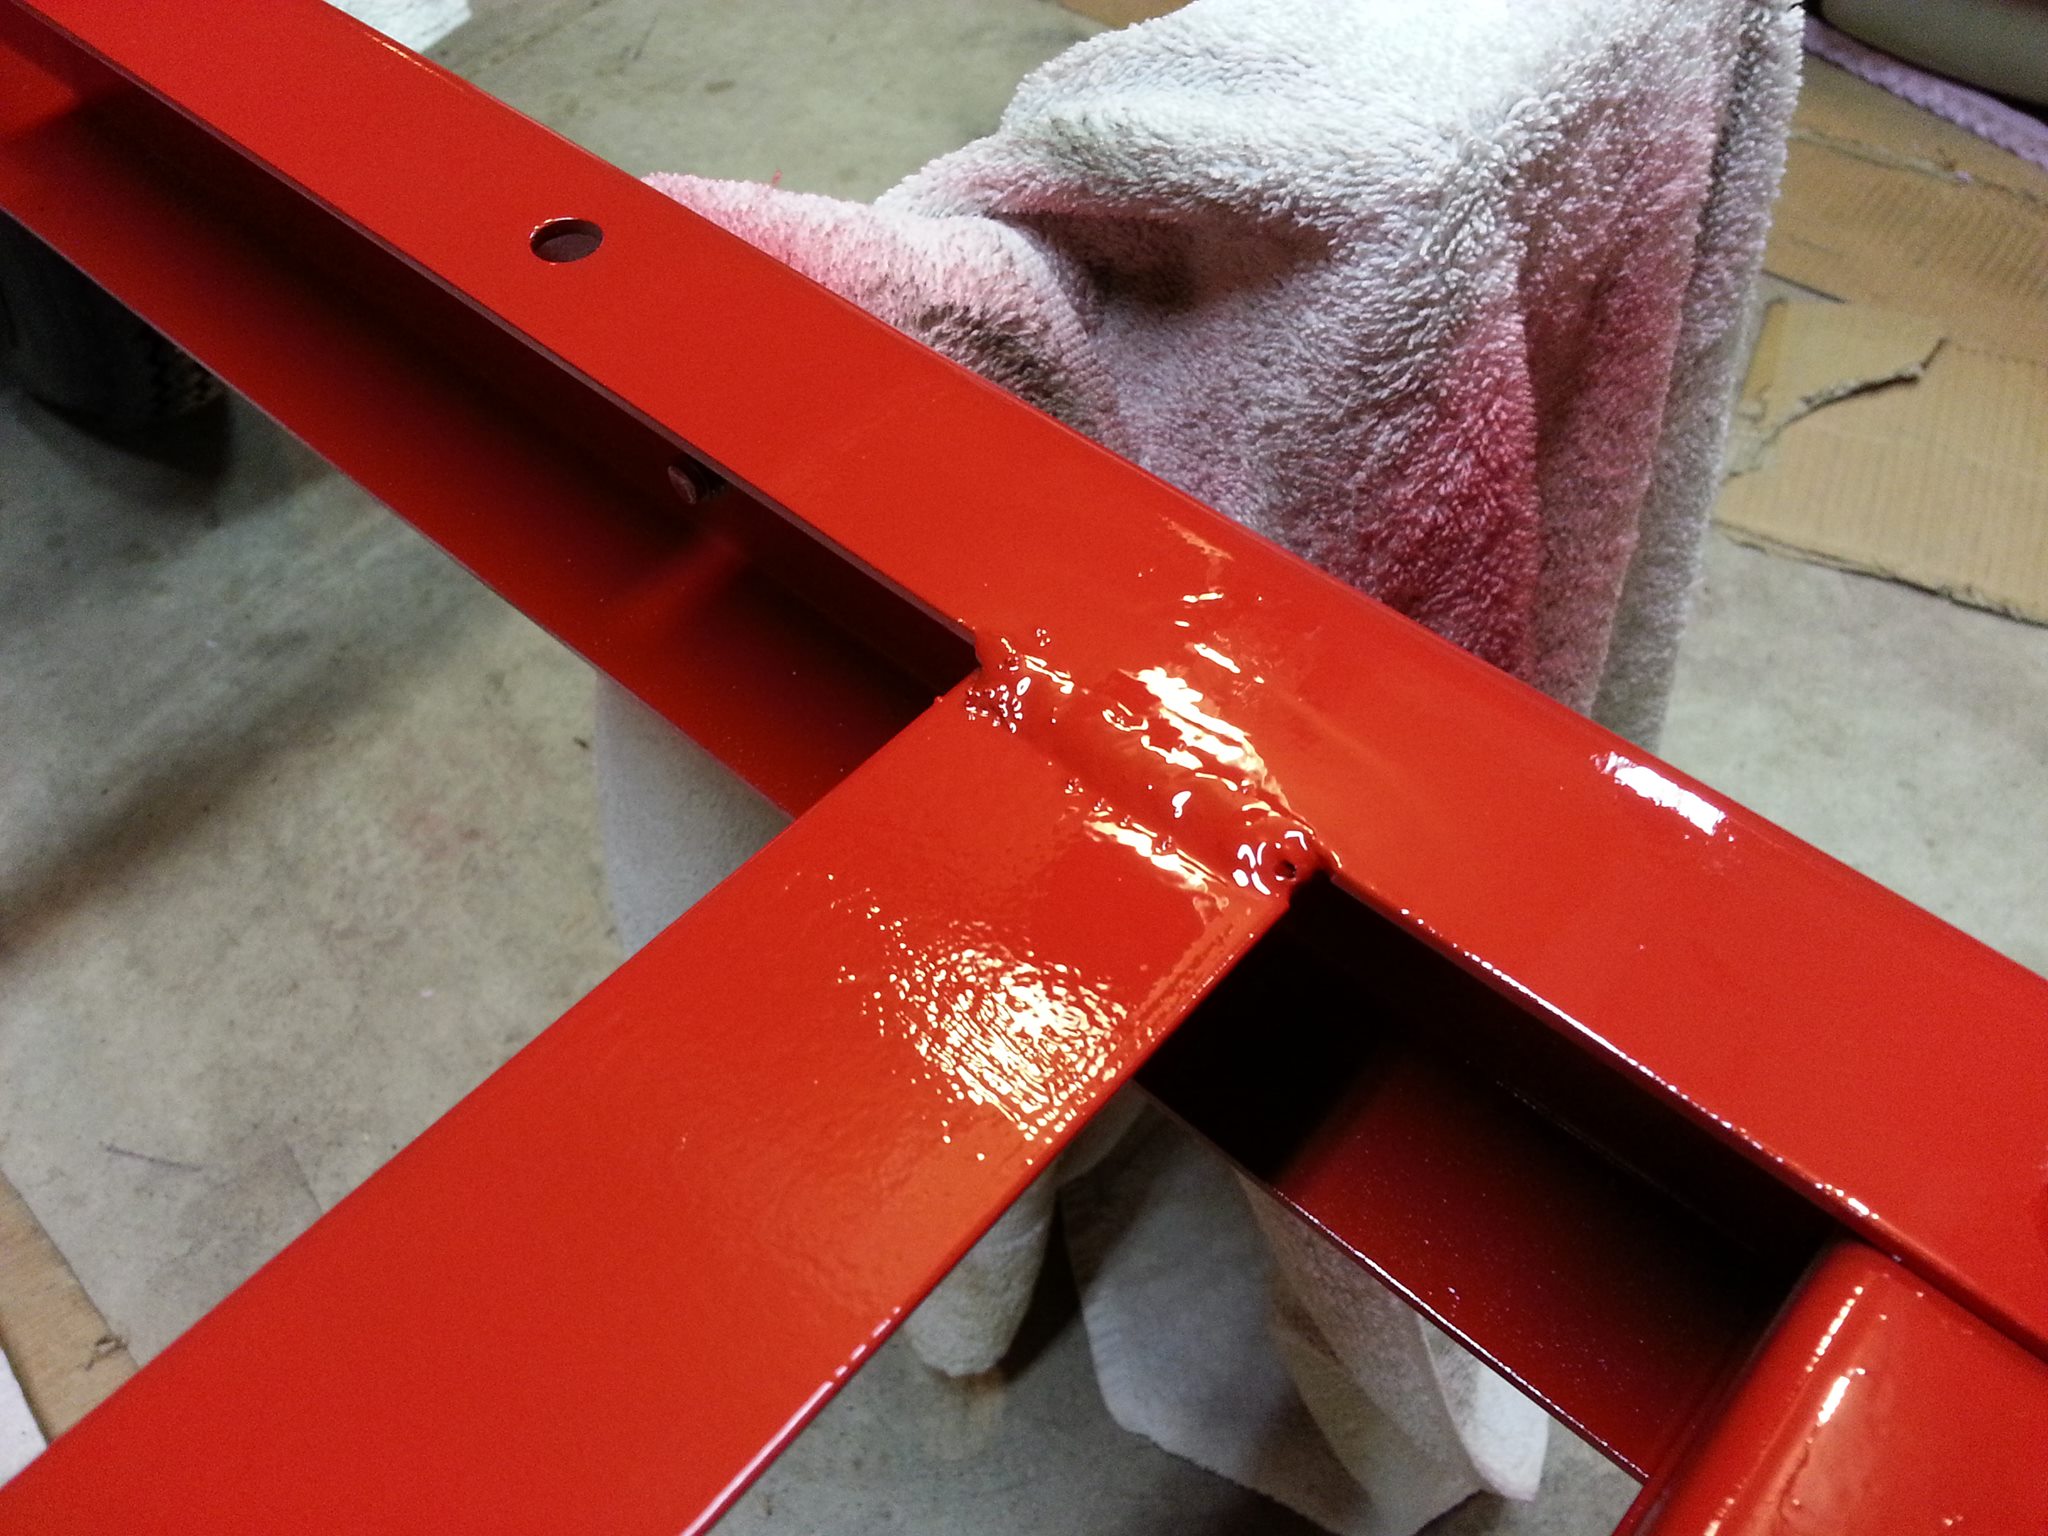
This stuff is crazy sticky....my arms feel like they are covered in honey.
Now I am spending some time wiring up the trailer.
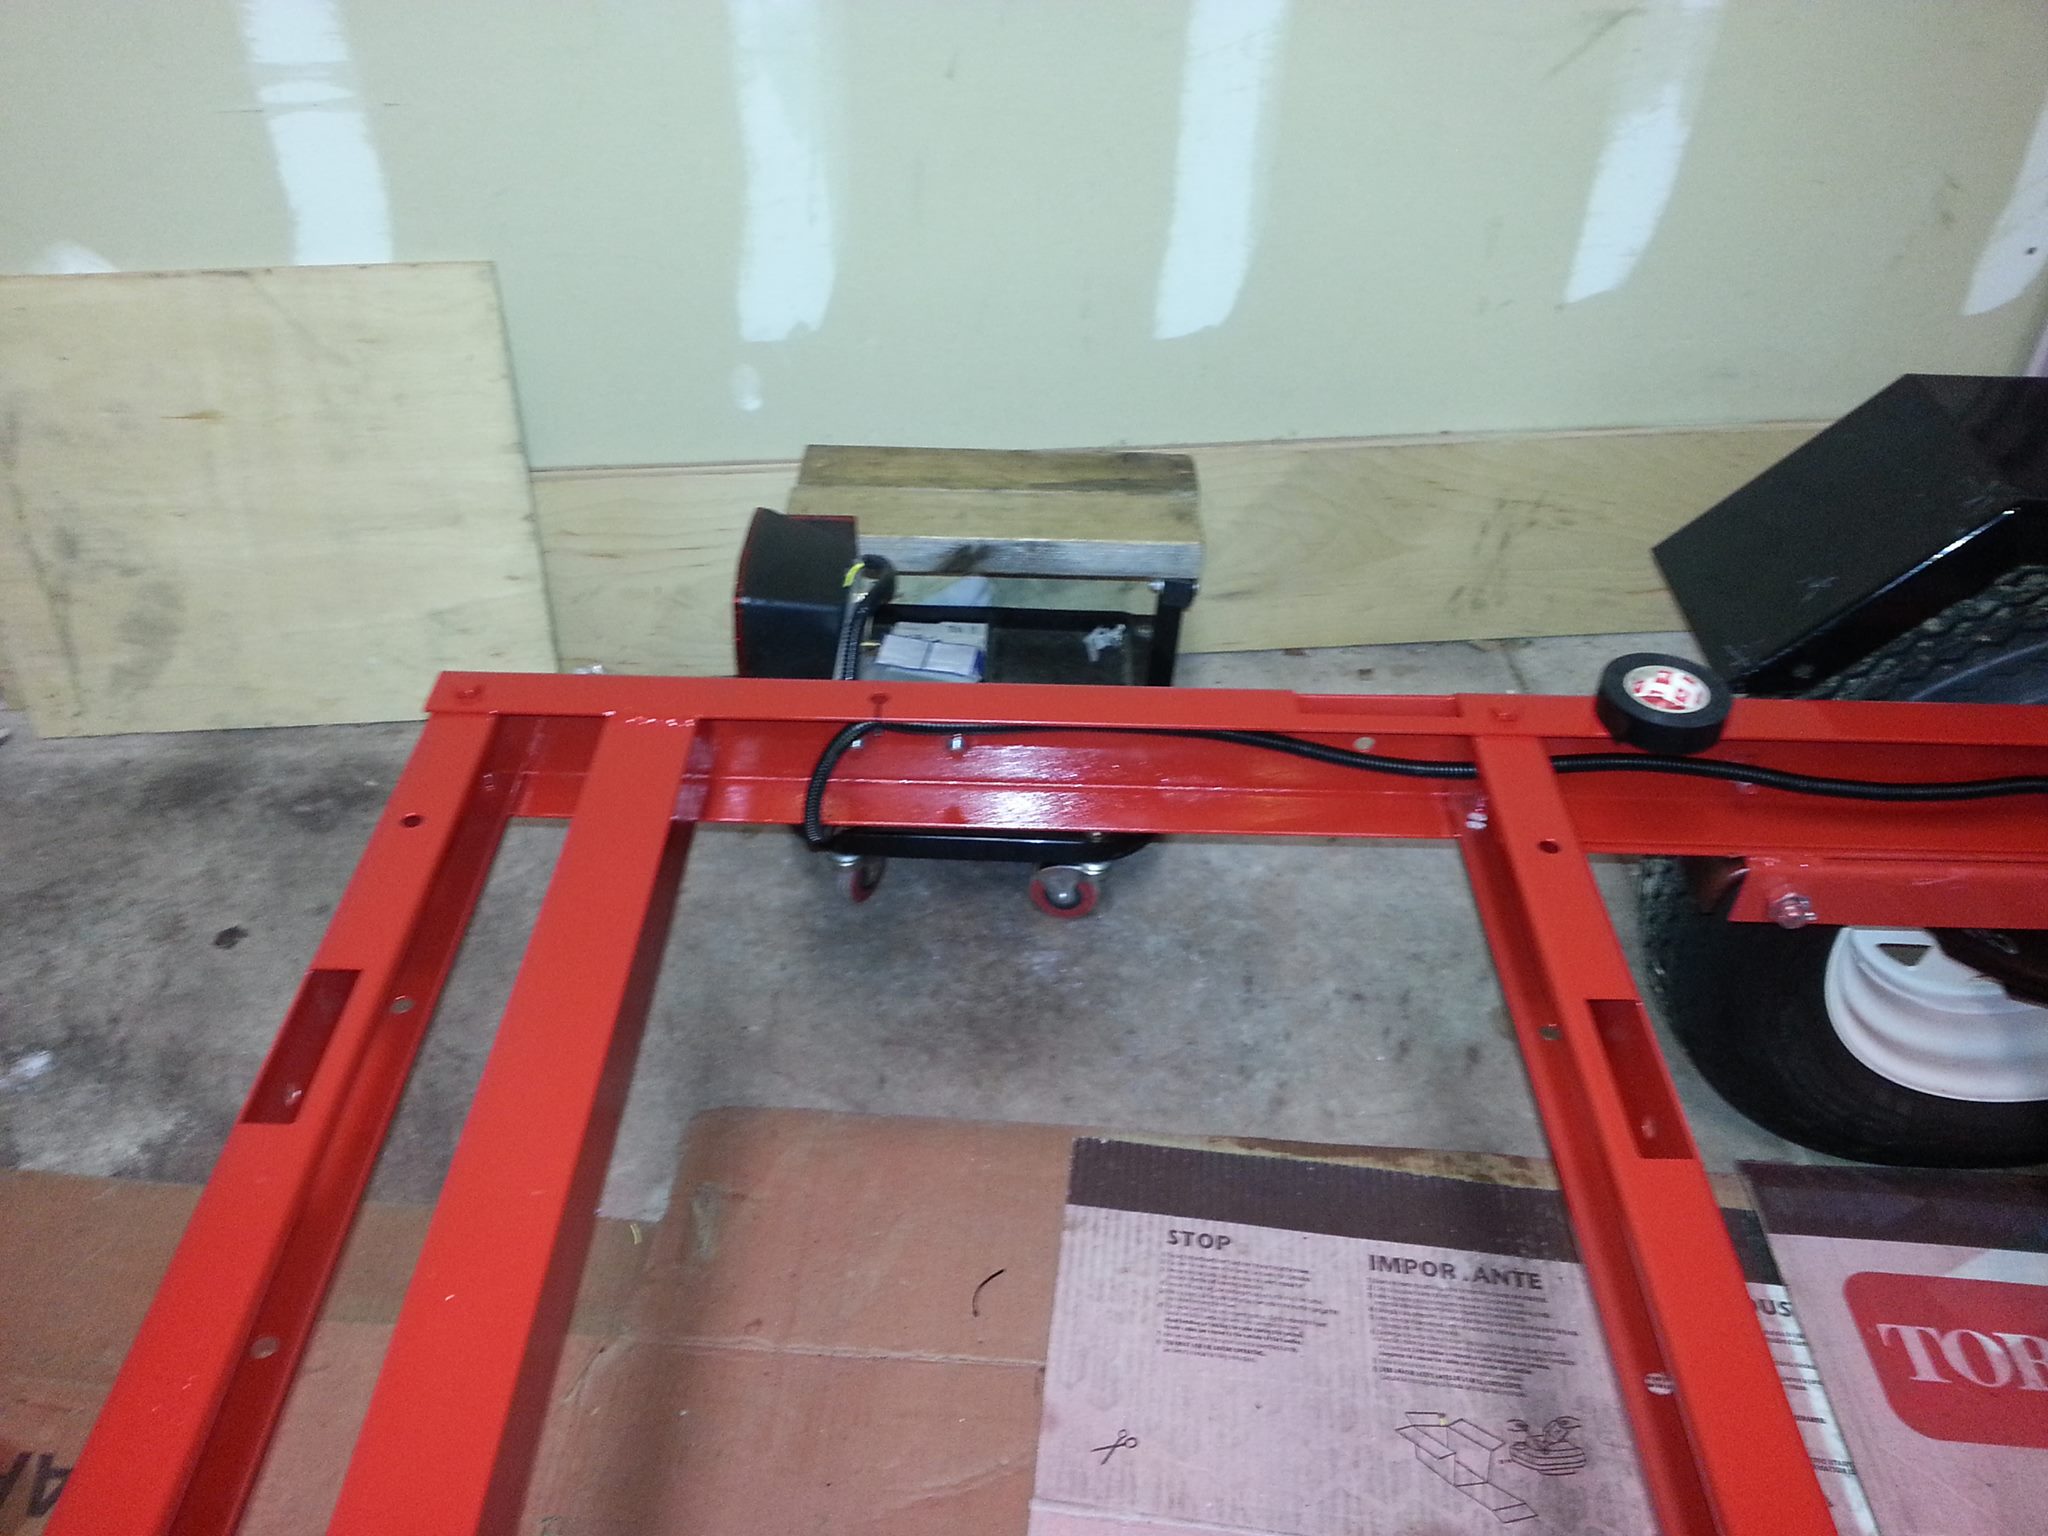
The wires might appear tight but that is the camera angle.
To protect the wires I ran them through some wire loom. All wire connections are soldered and heat shrinked, even the grounding connector is crimped and soldered on.

I now have the side marker lights in the wire loom as well.

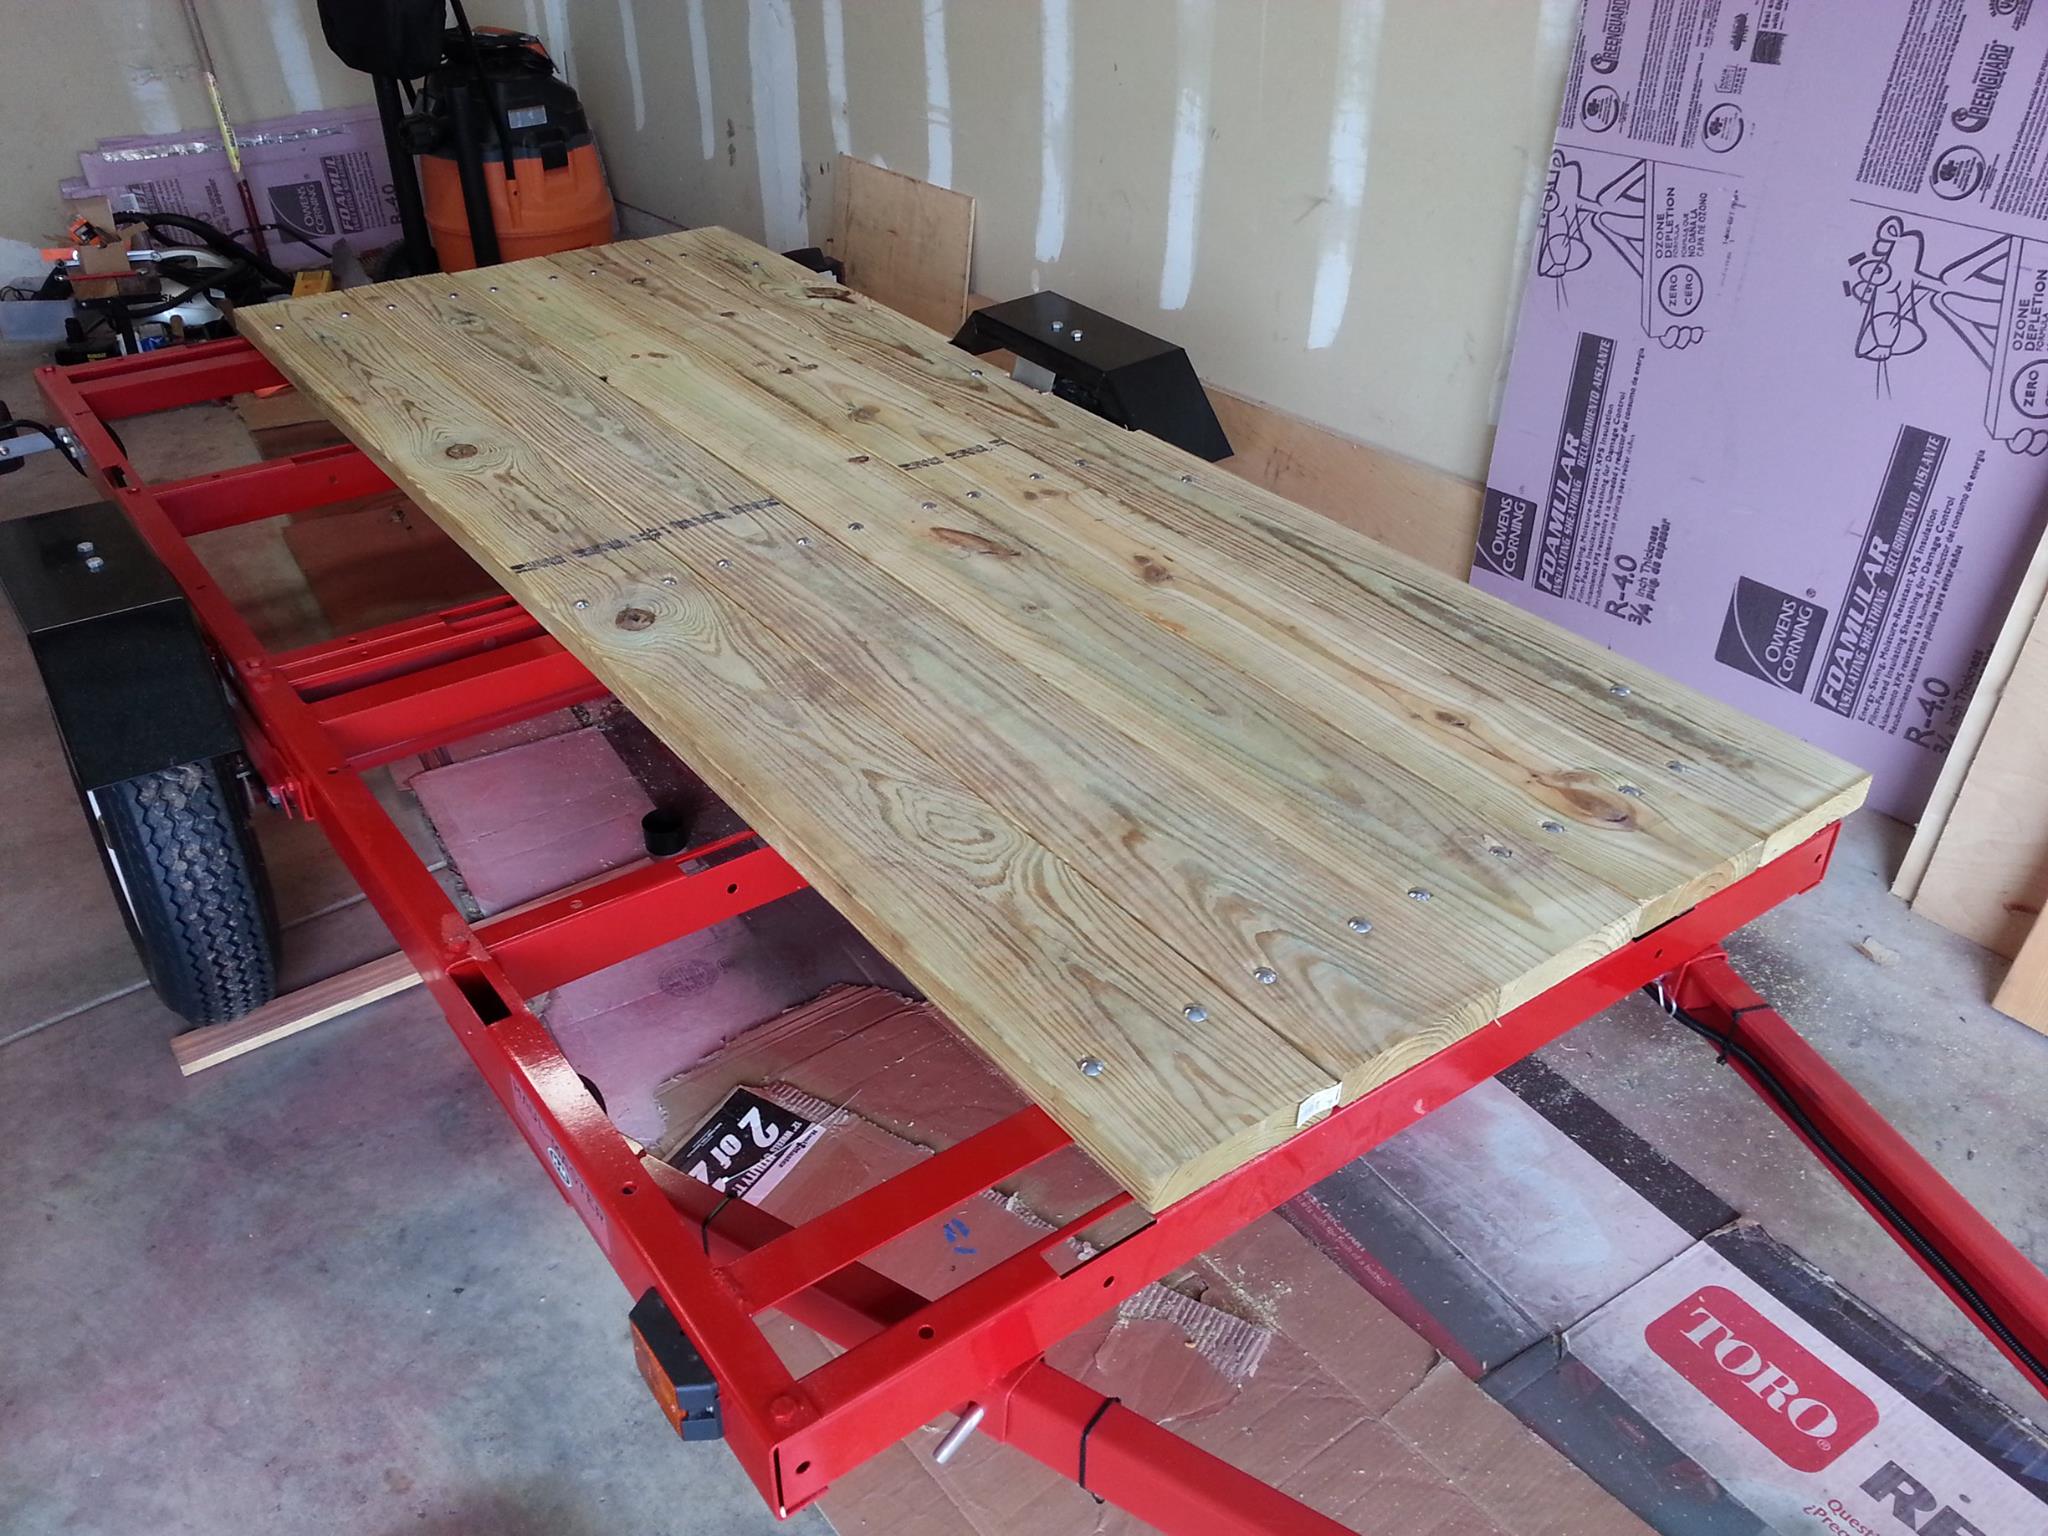
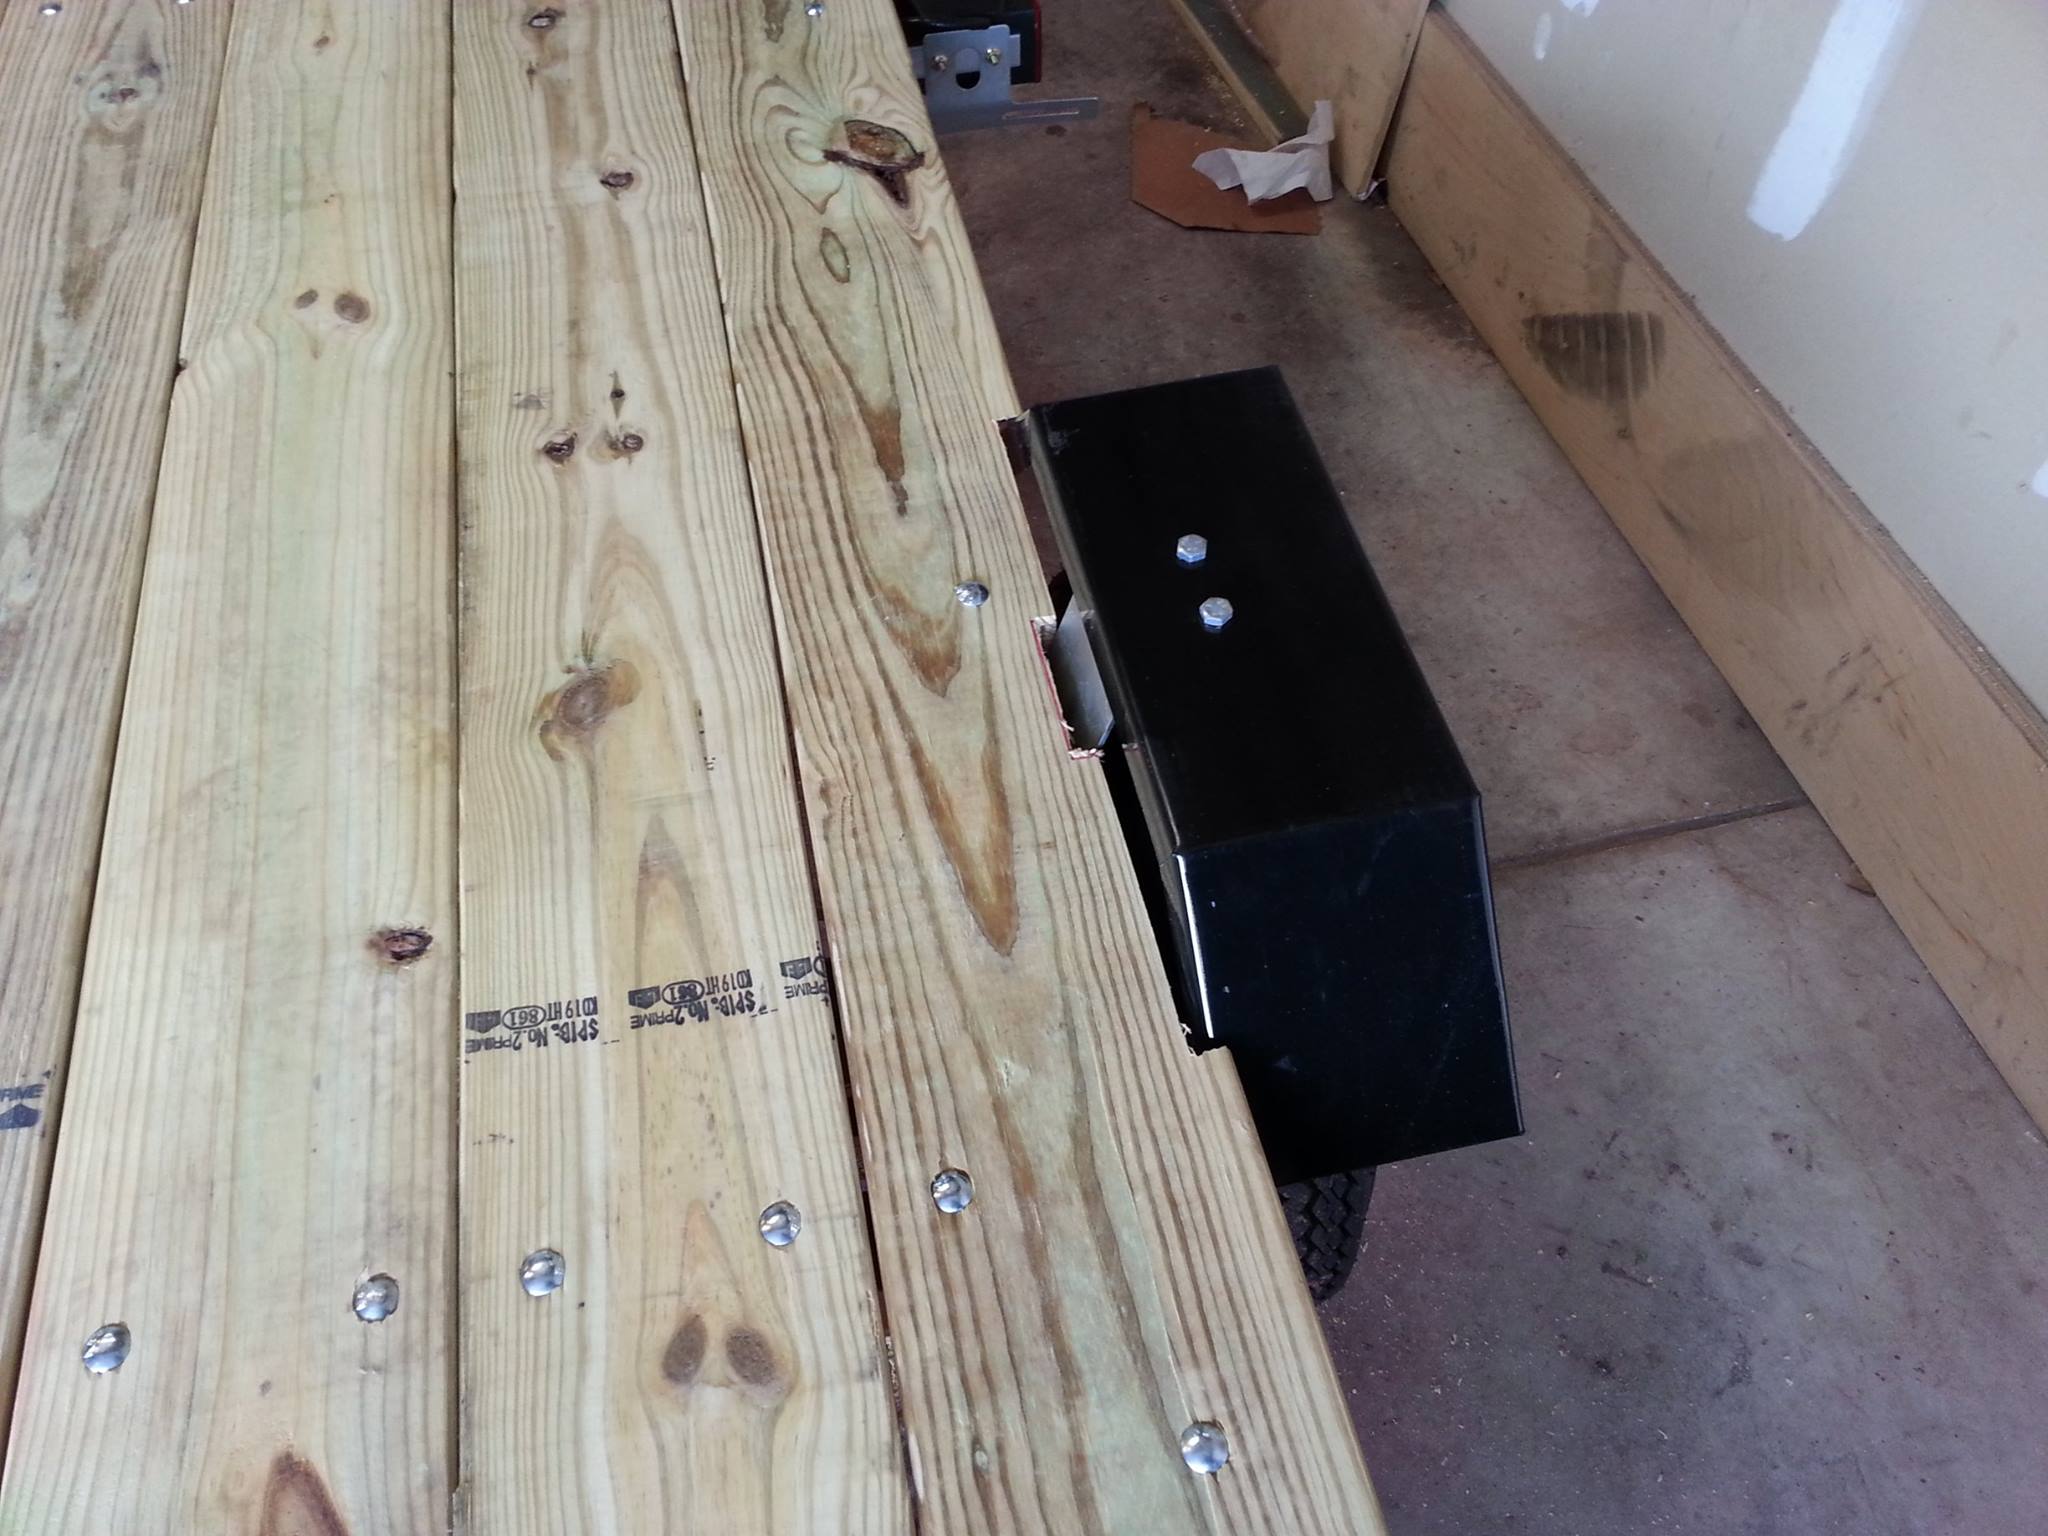
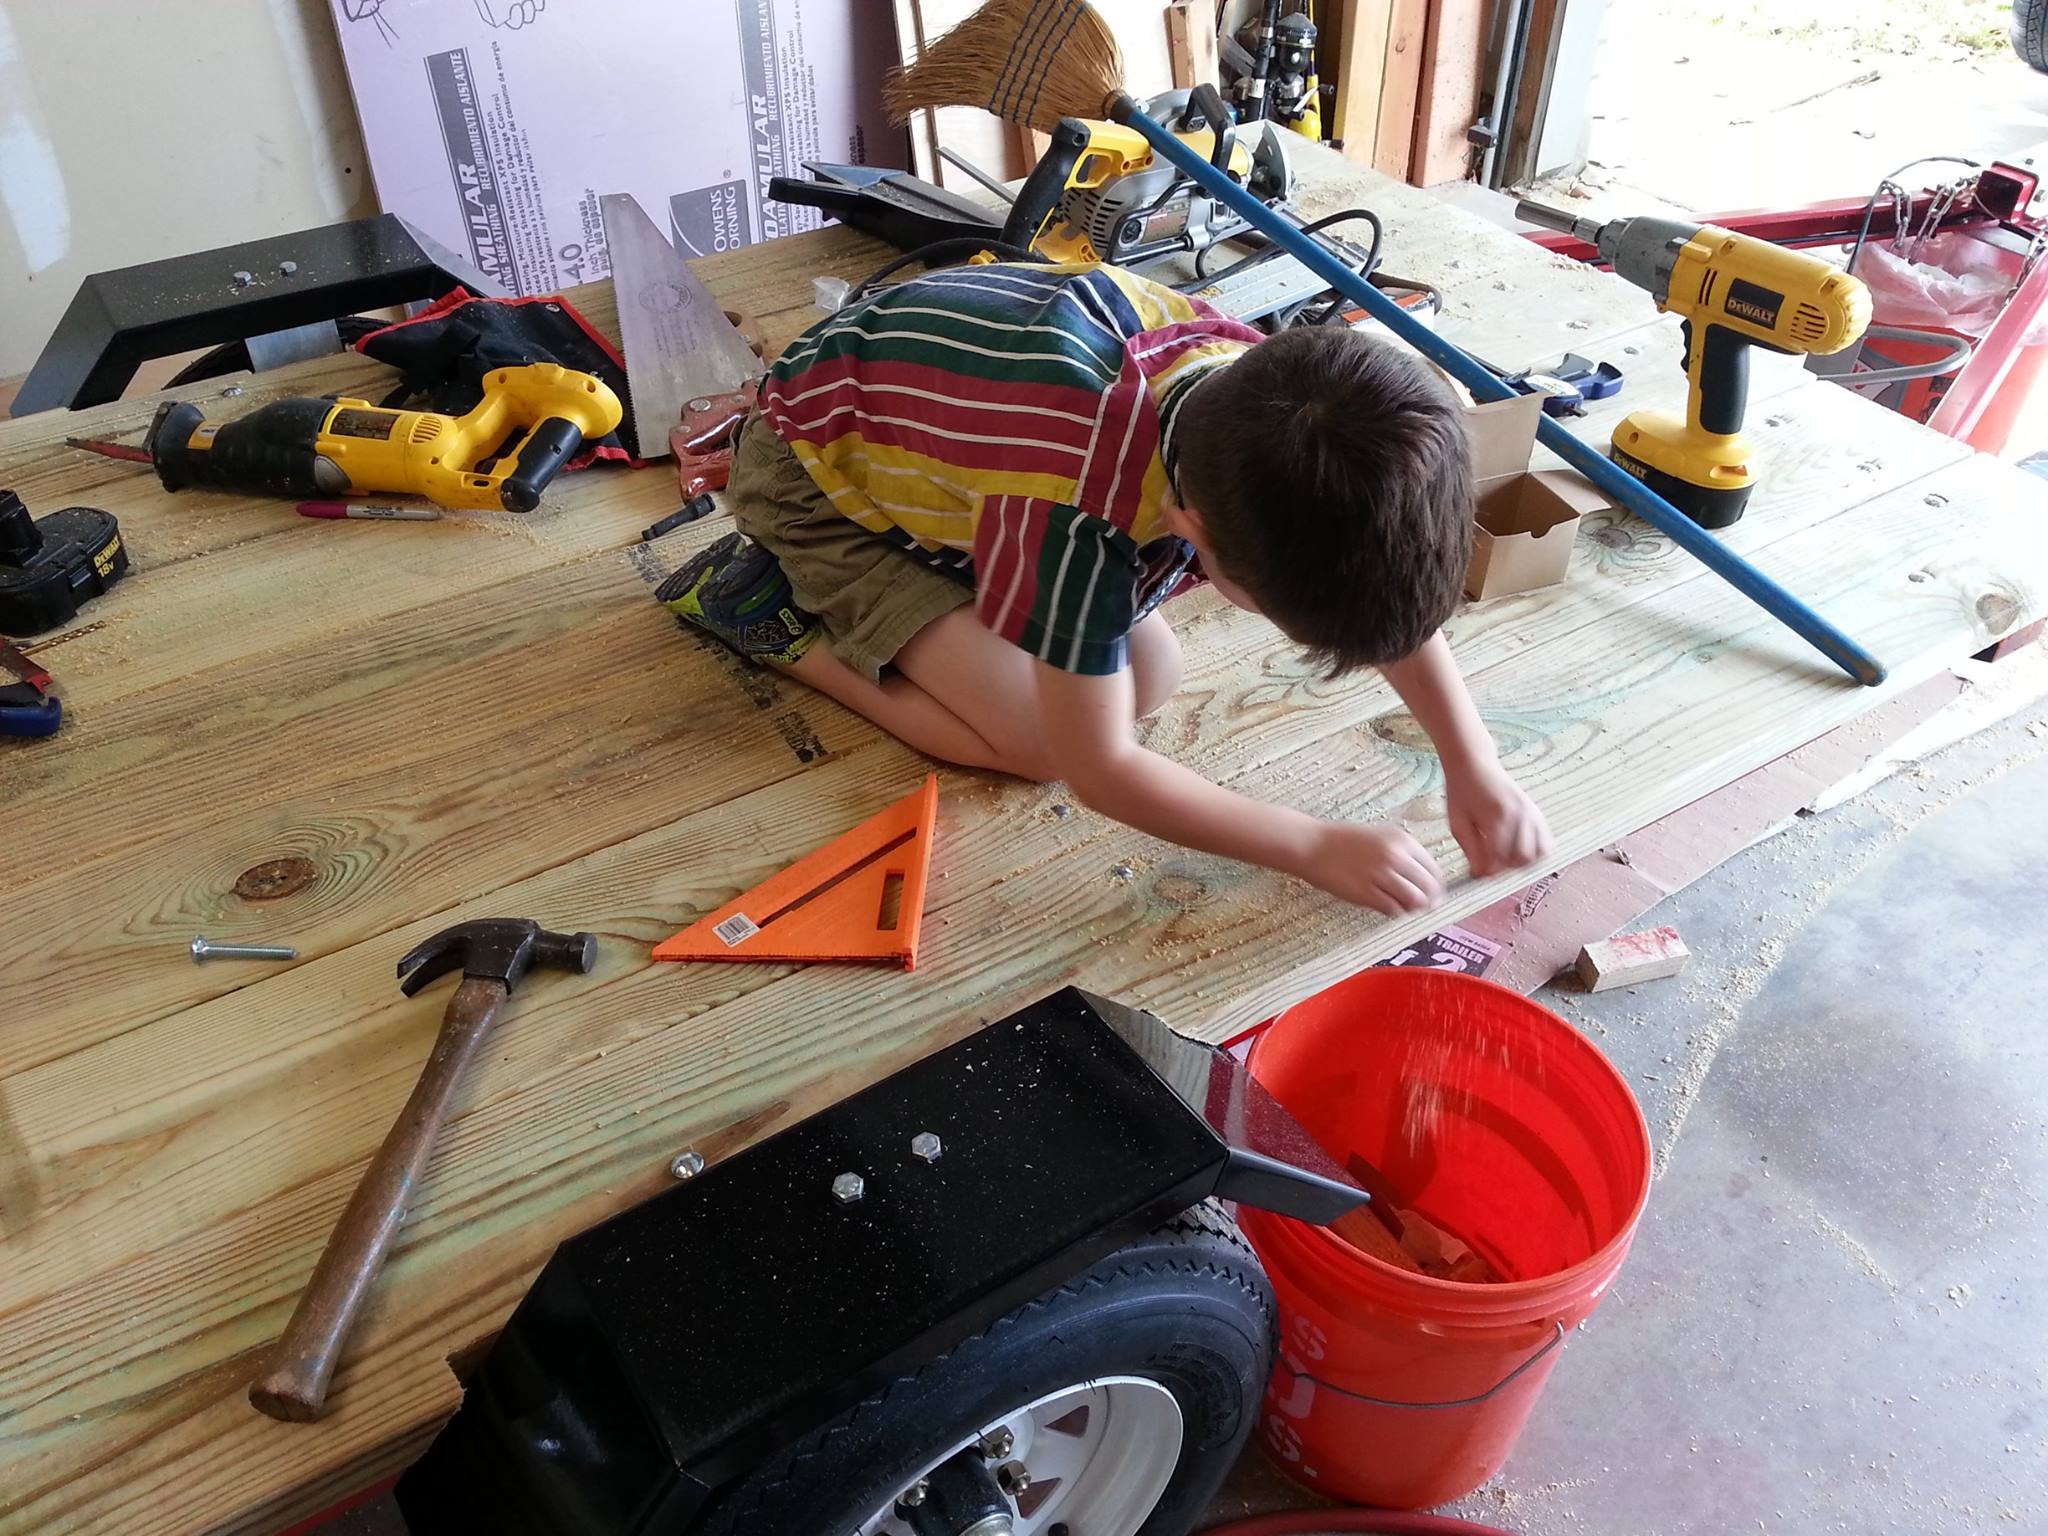
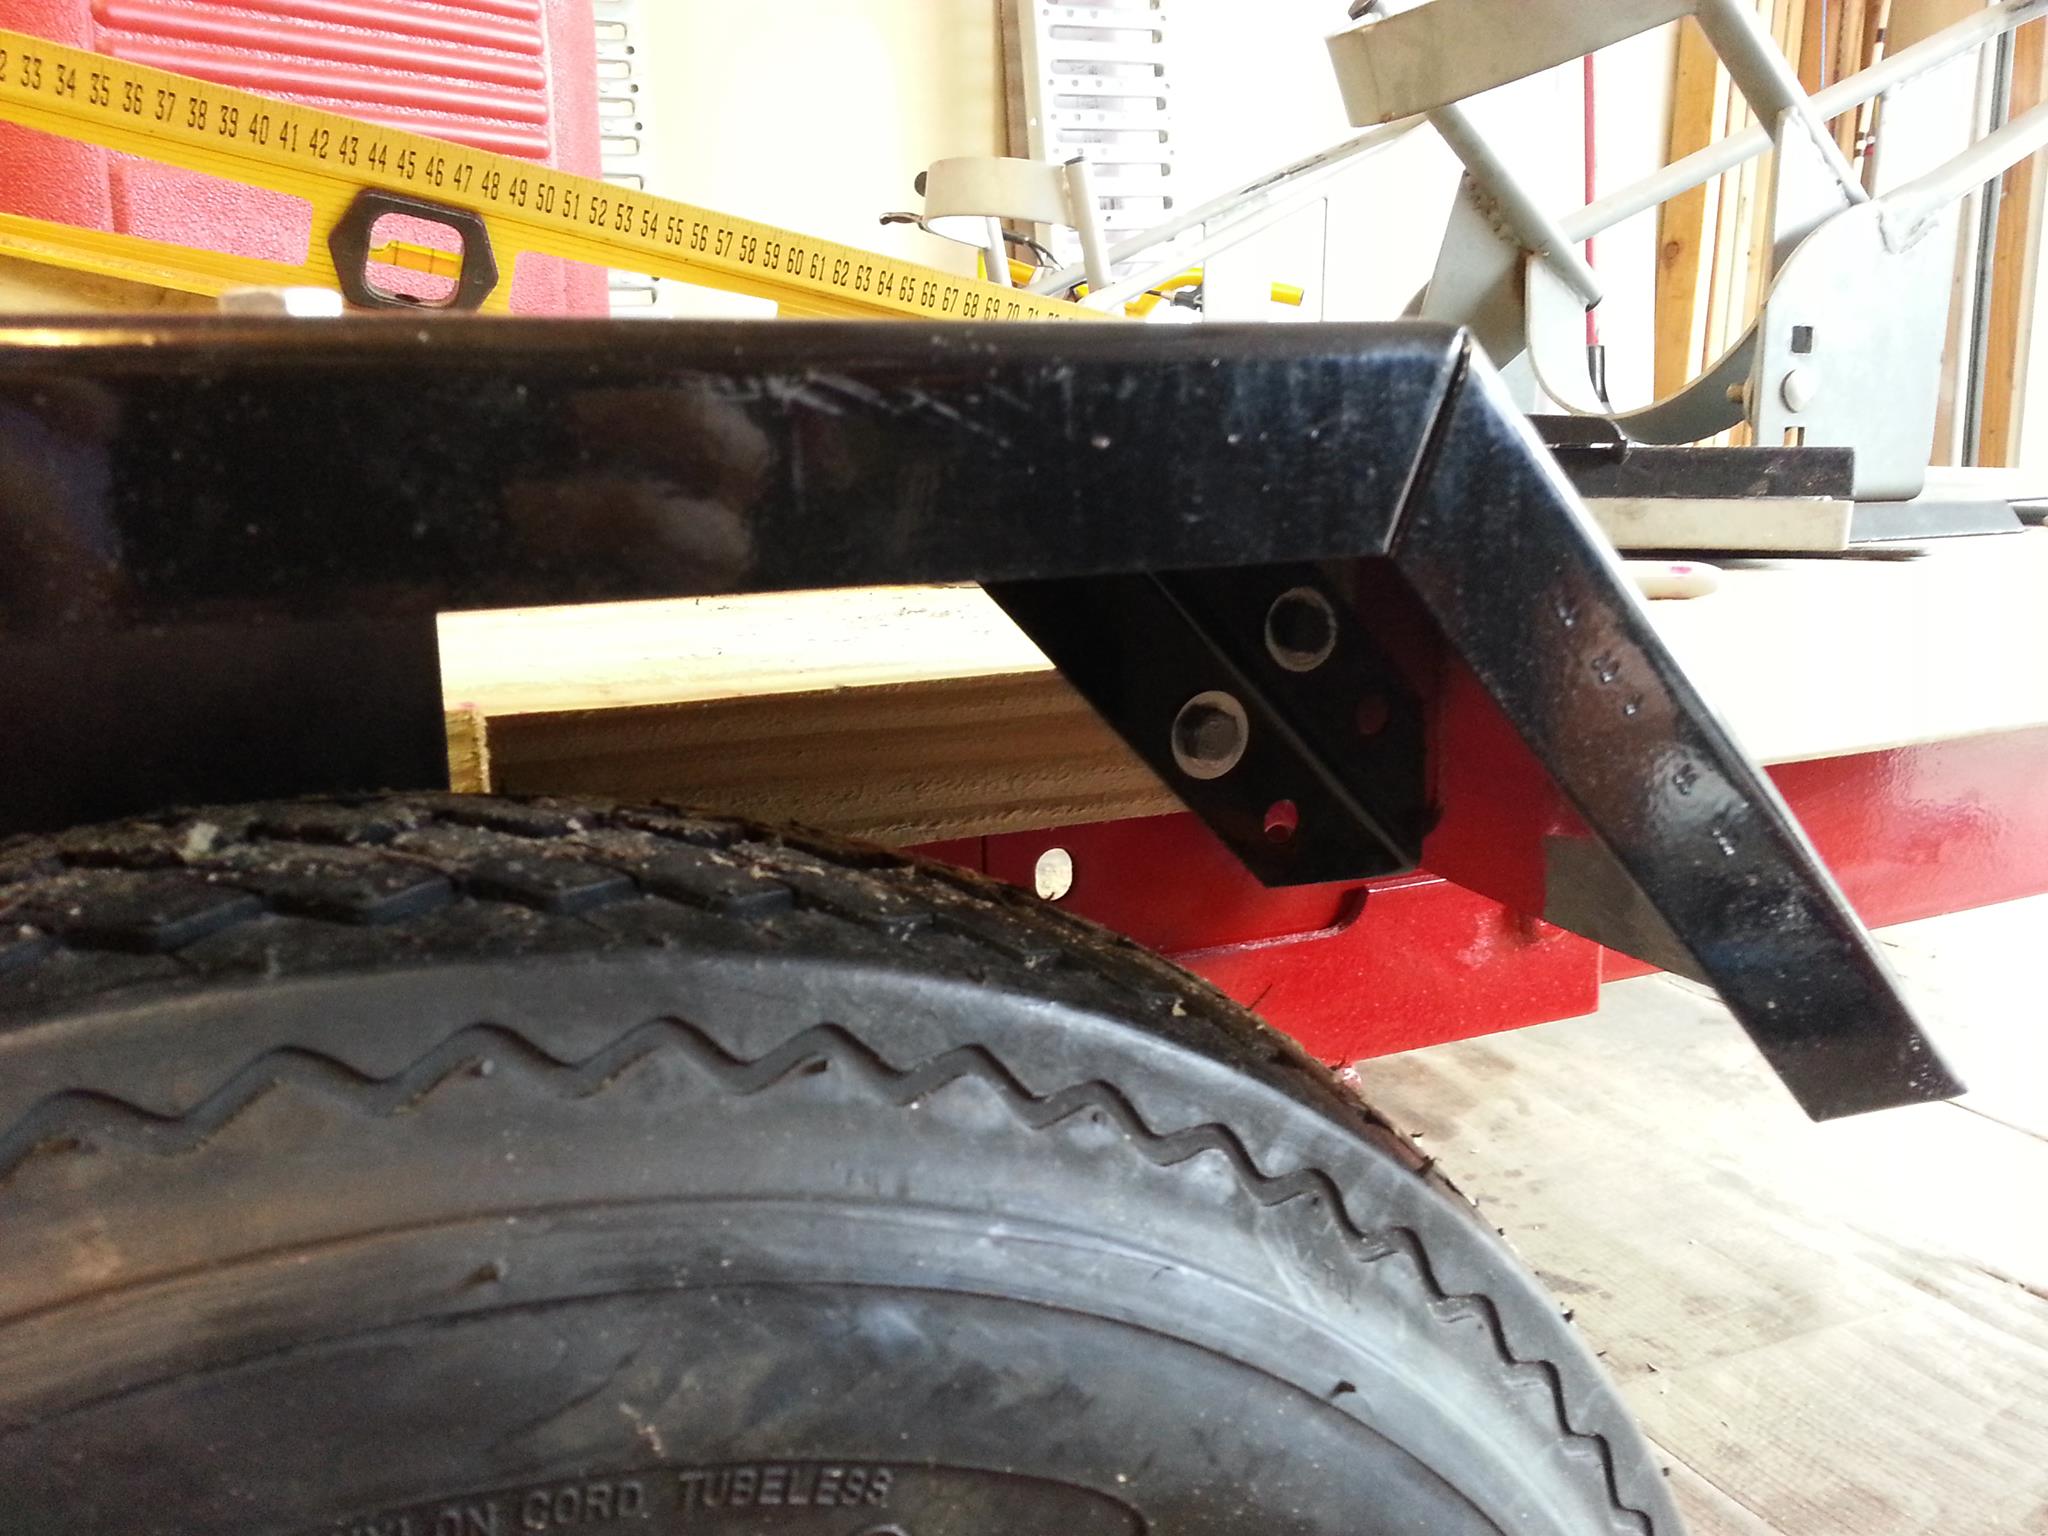
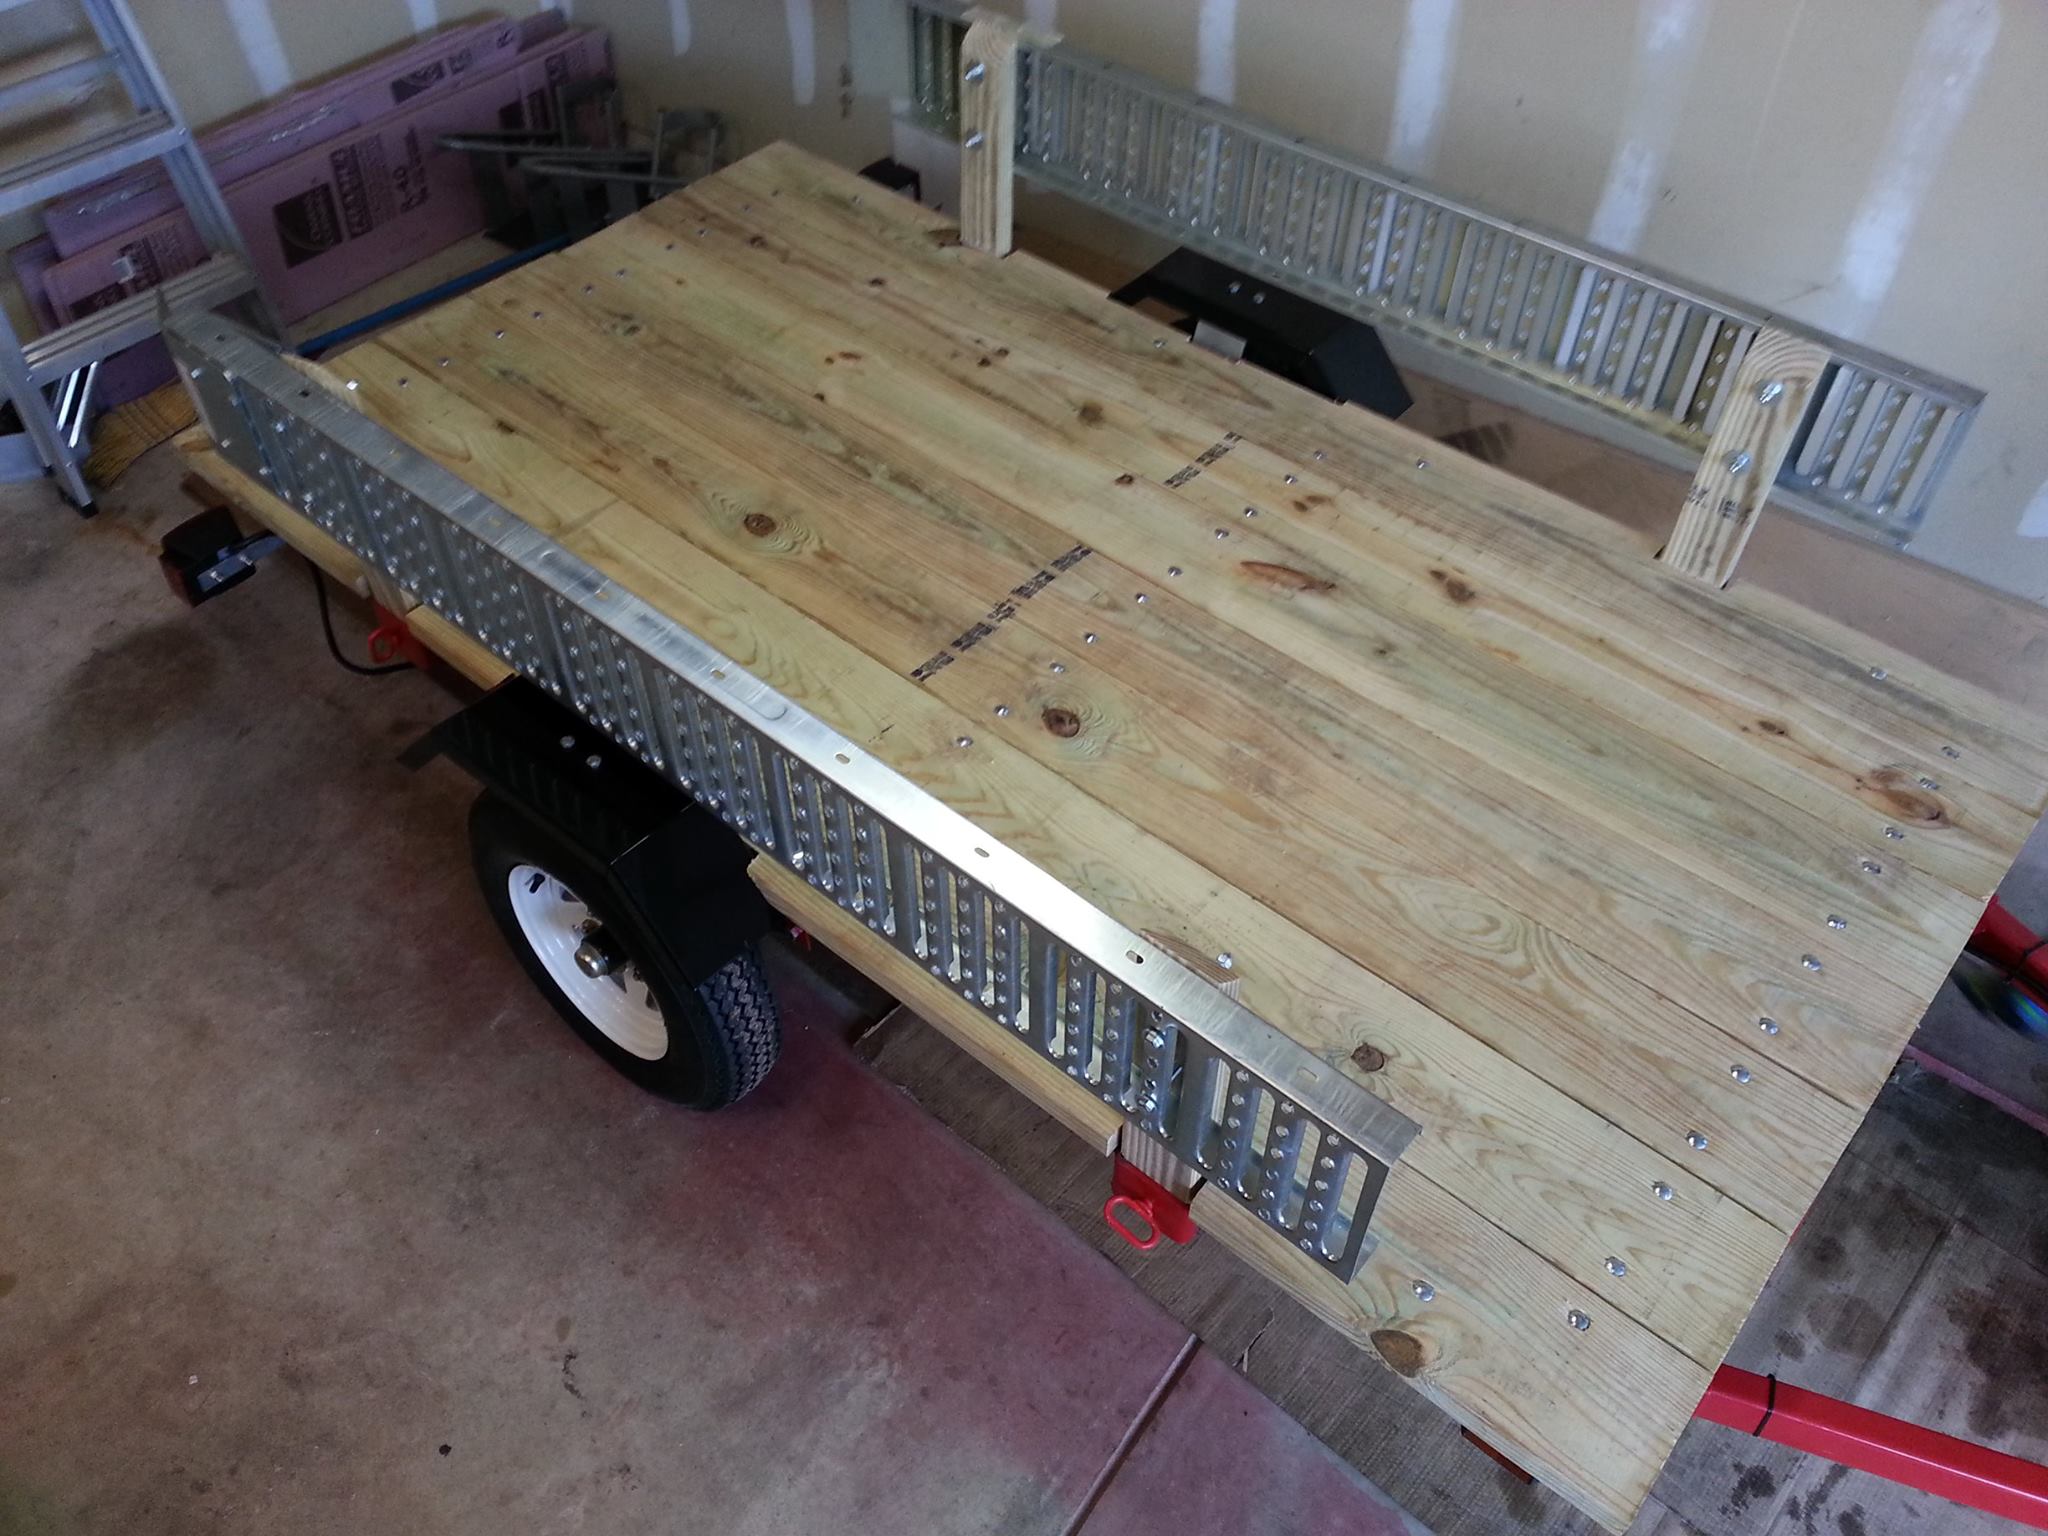
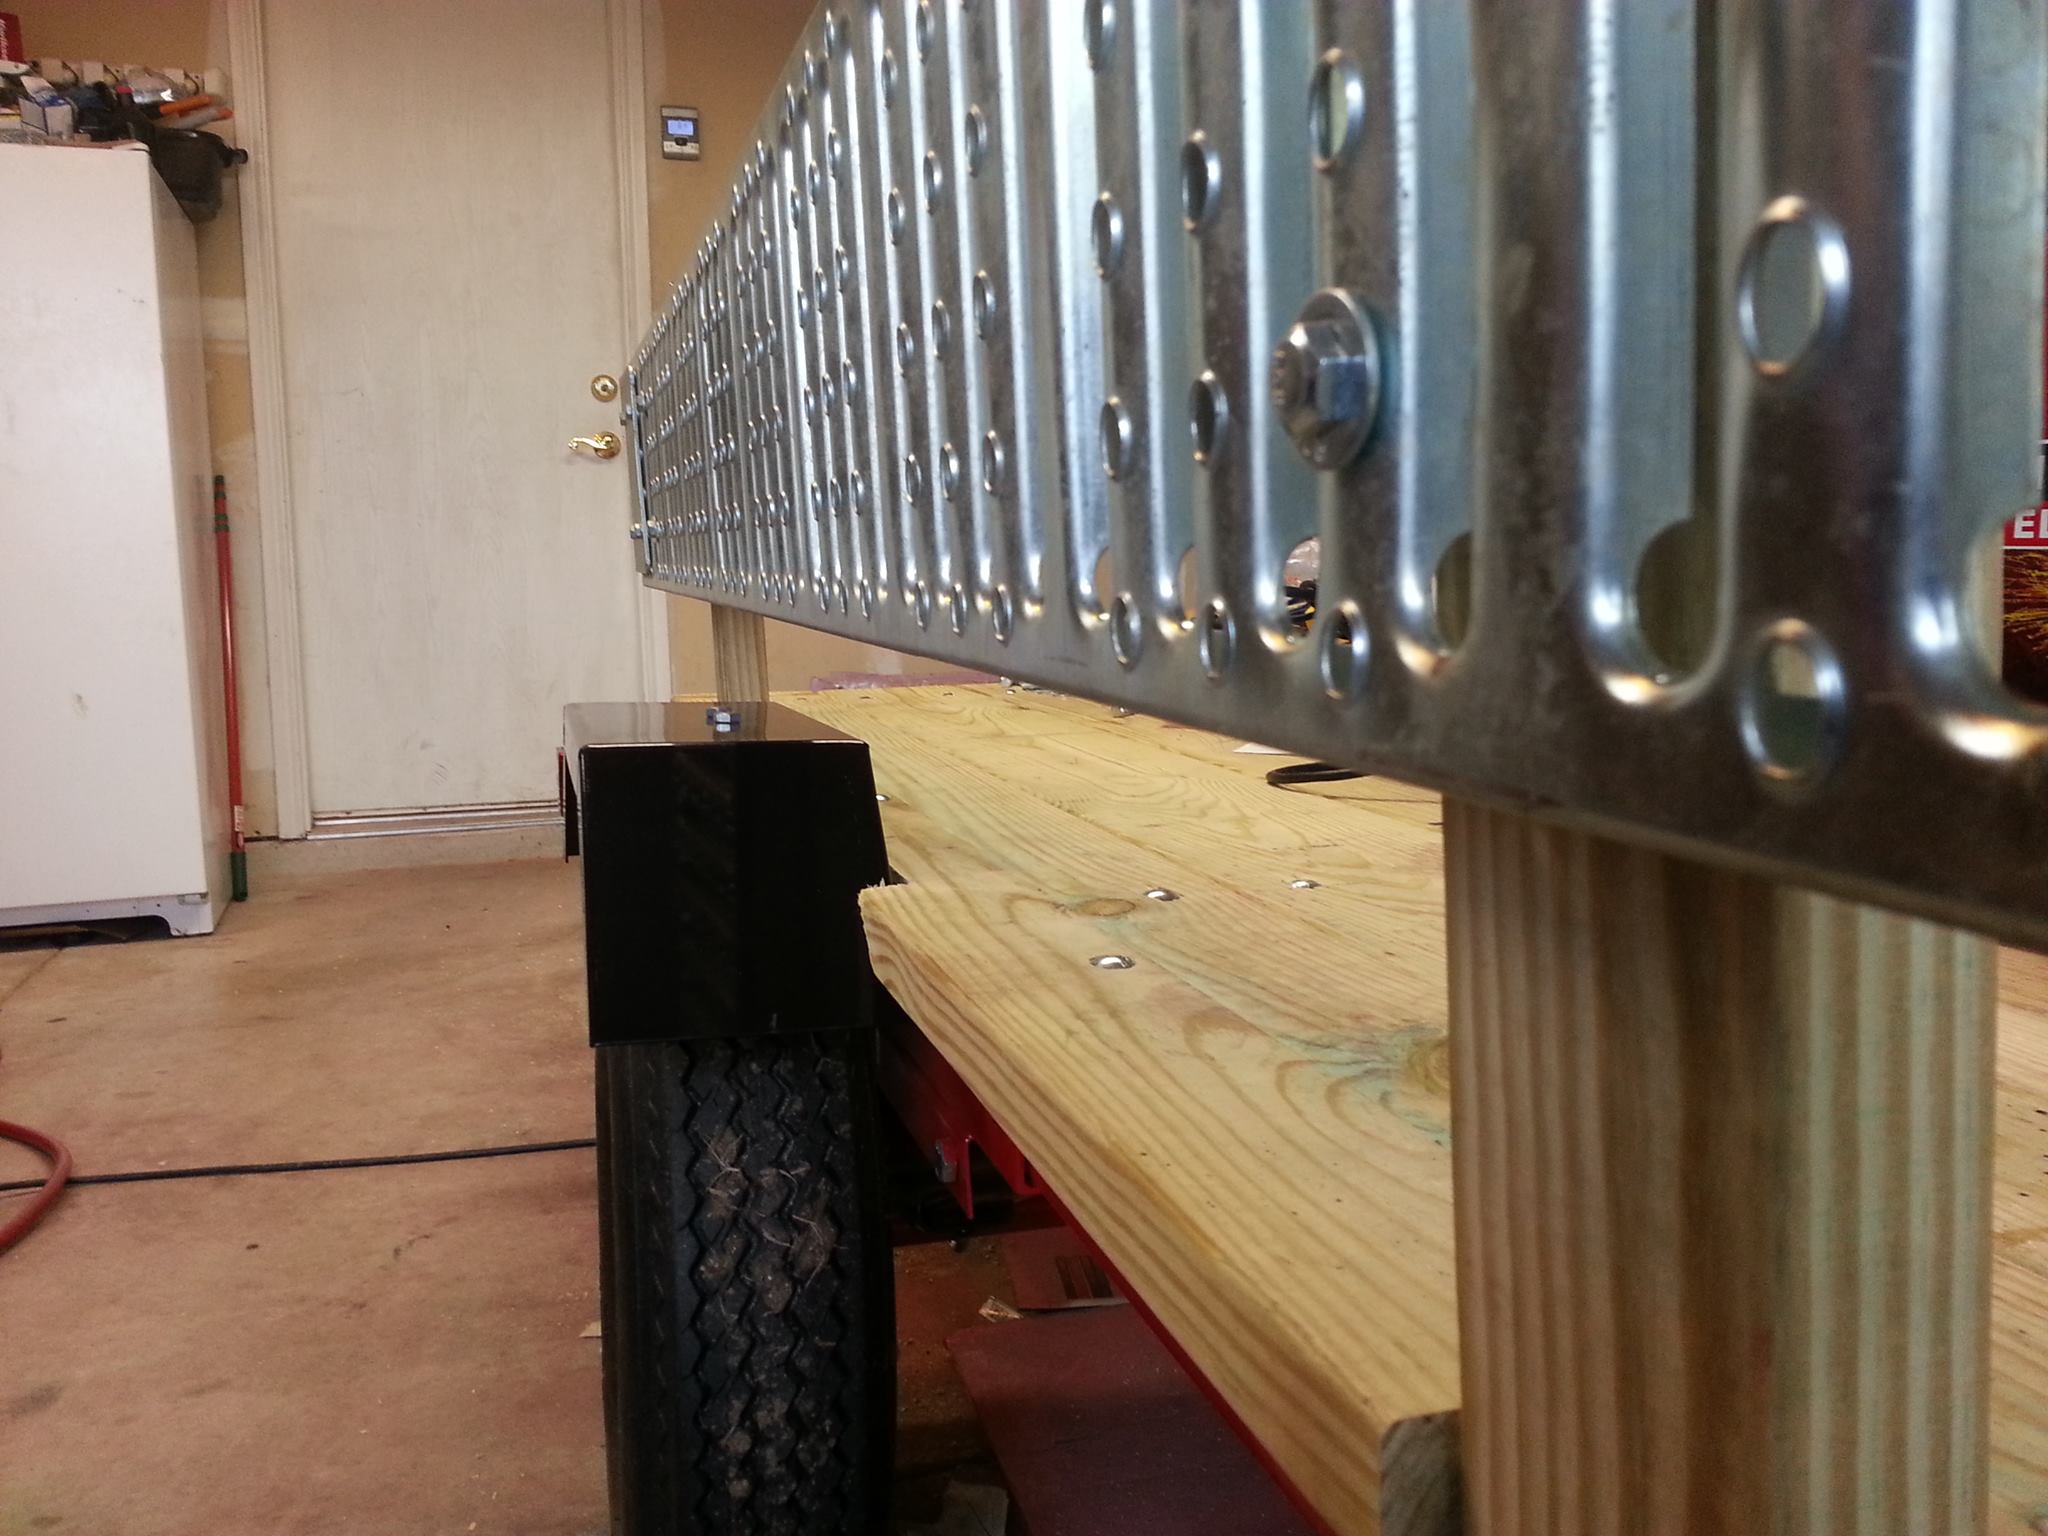
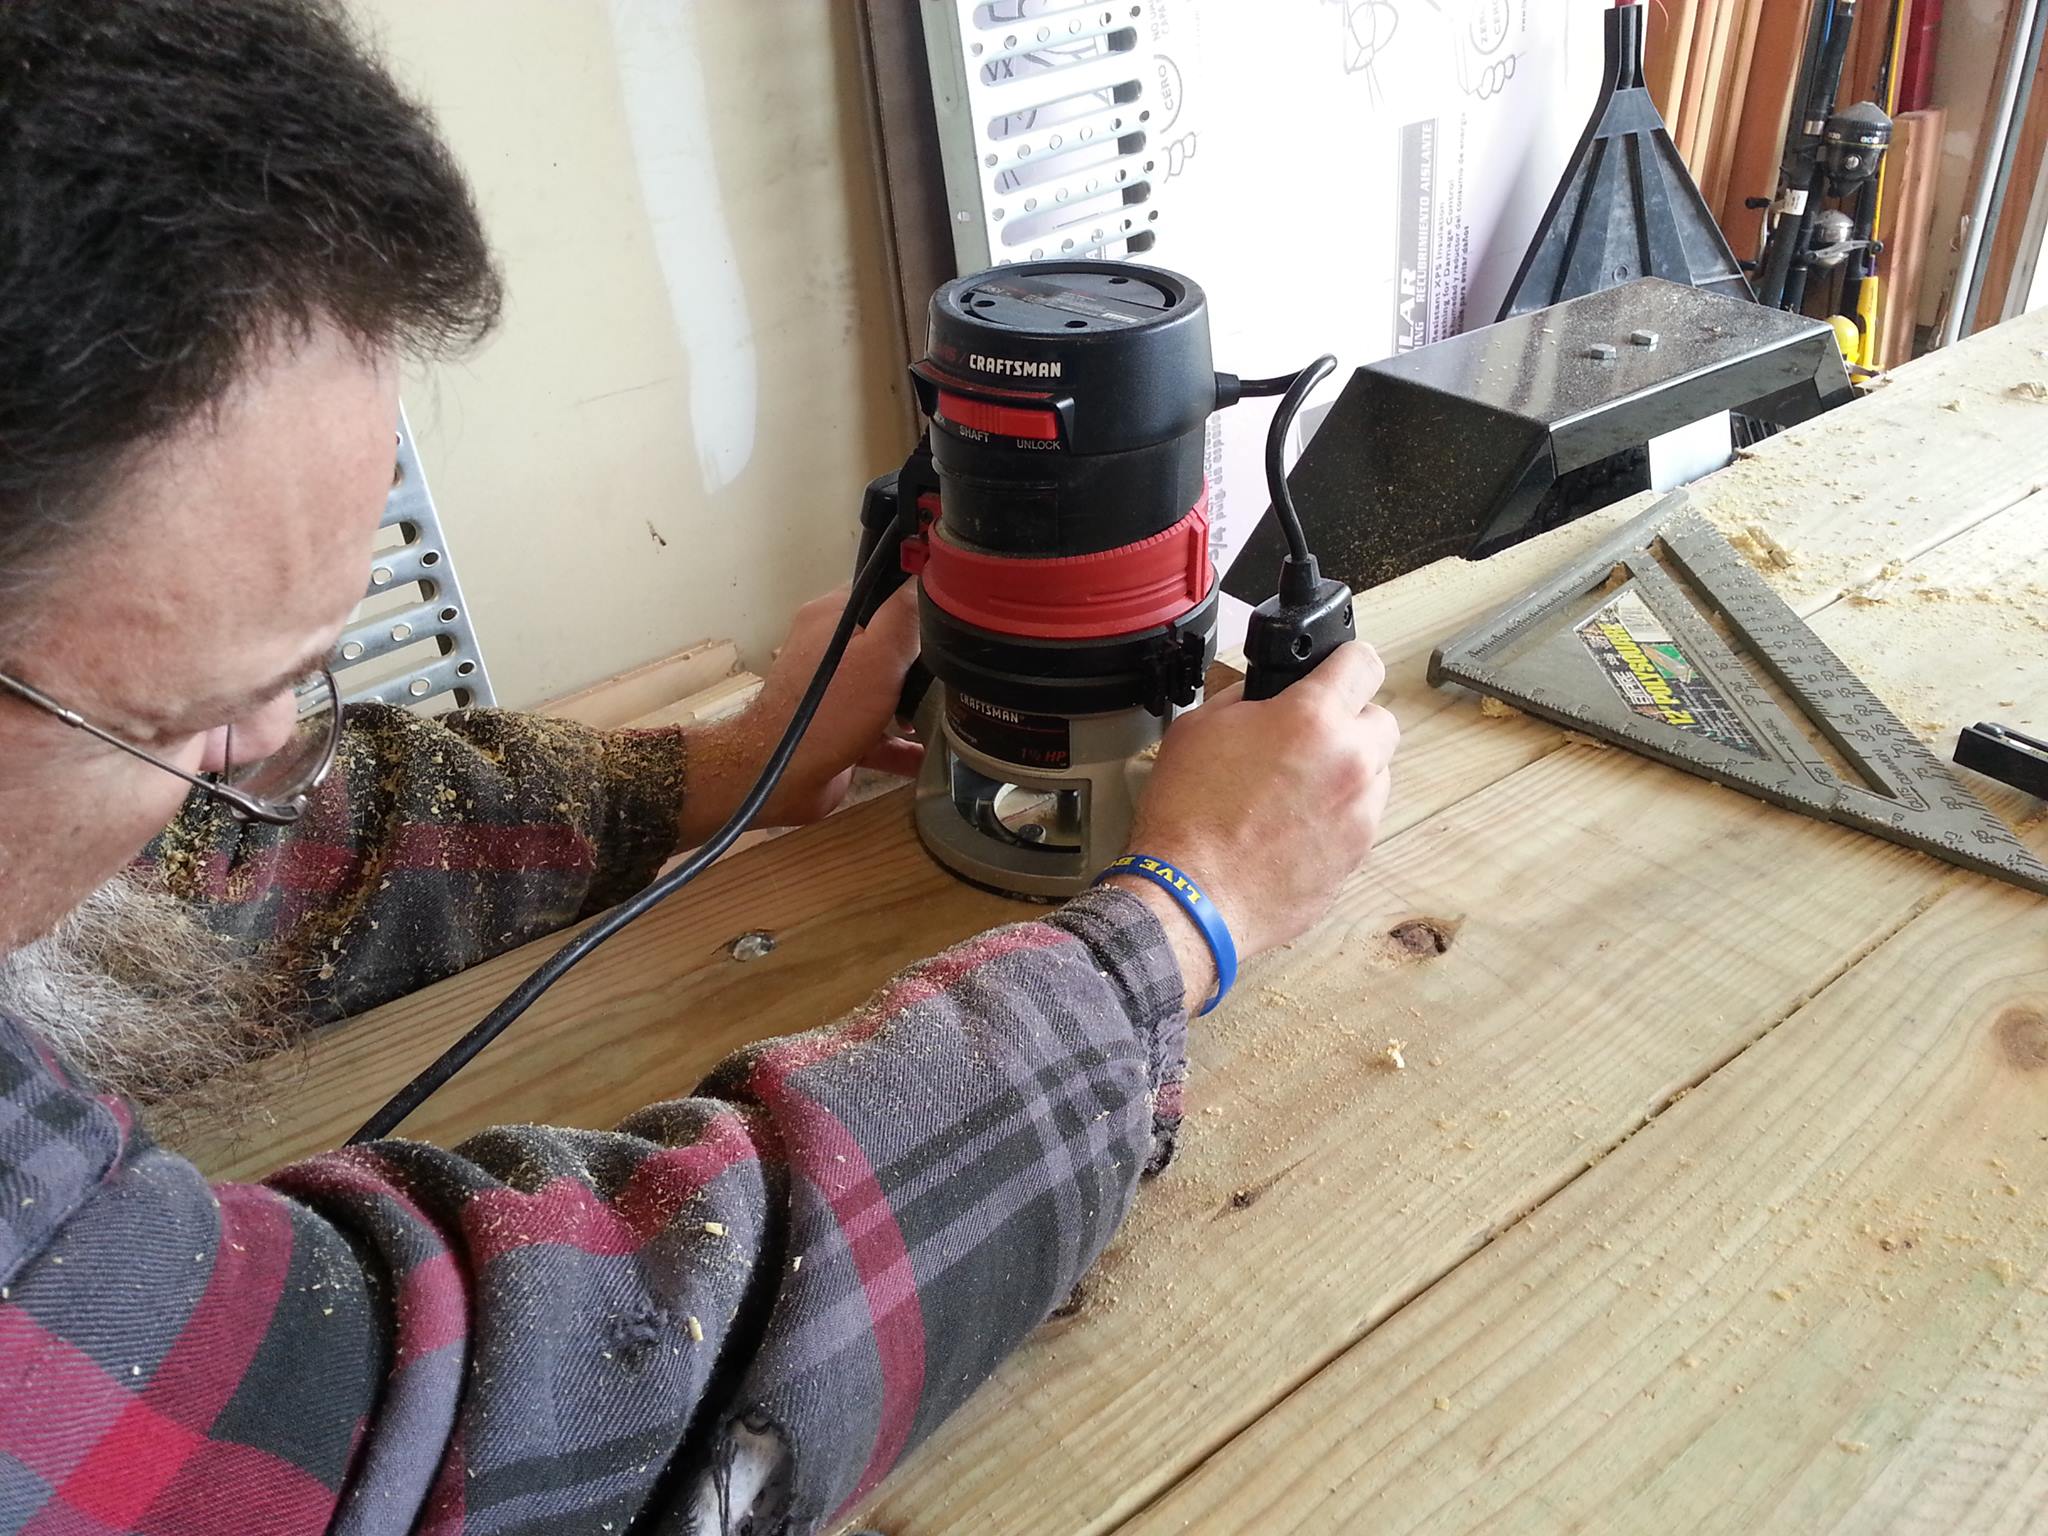
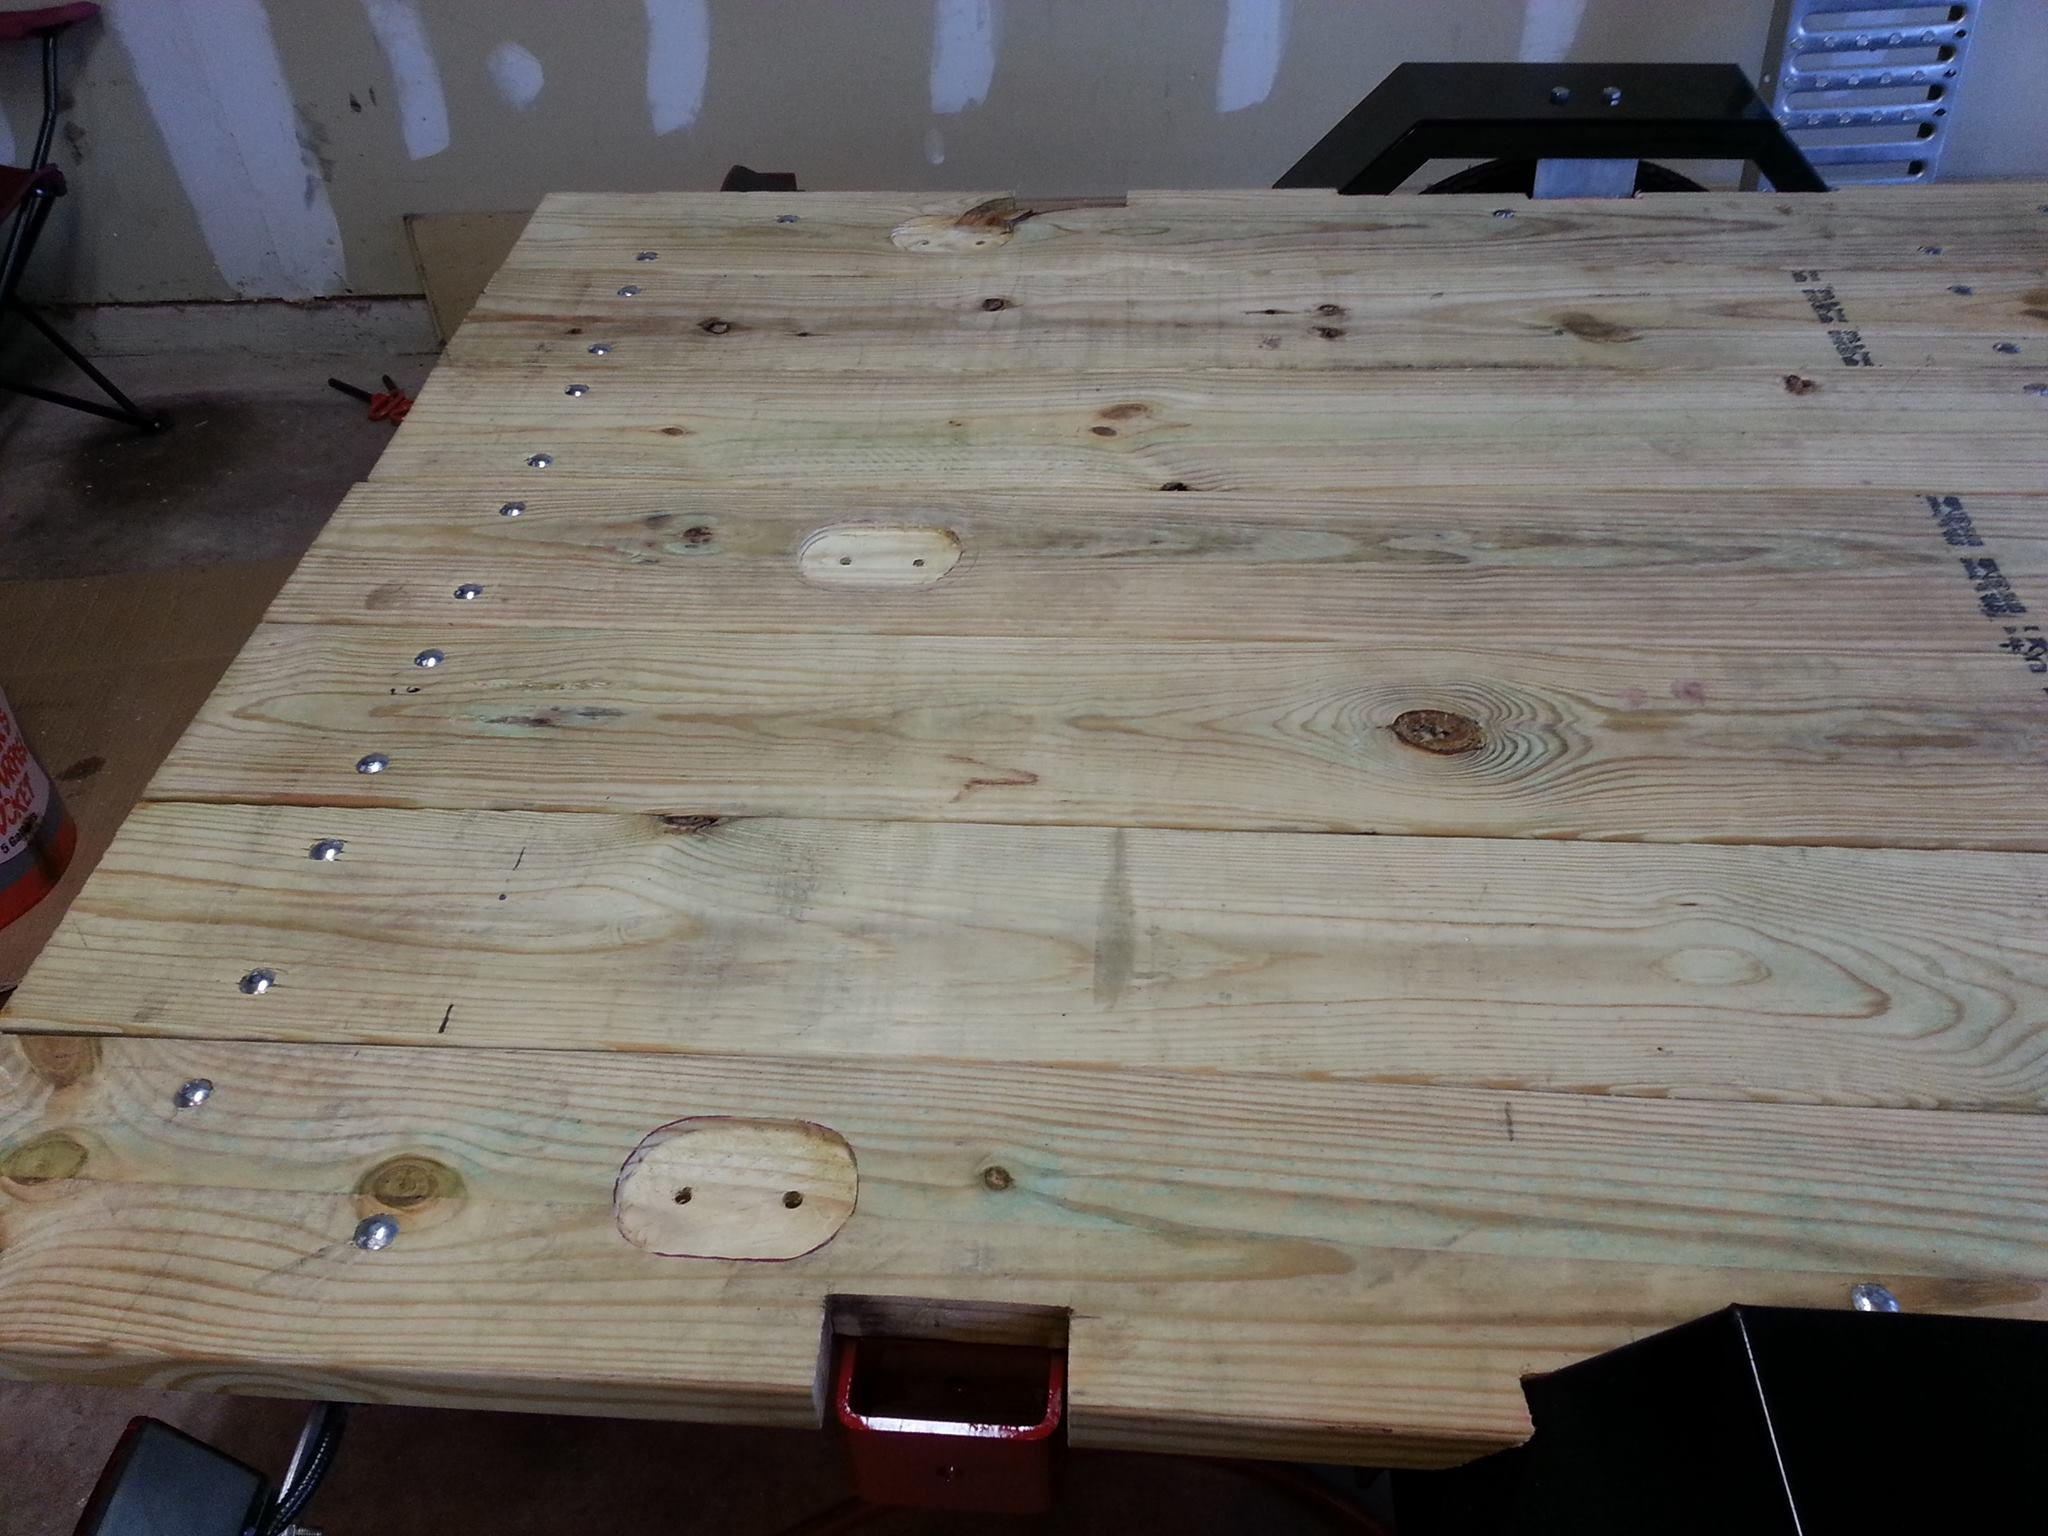
Attaching the boards to the trailer in this series of pics. They are secured to the angle iron I welded onto the trailer with carriage bolts, fender washers and lock nuts. I made a design choice to use 2X8s for the deck as I want to have a slightly wider surface for the motorcycles. This resulted in a lot of router work to make a channel and also recessed pockets for the top of the bolts around the edges of the trailer and last I had to notch around the fenders. This allowed the 2X8 to sit flush on the trailer making the surface level. I dropped a straight edge across the back and ripped all boards to equal lengths. I have read these HF trailers will lose fenders pretty easily so I decided to pre-drill for and use 4" lag bolt to attach the fender to the 2X8 decking.


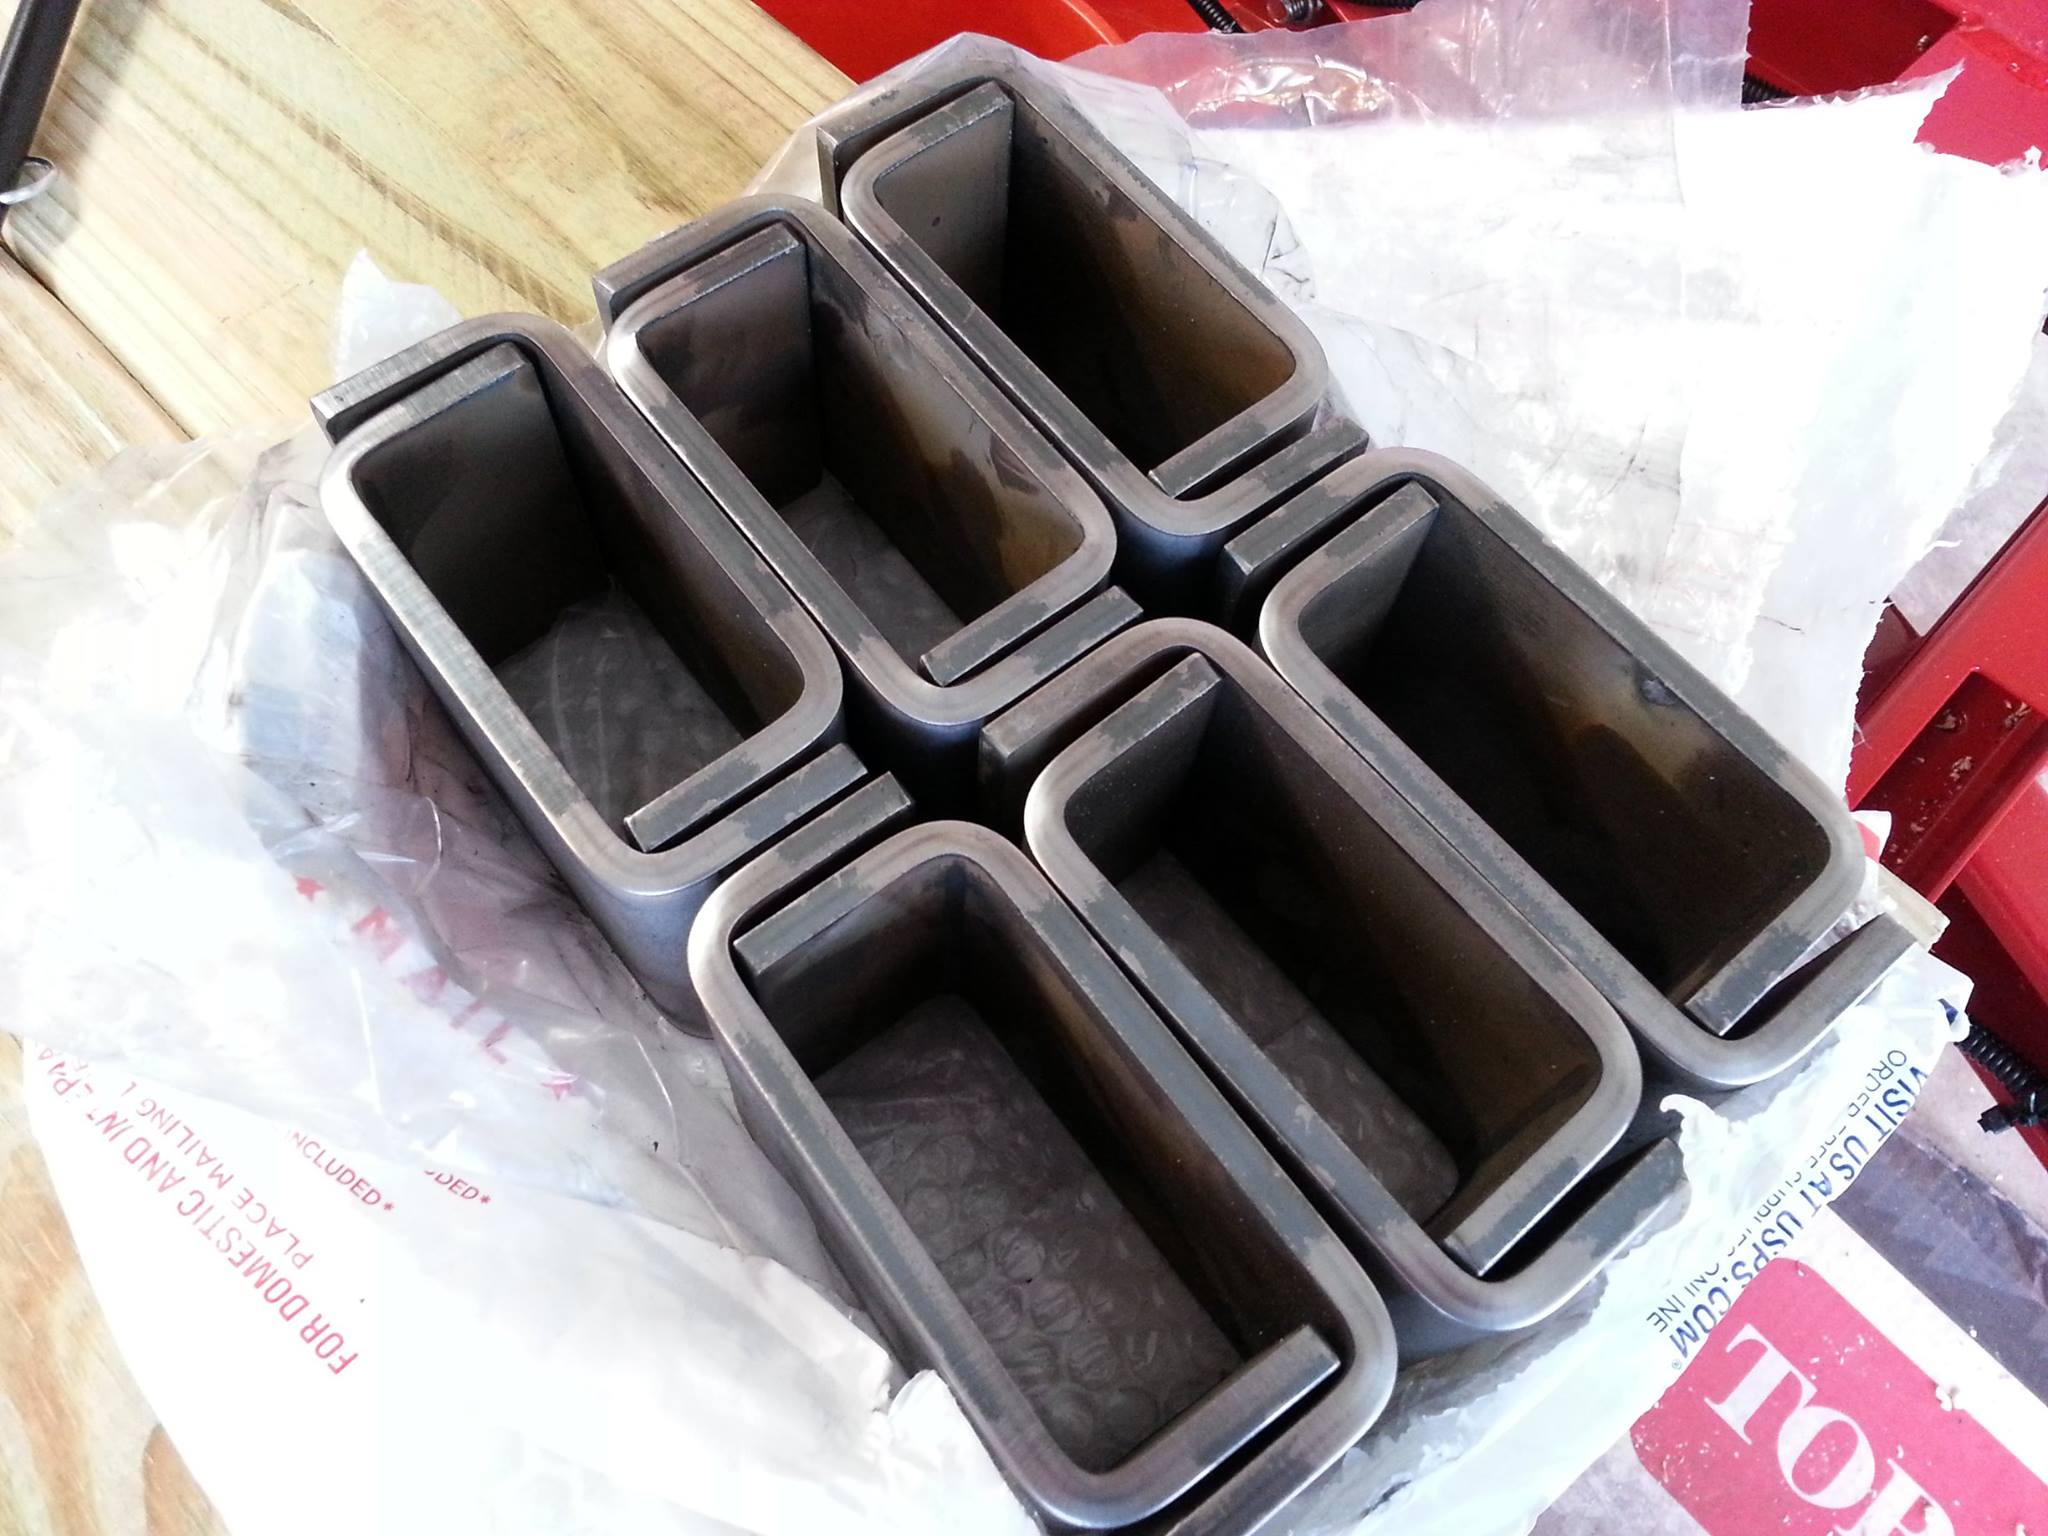
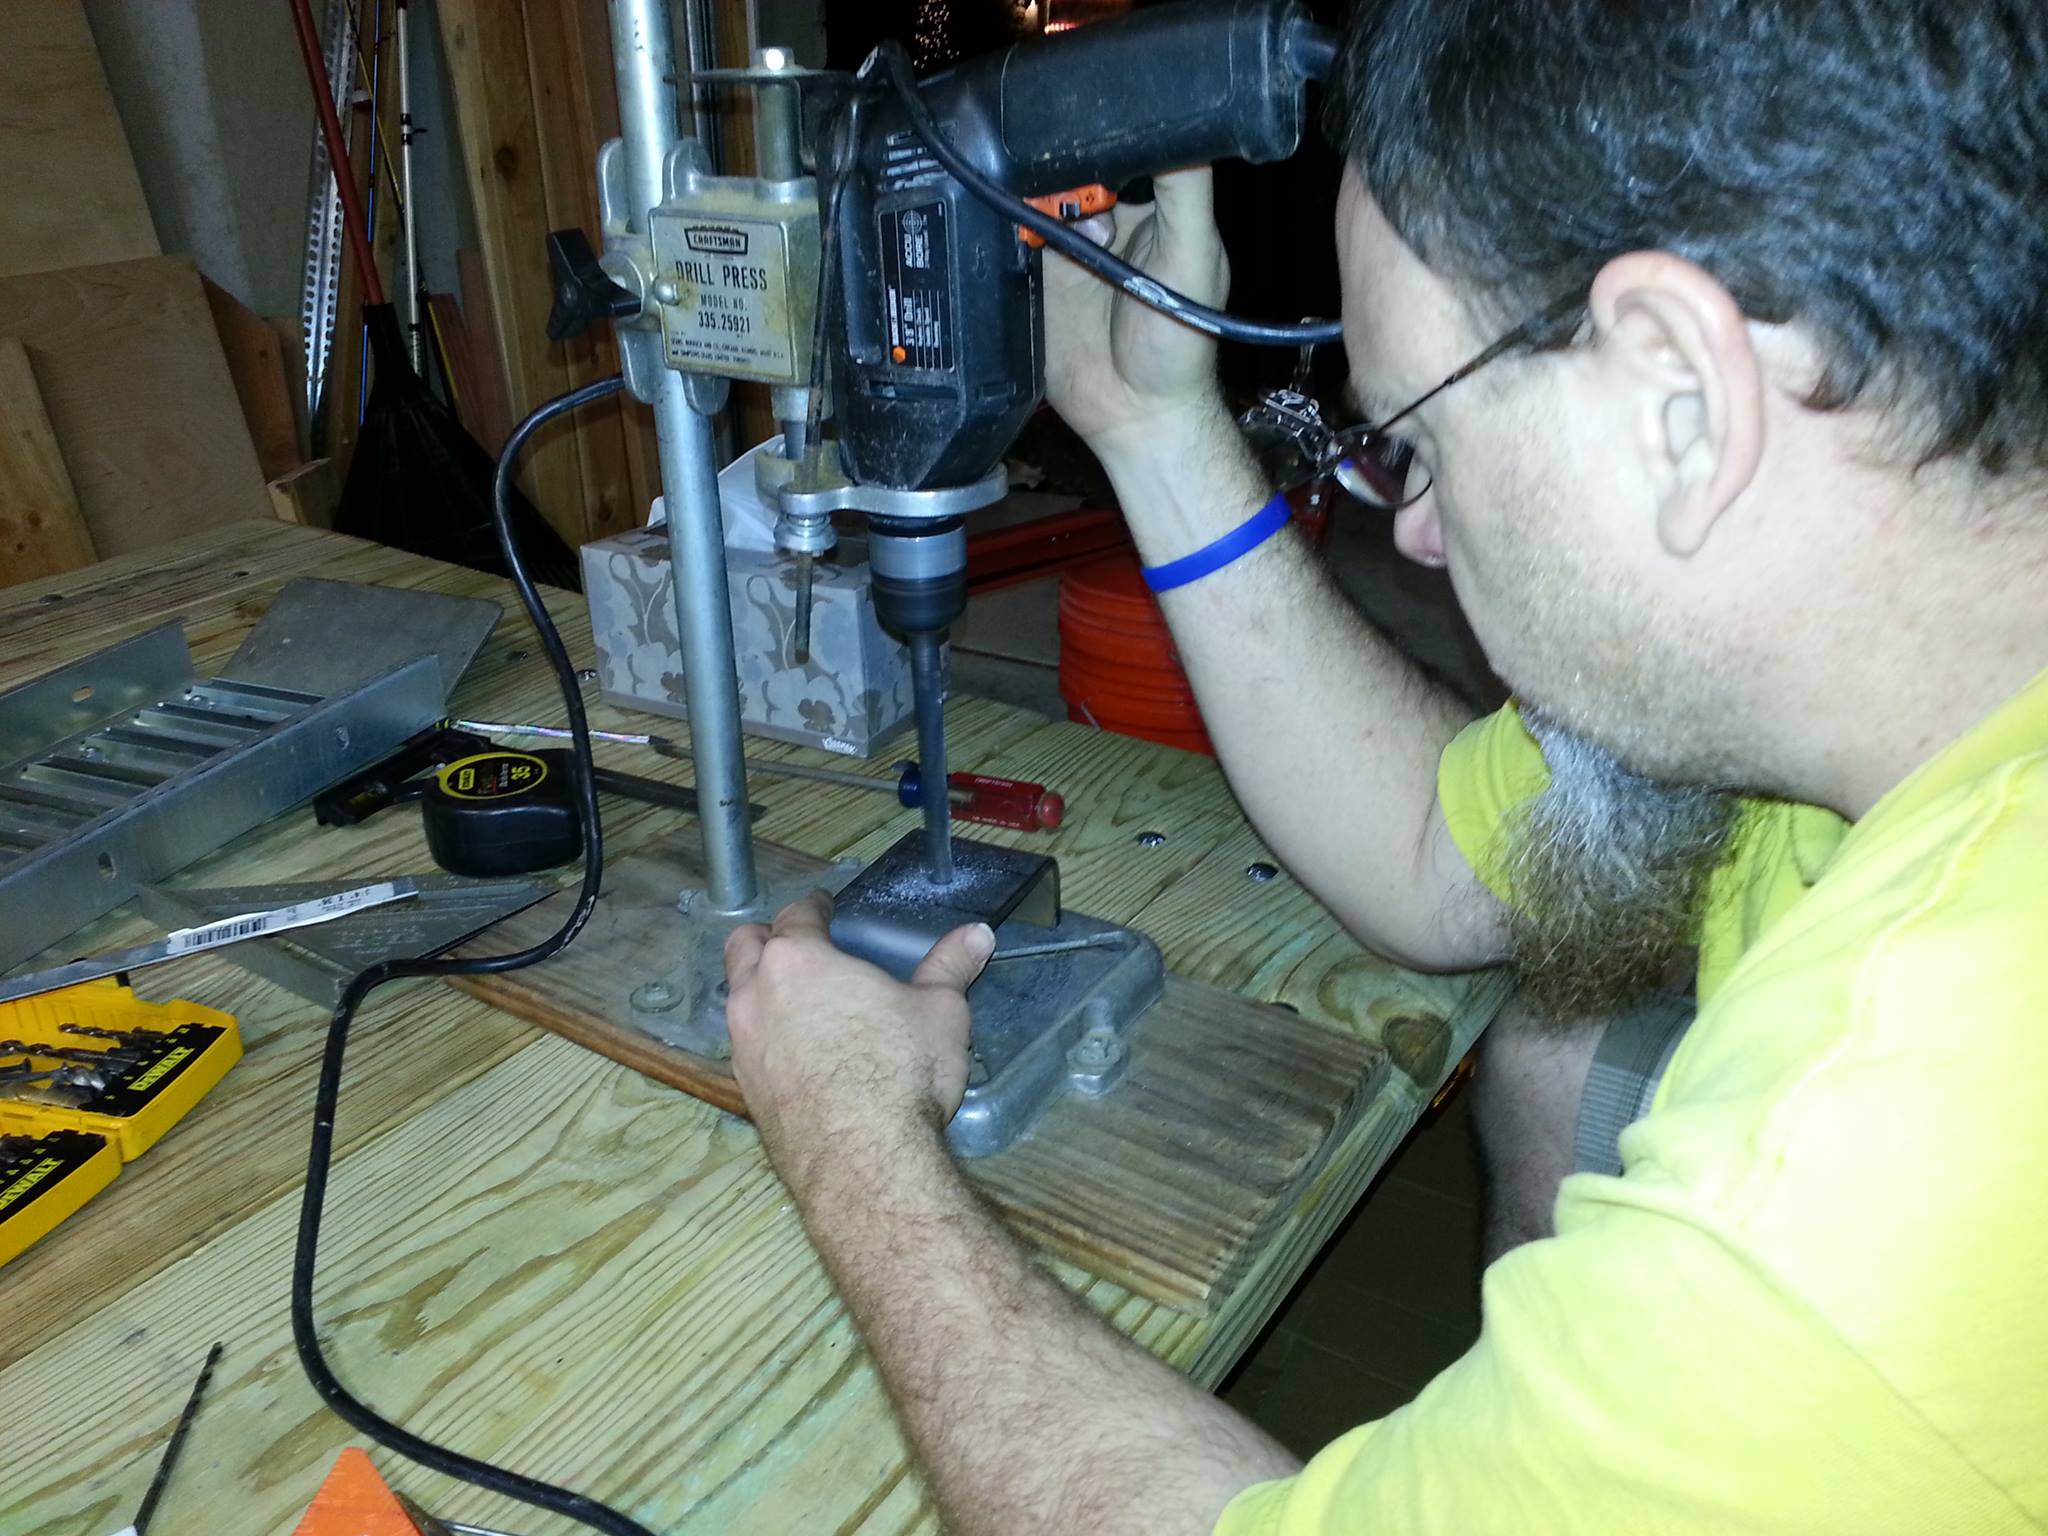
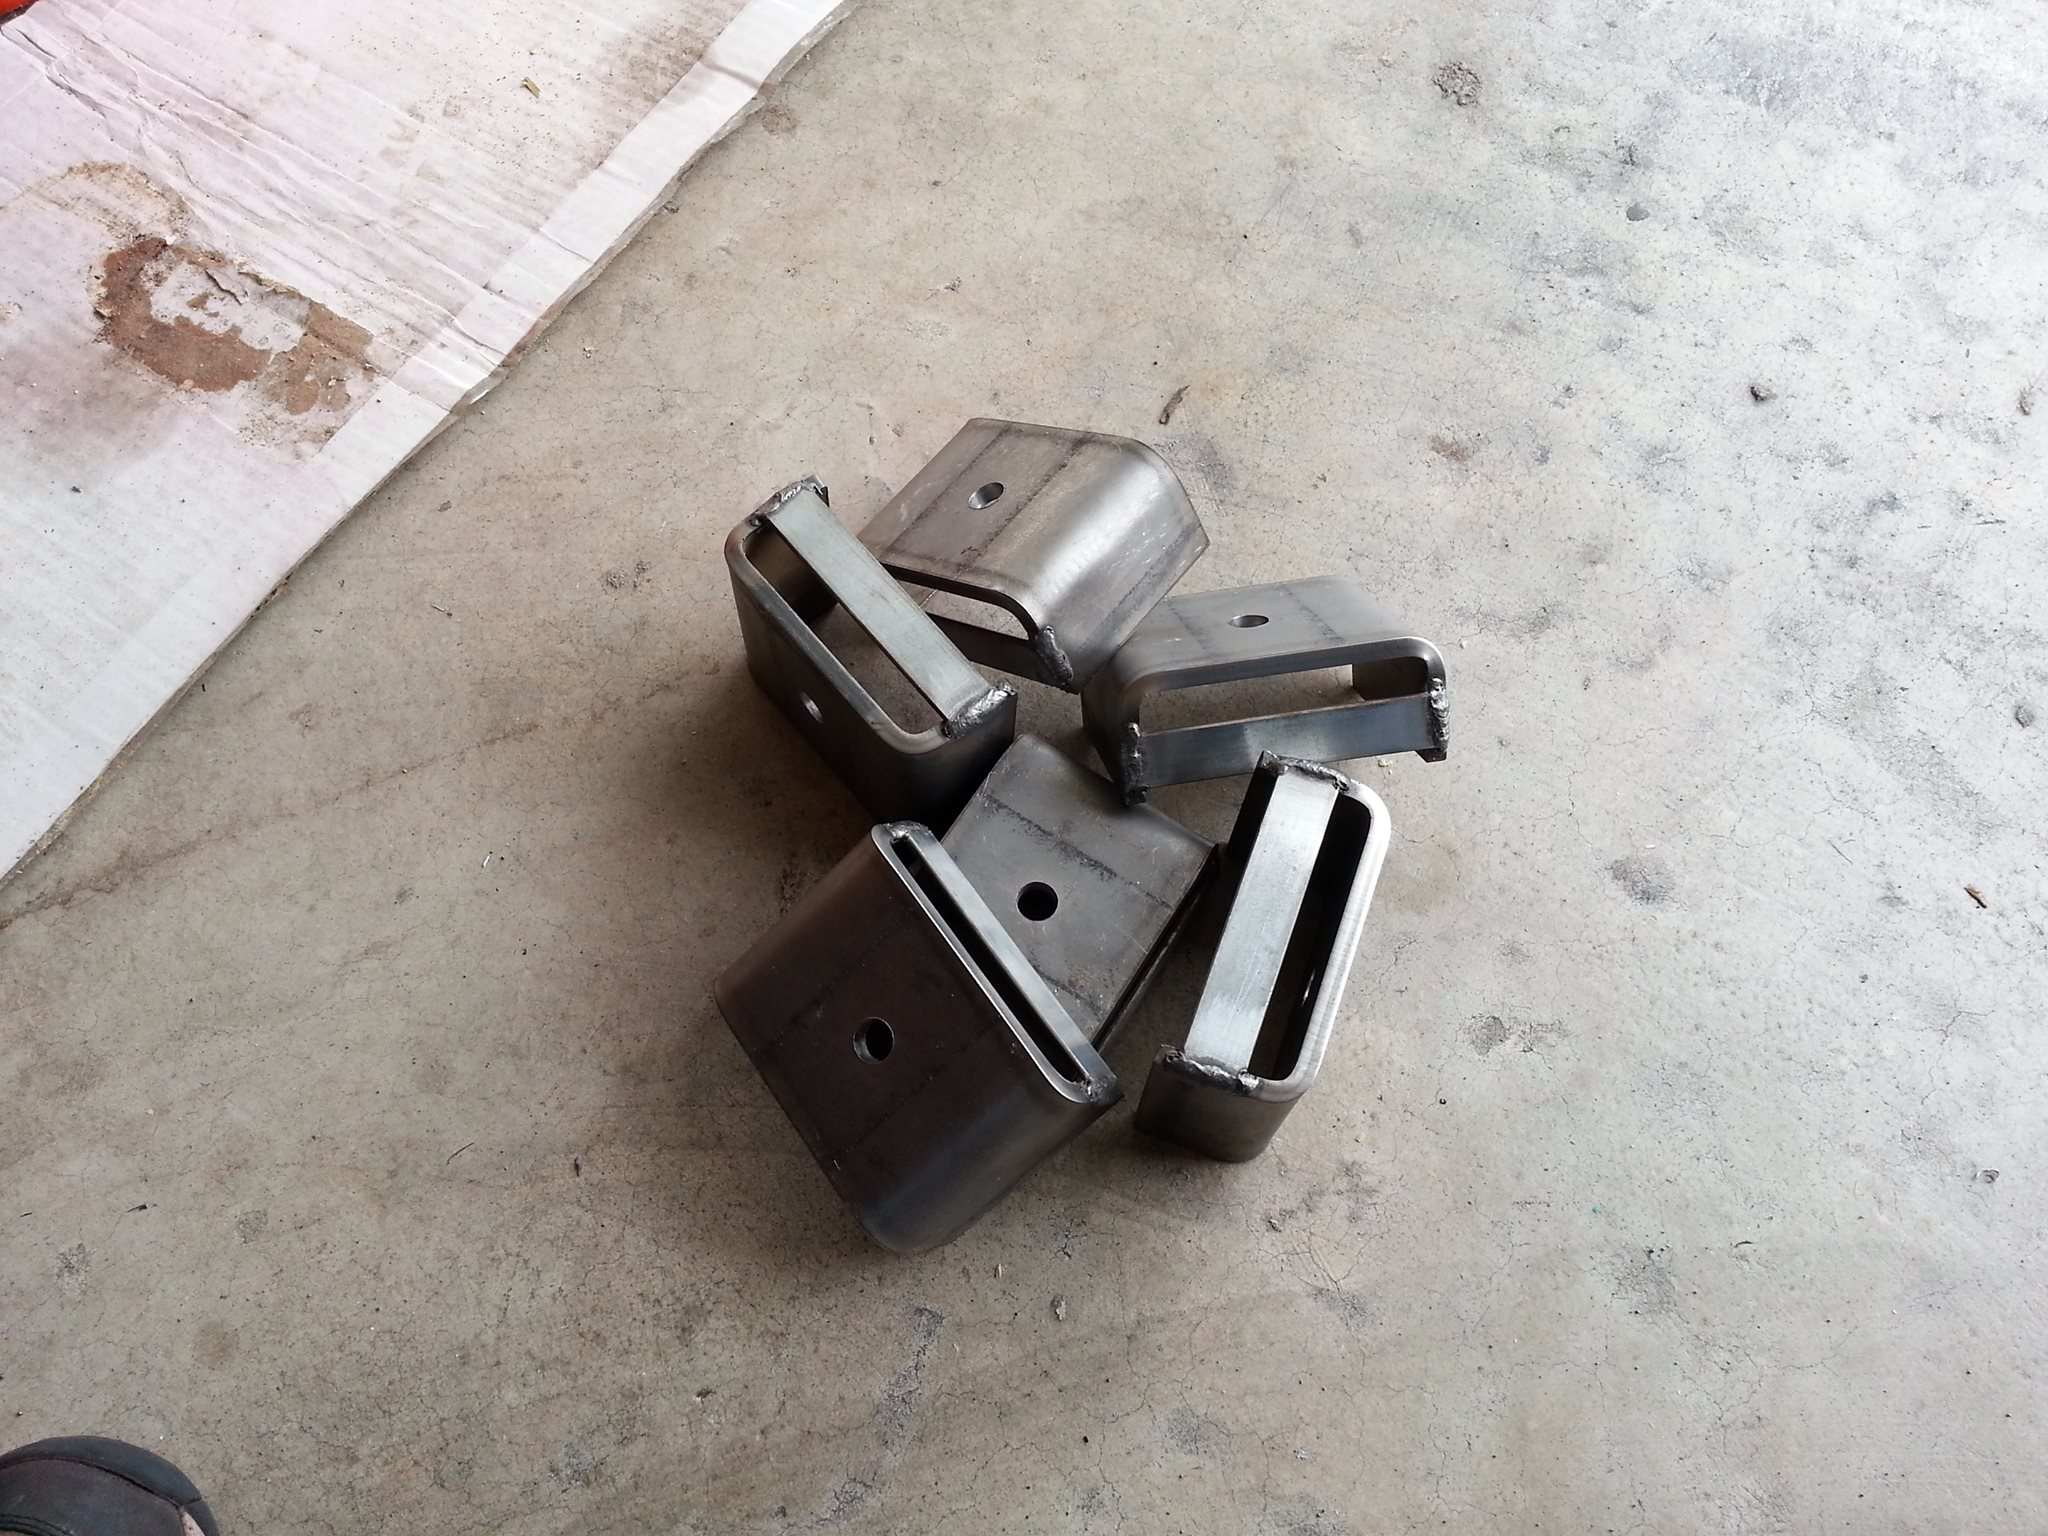
I ordered some weld-on trailer stake pockets and these will be welded onto the trailer around the outside as I do not want to use the built-in stake holders. I bored a hole in the center of each stake pocket for the 1/2" hitch pin. This "drill press" was one of the items my Grandma left me when she passed with a cheap Black and Decker I purchased years ago. Teamed up they did a great job.
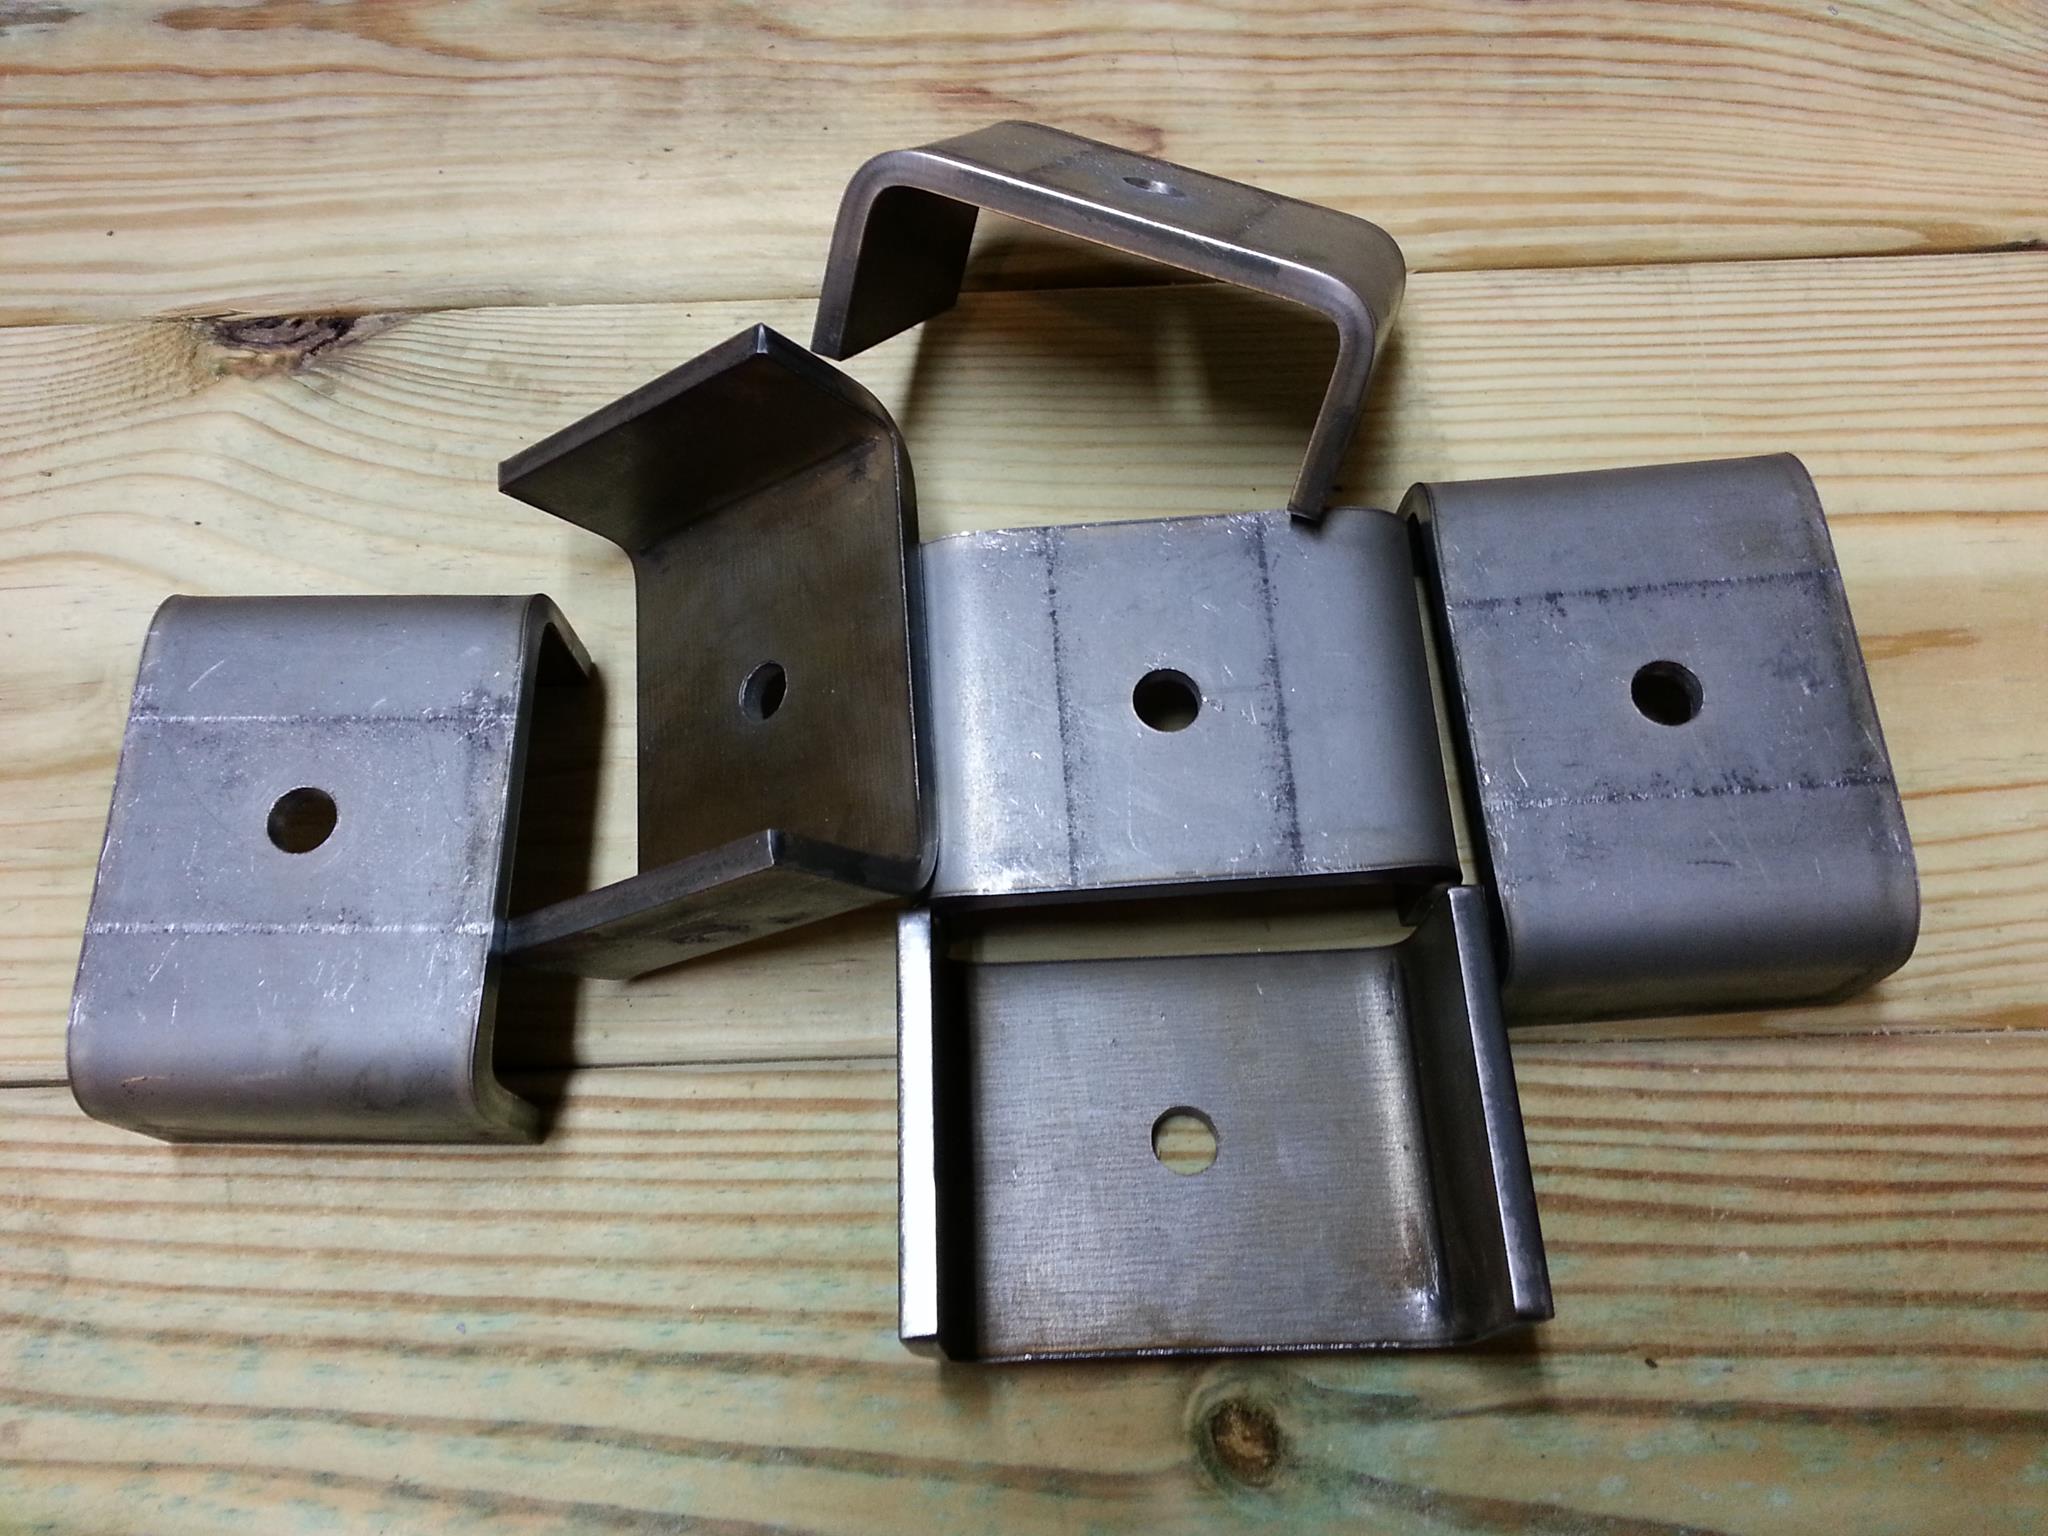
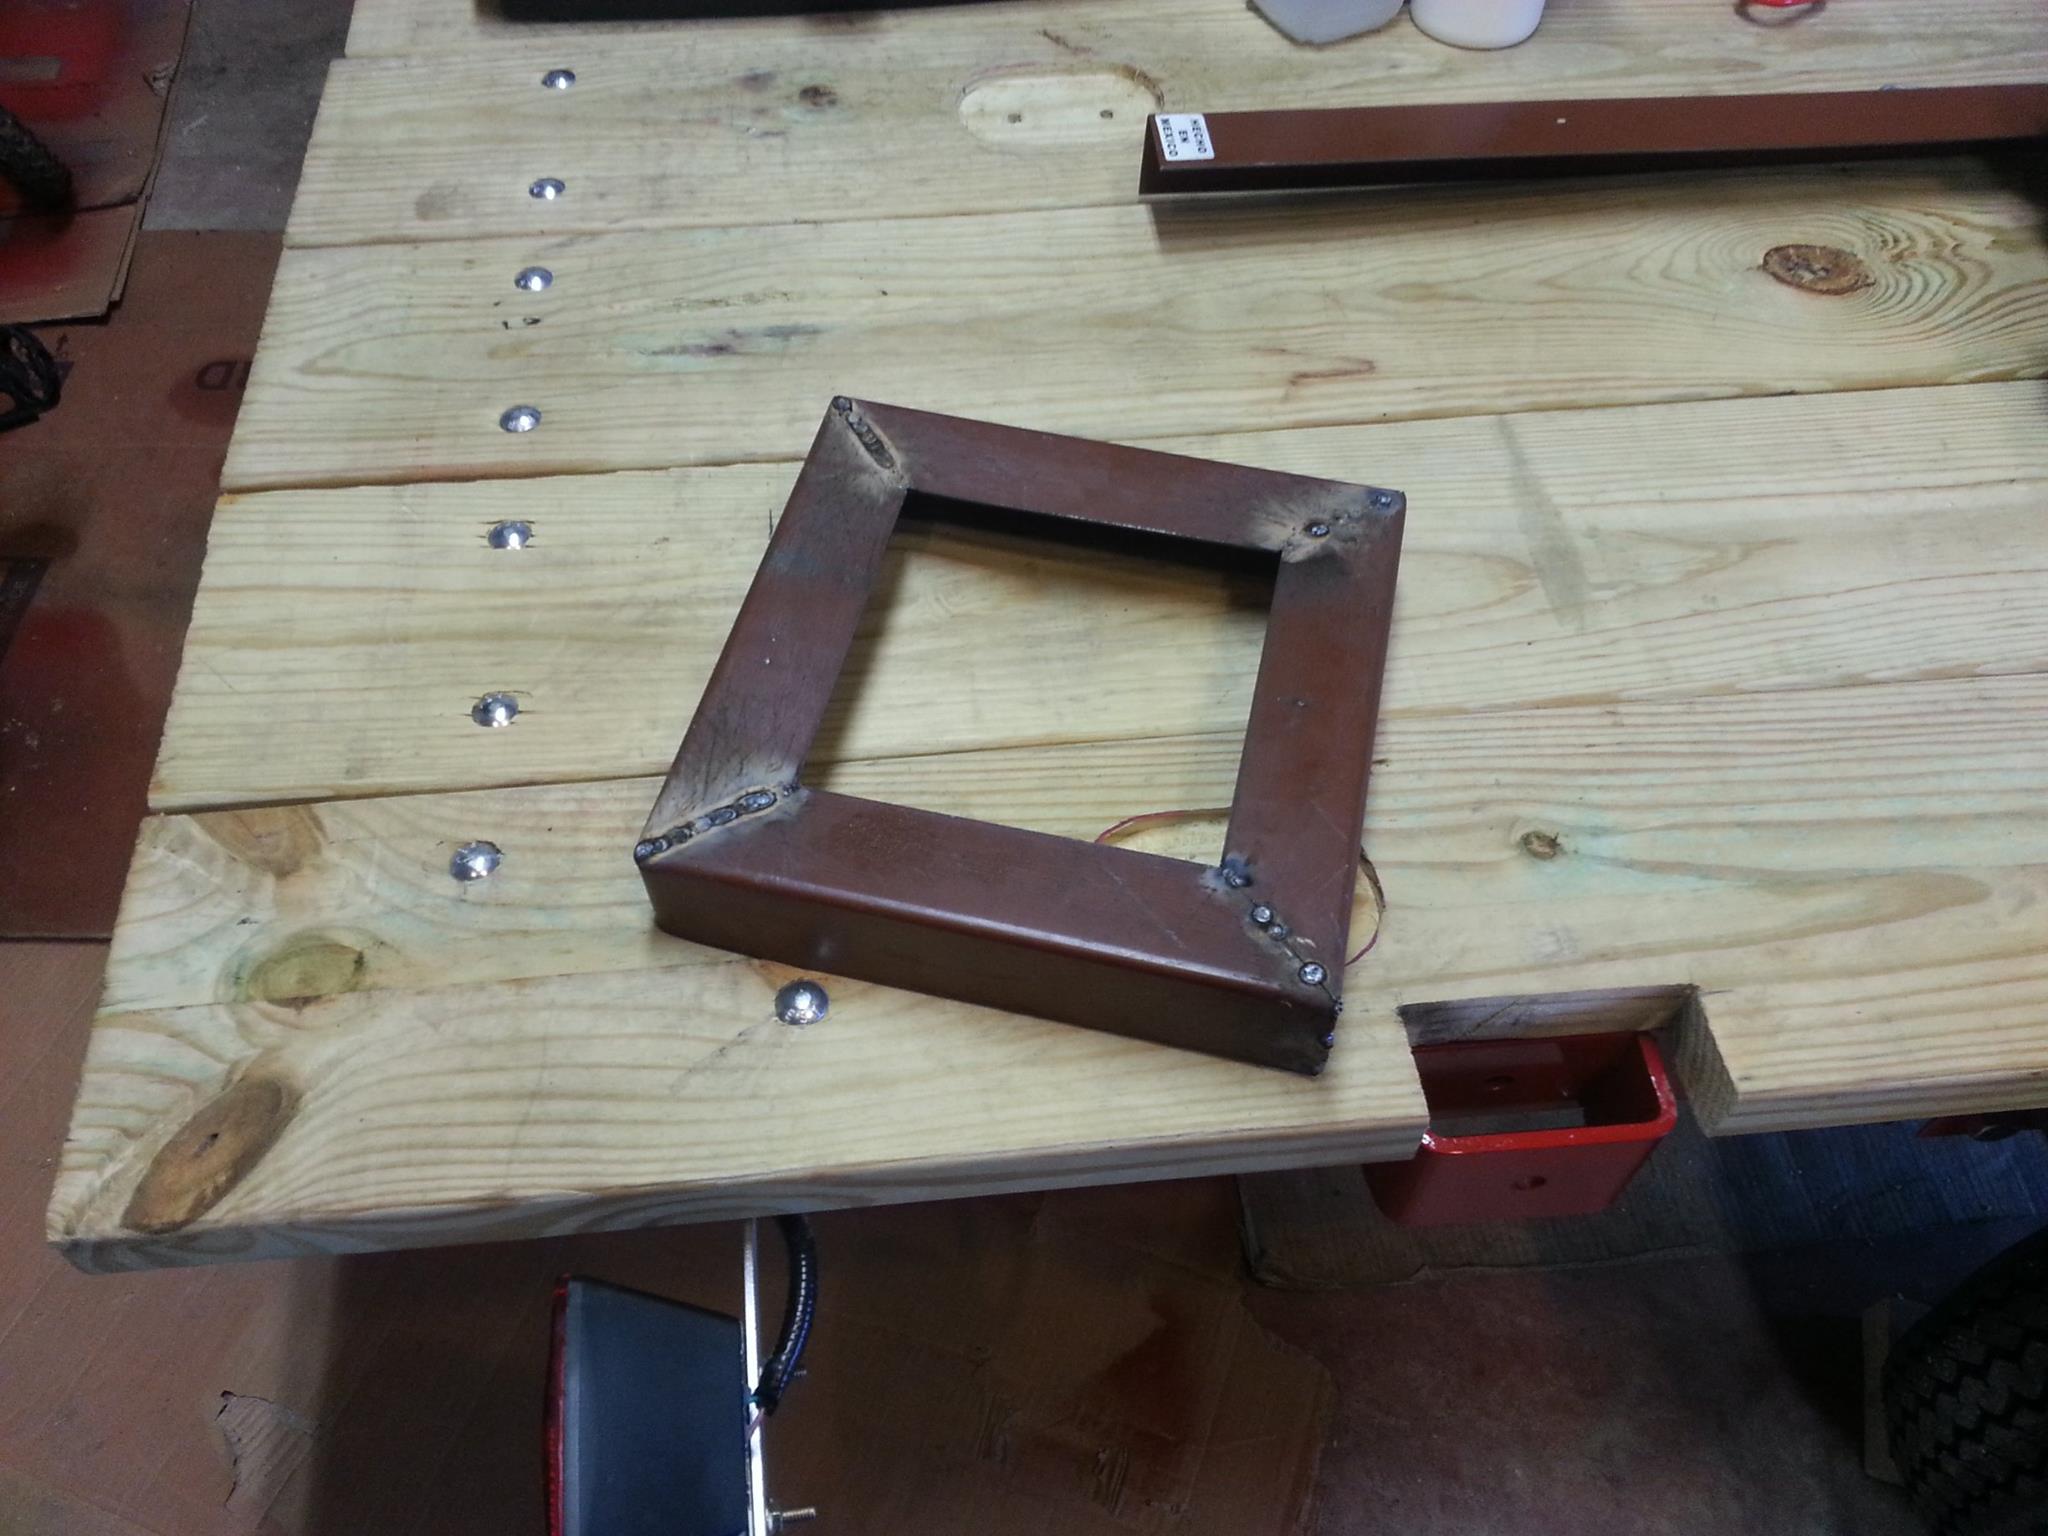
There is something so visceral about welding. To me it is almost primal in nature, I love the feeling of permanently attaching two pieces of metal together. Anyway, the stake pockets now have their bases welded on.

Primed and painted. I decided to paint these before I welded them on as I hoped the paint would stay during the welding process. This was a mistake as it simply cooked right off.
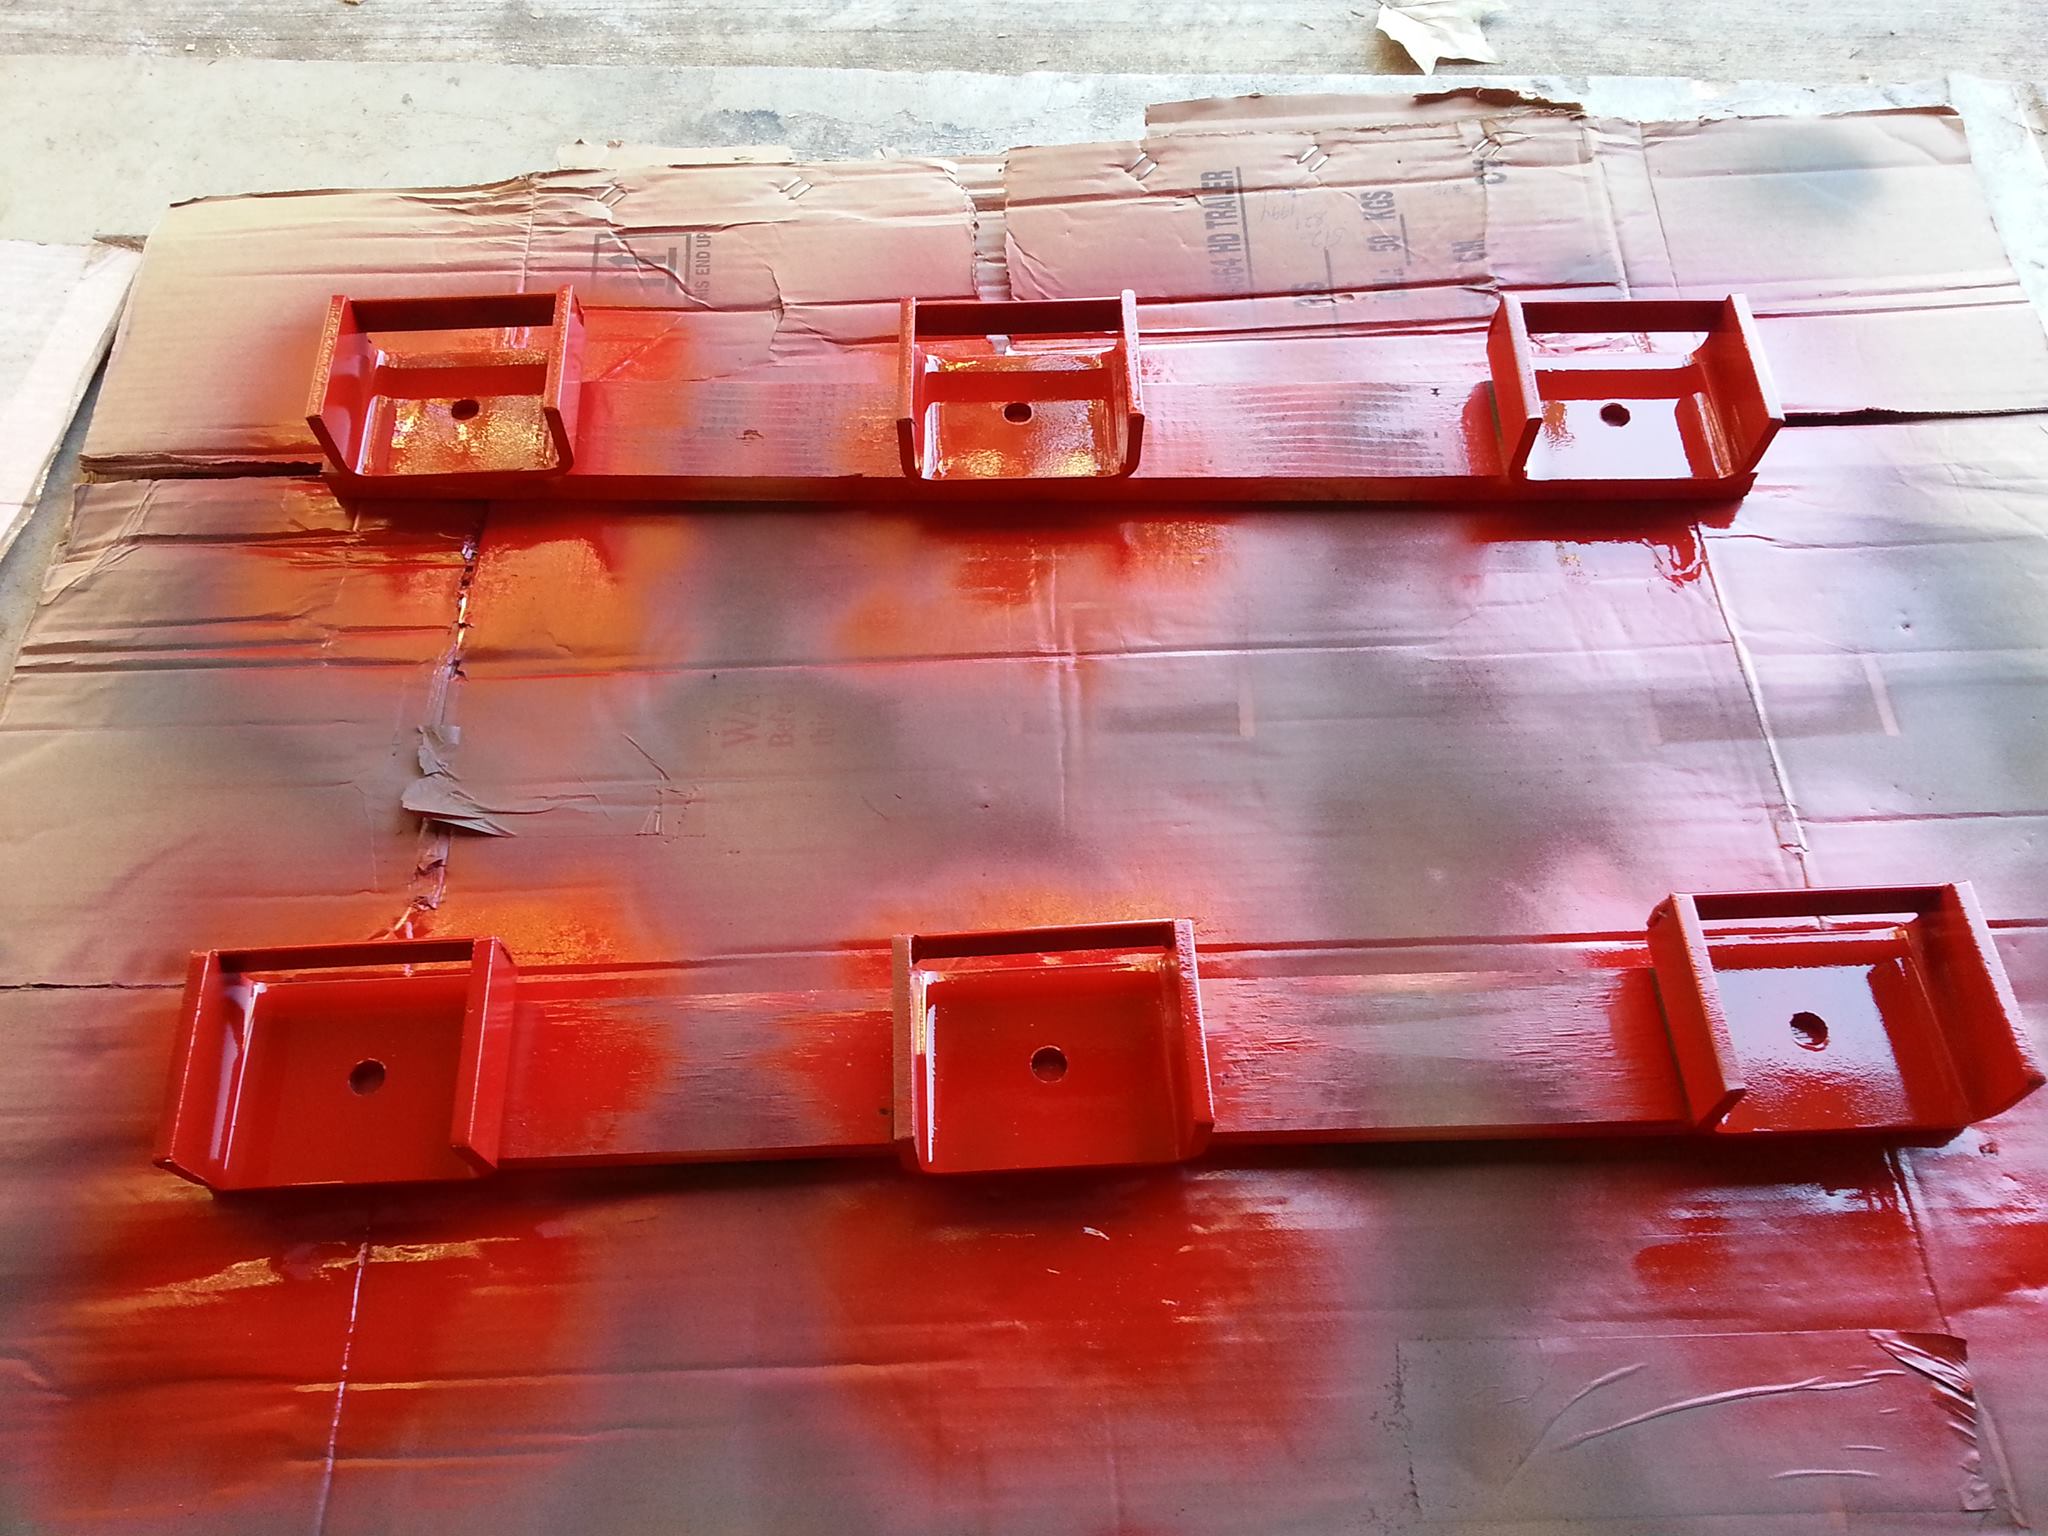
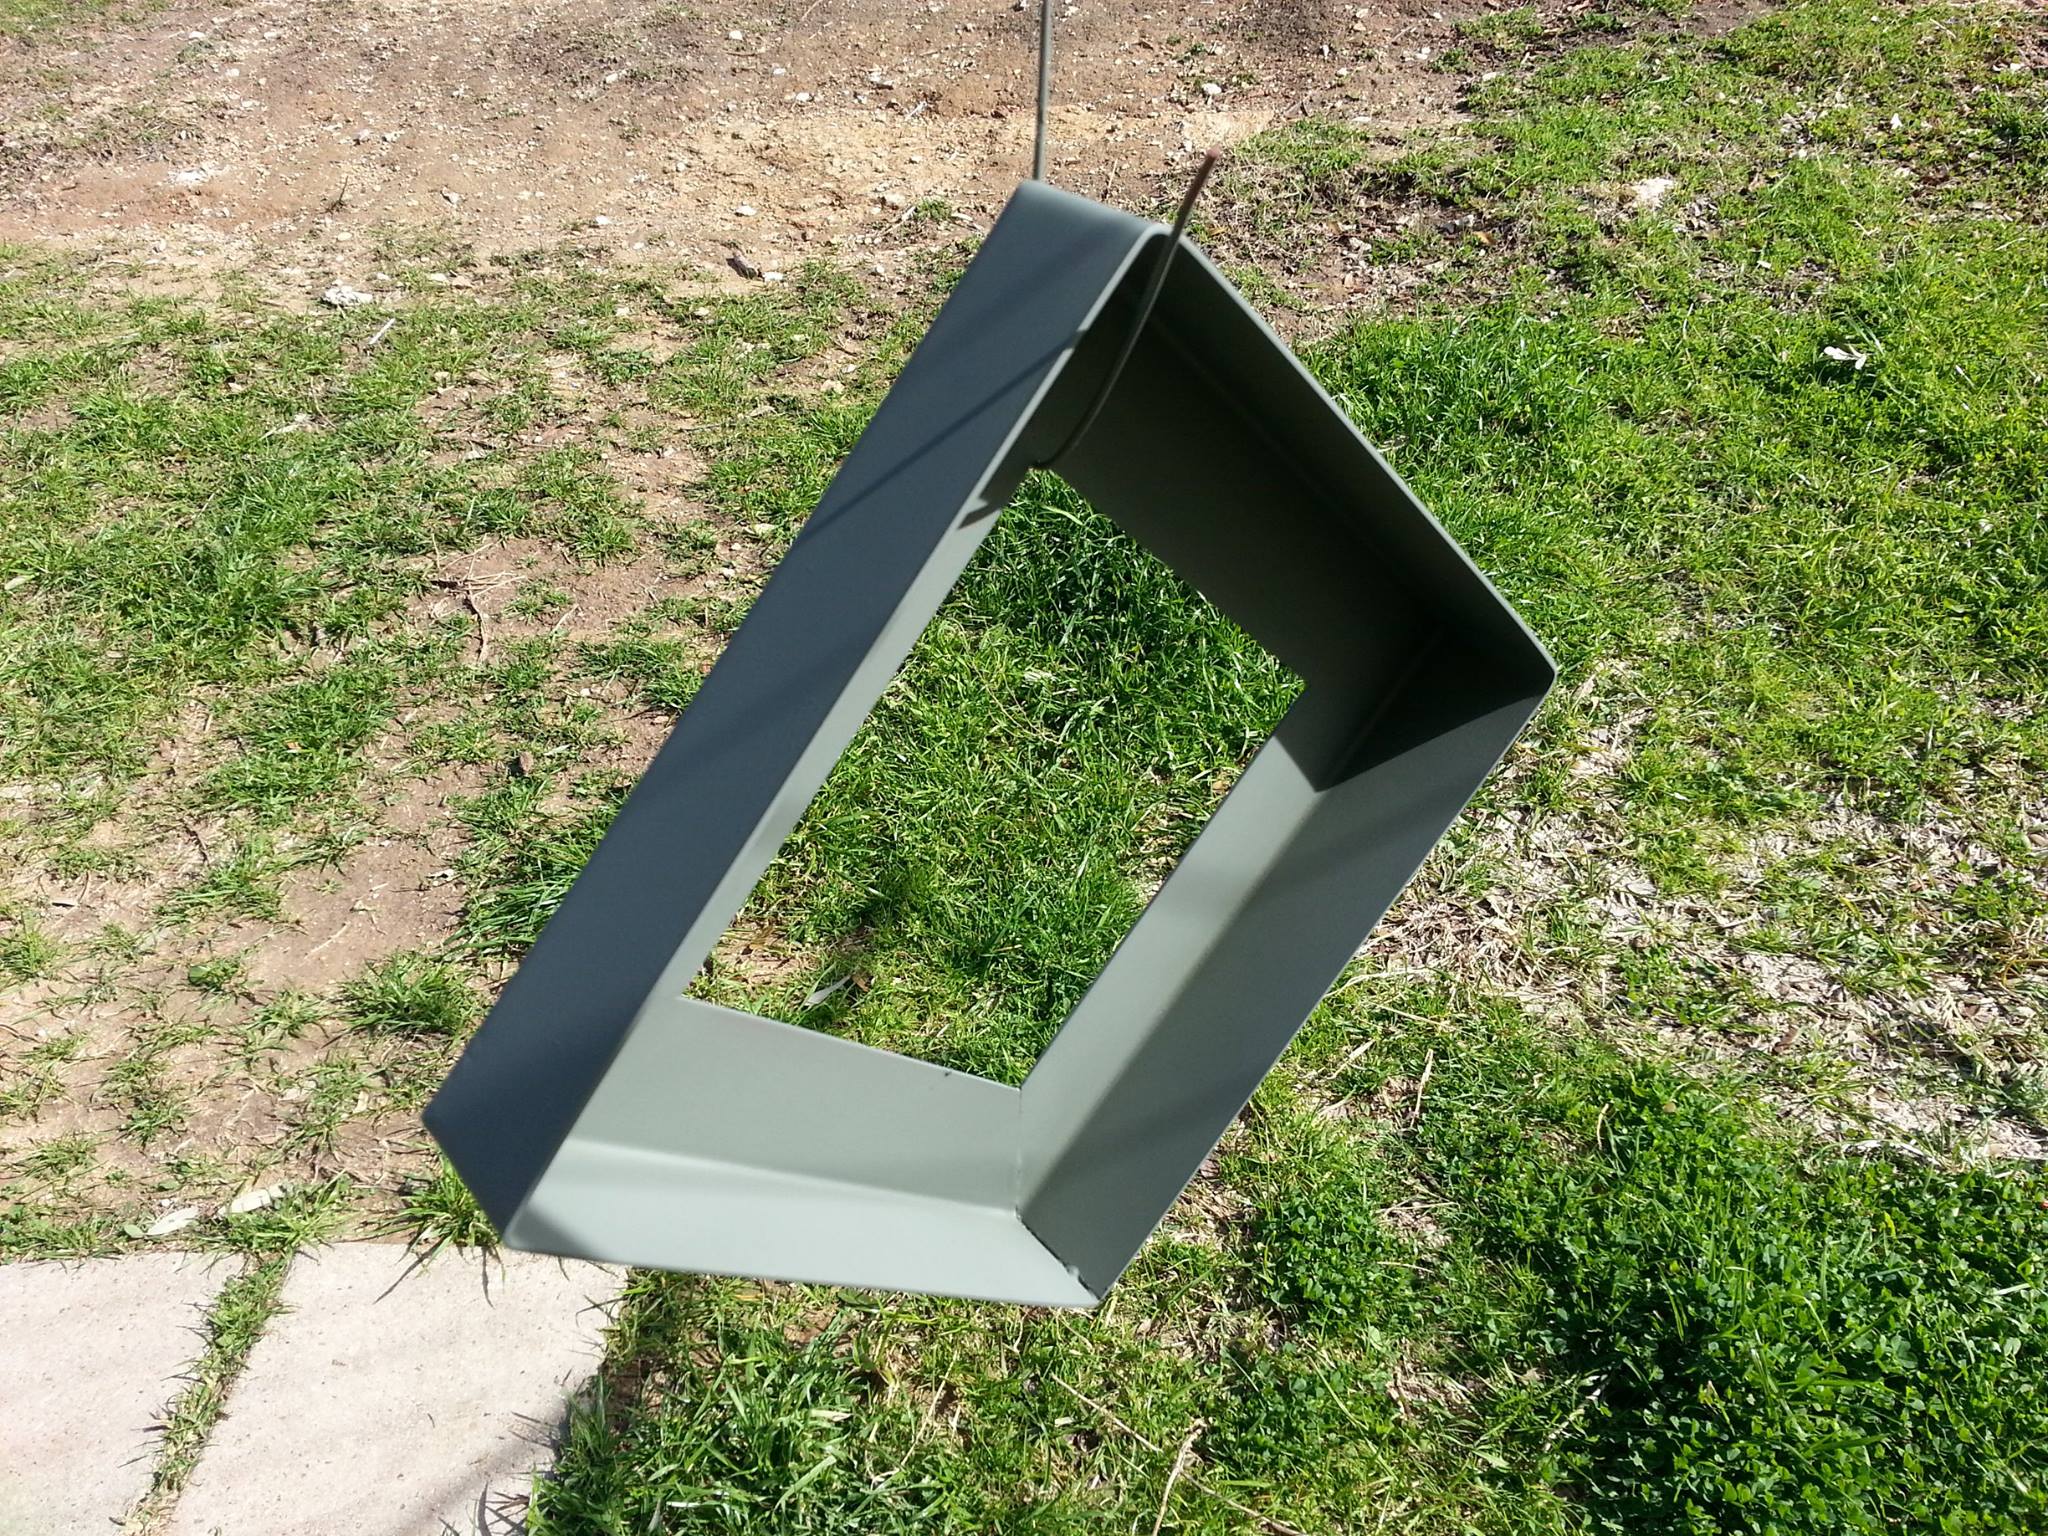
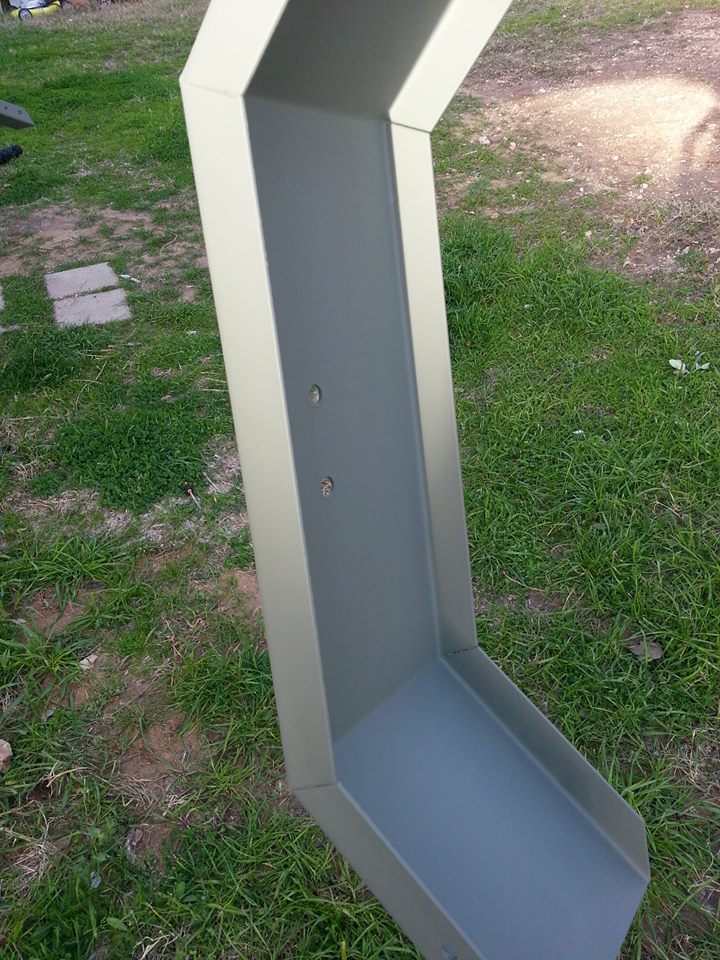
The stake pockets were welded to the side of the trailer, primed and painted.


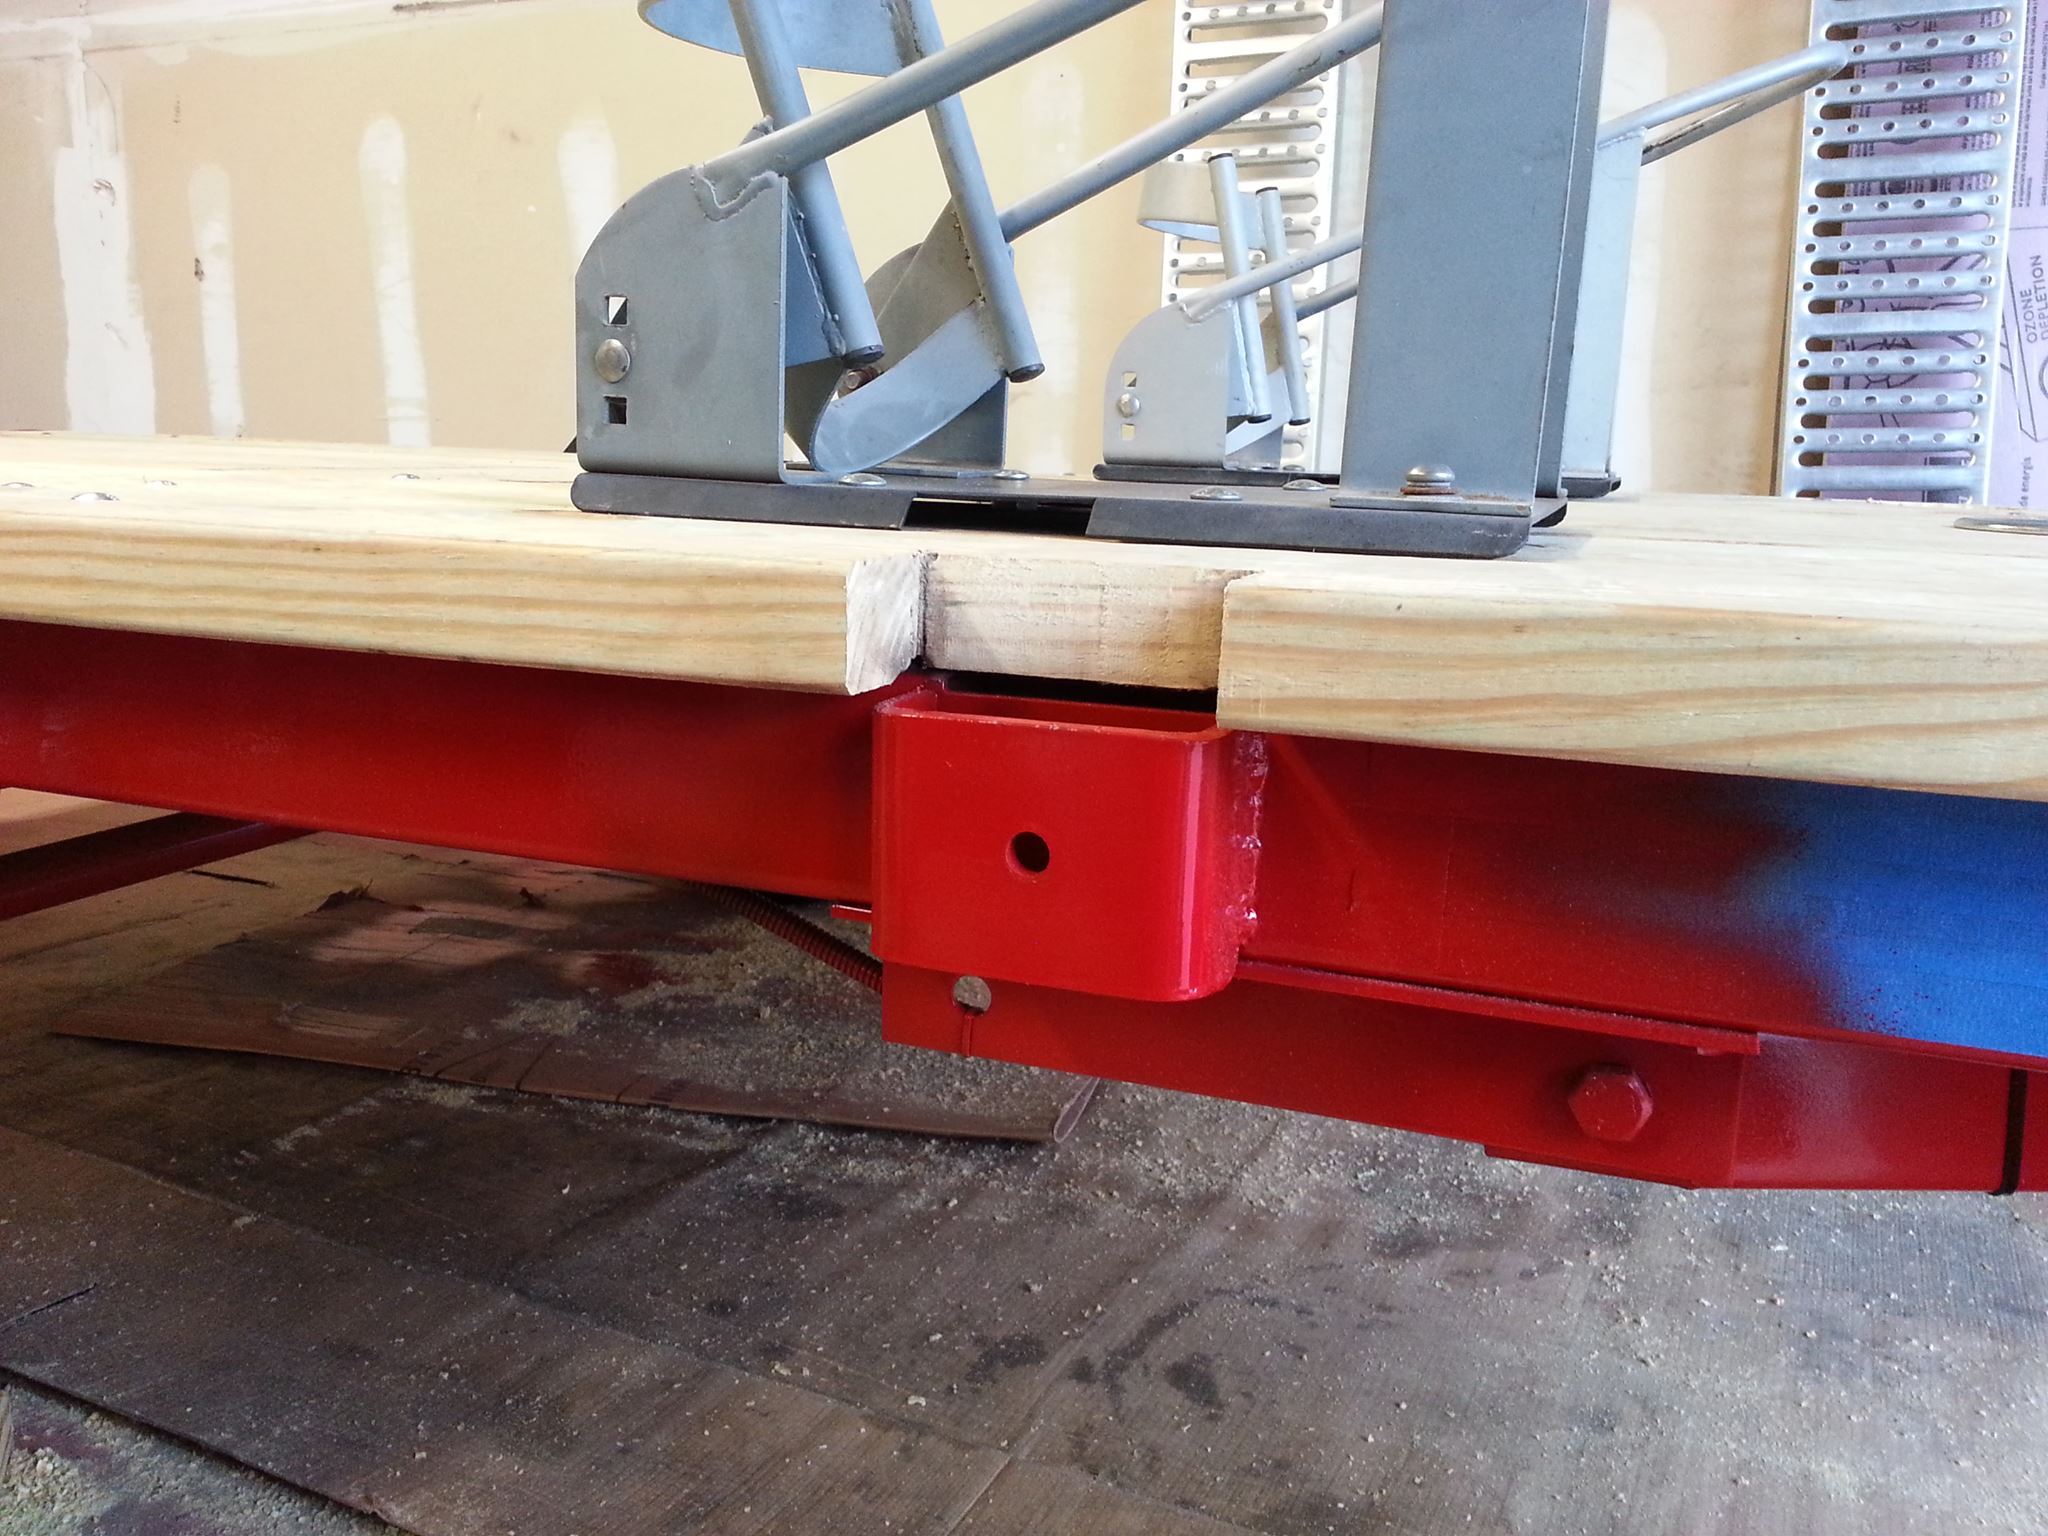
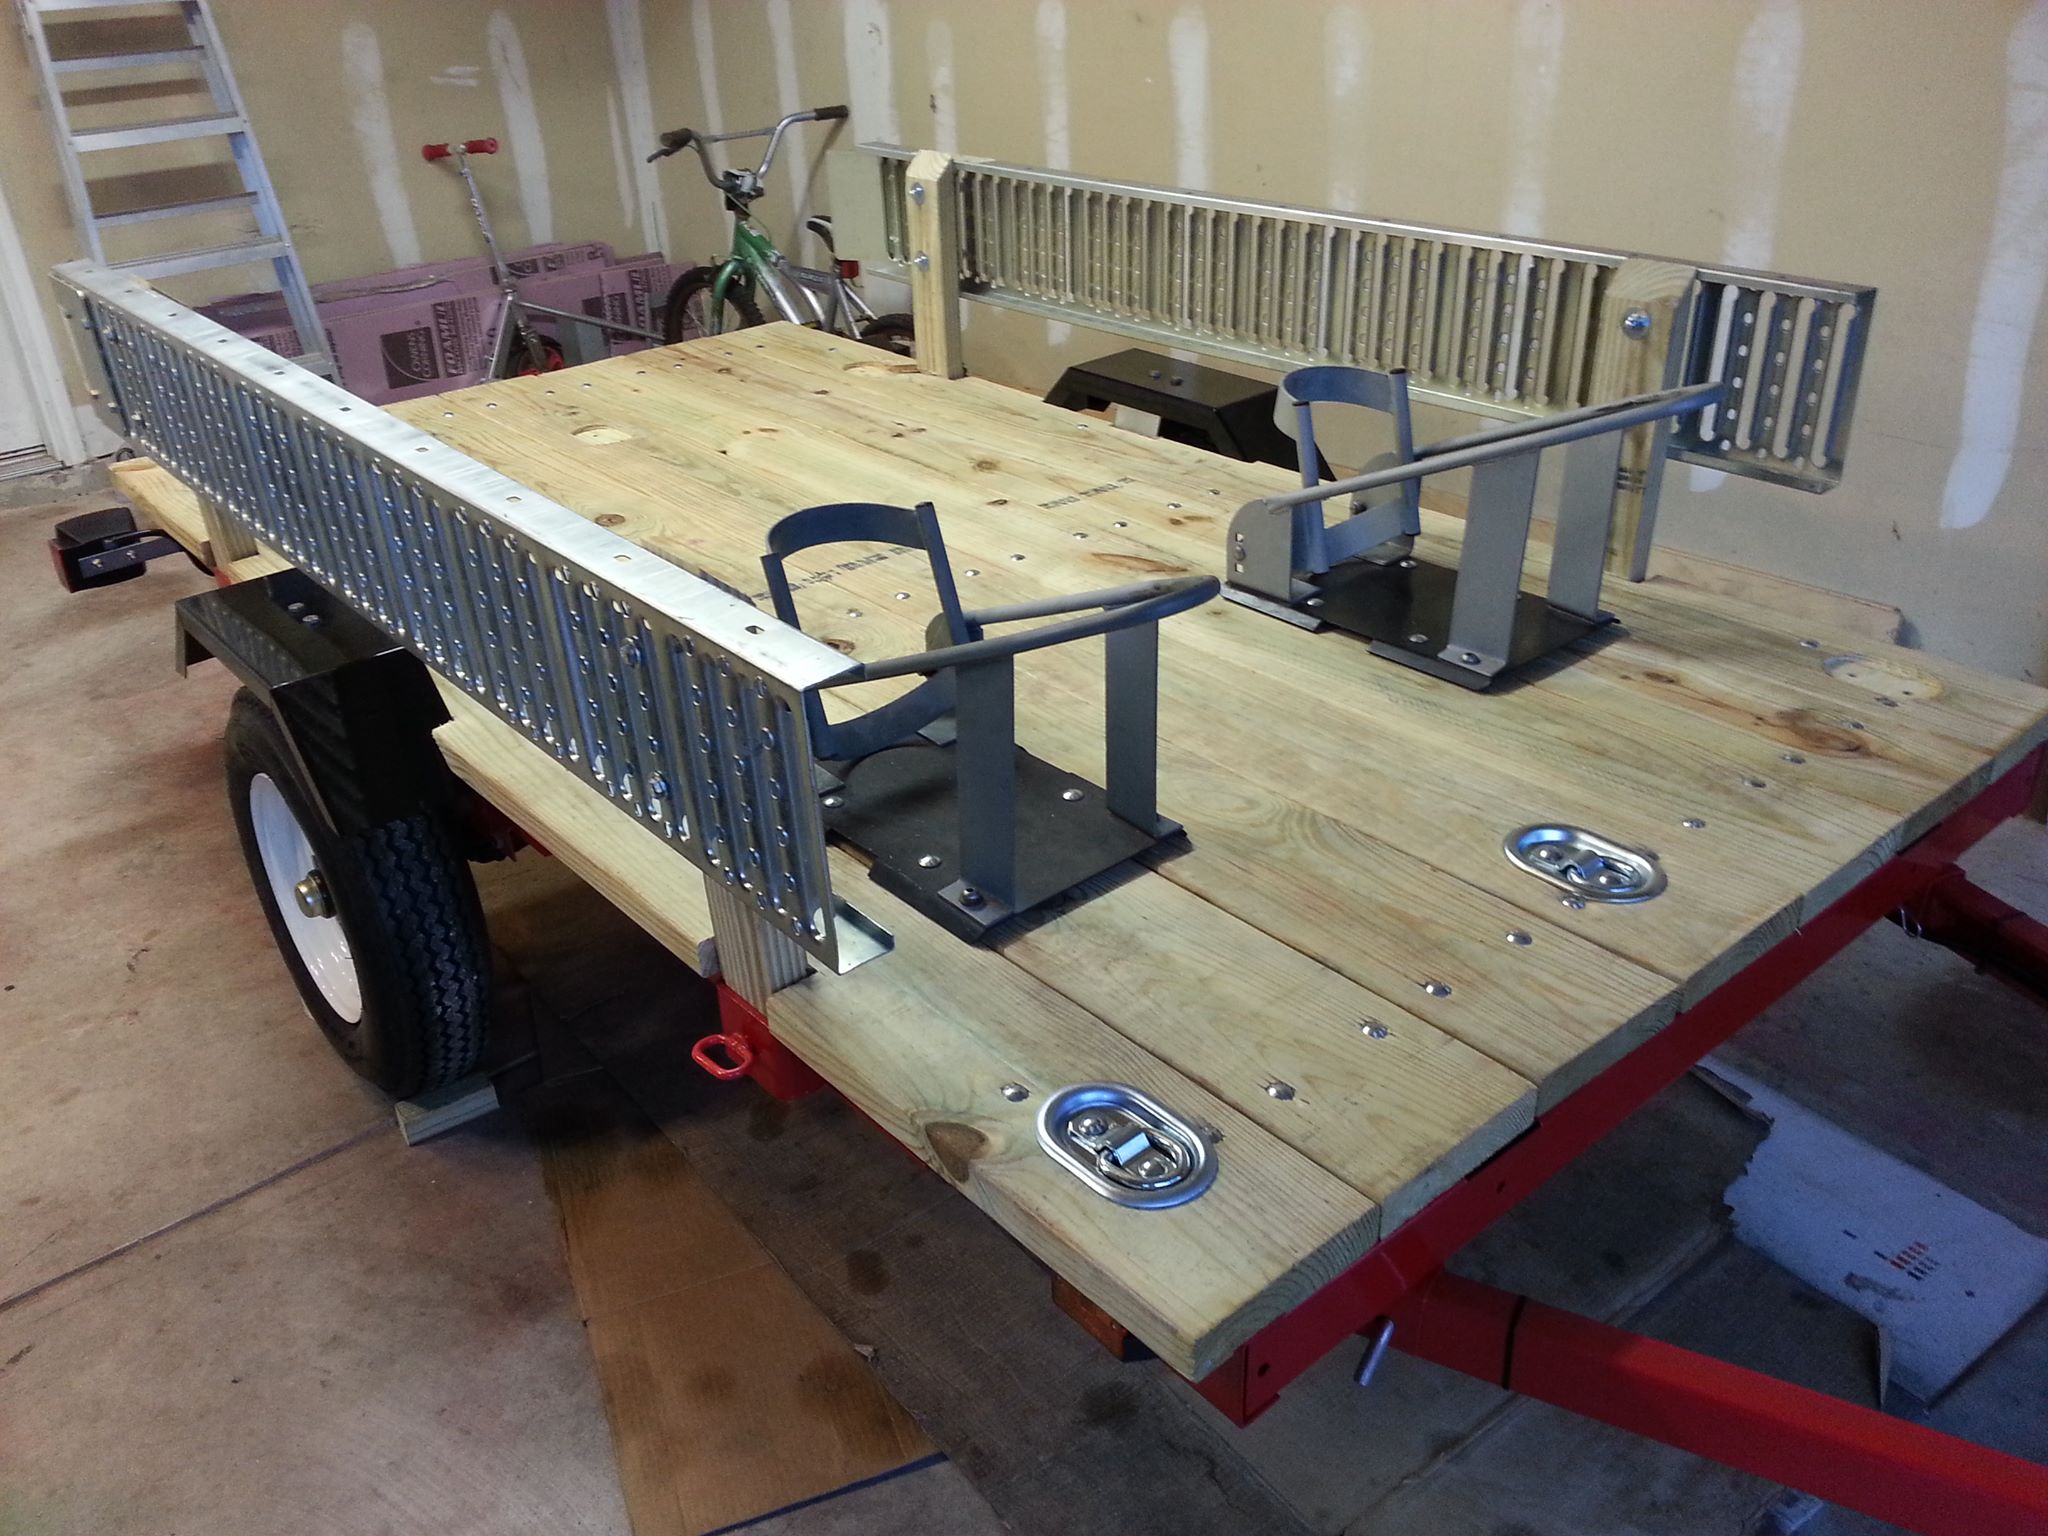
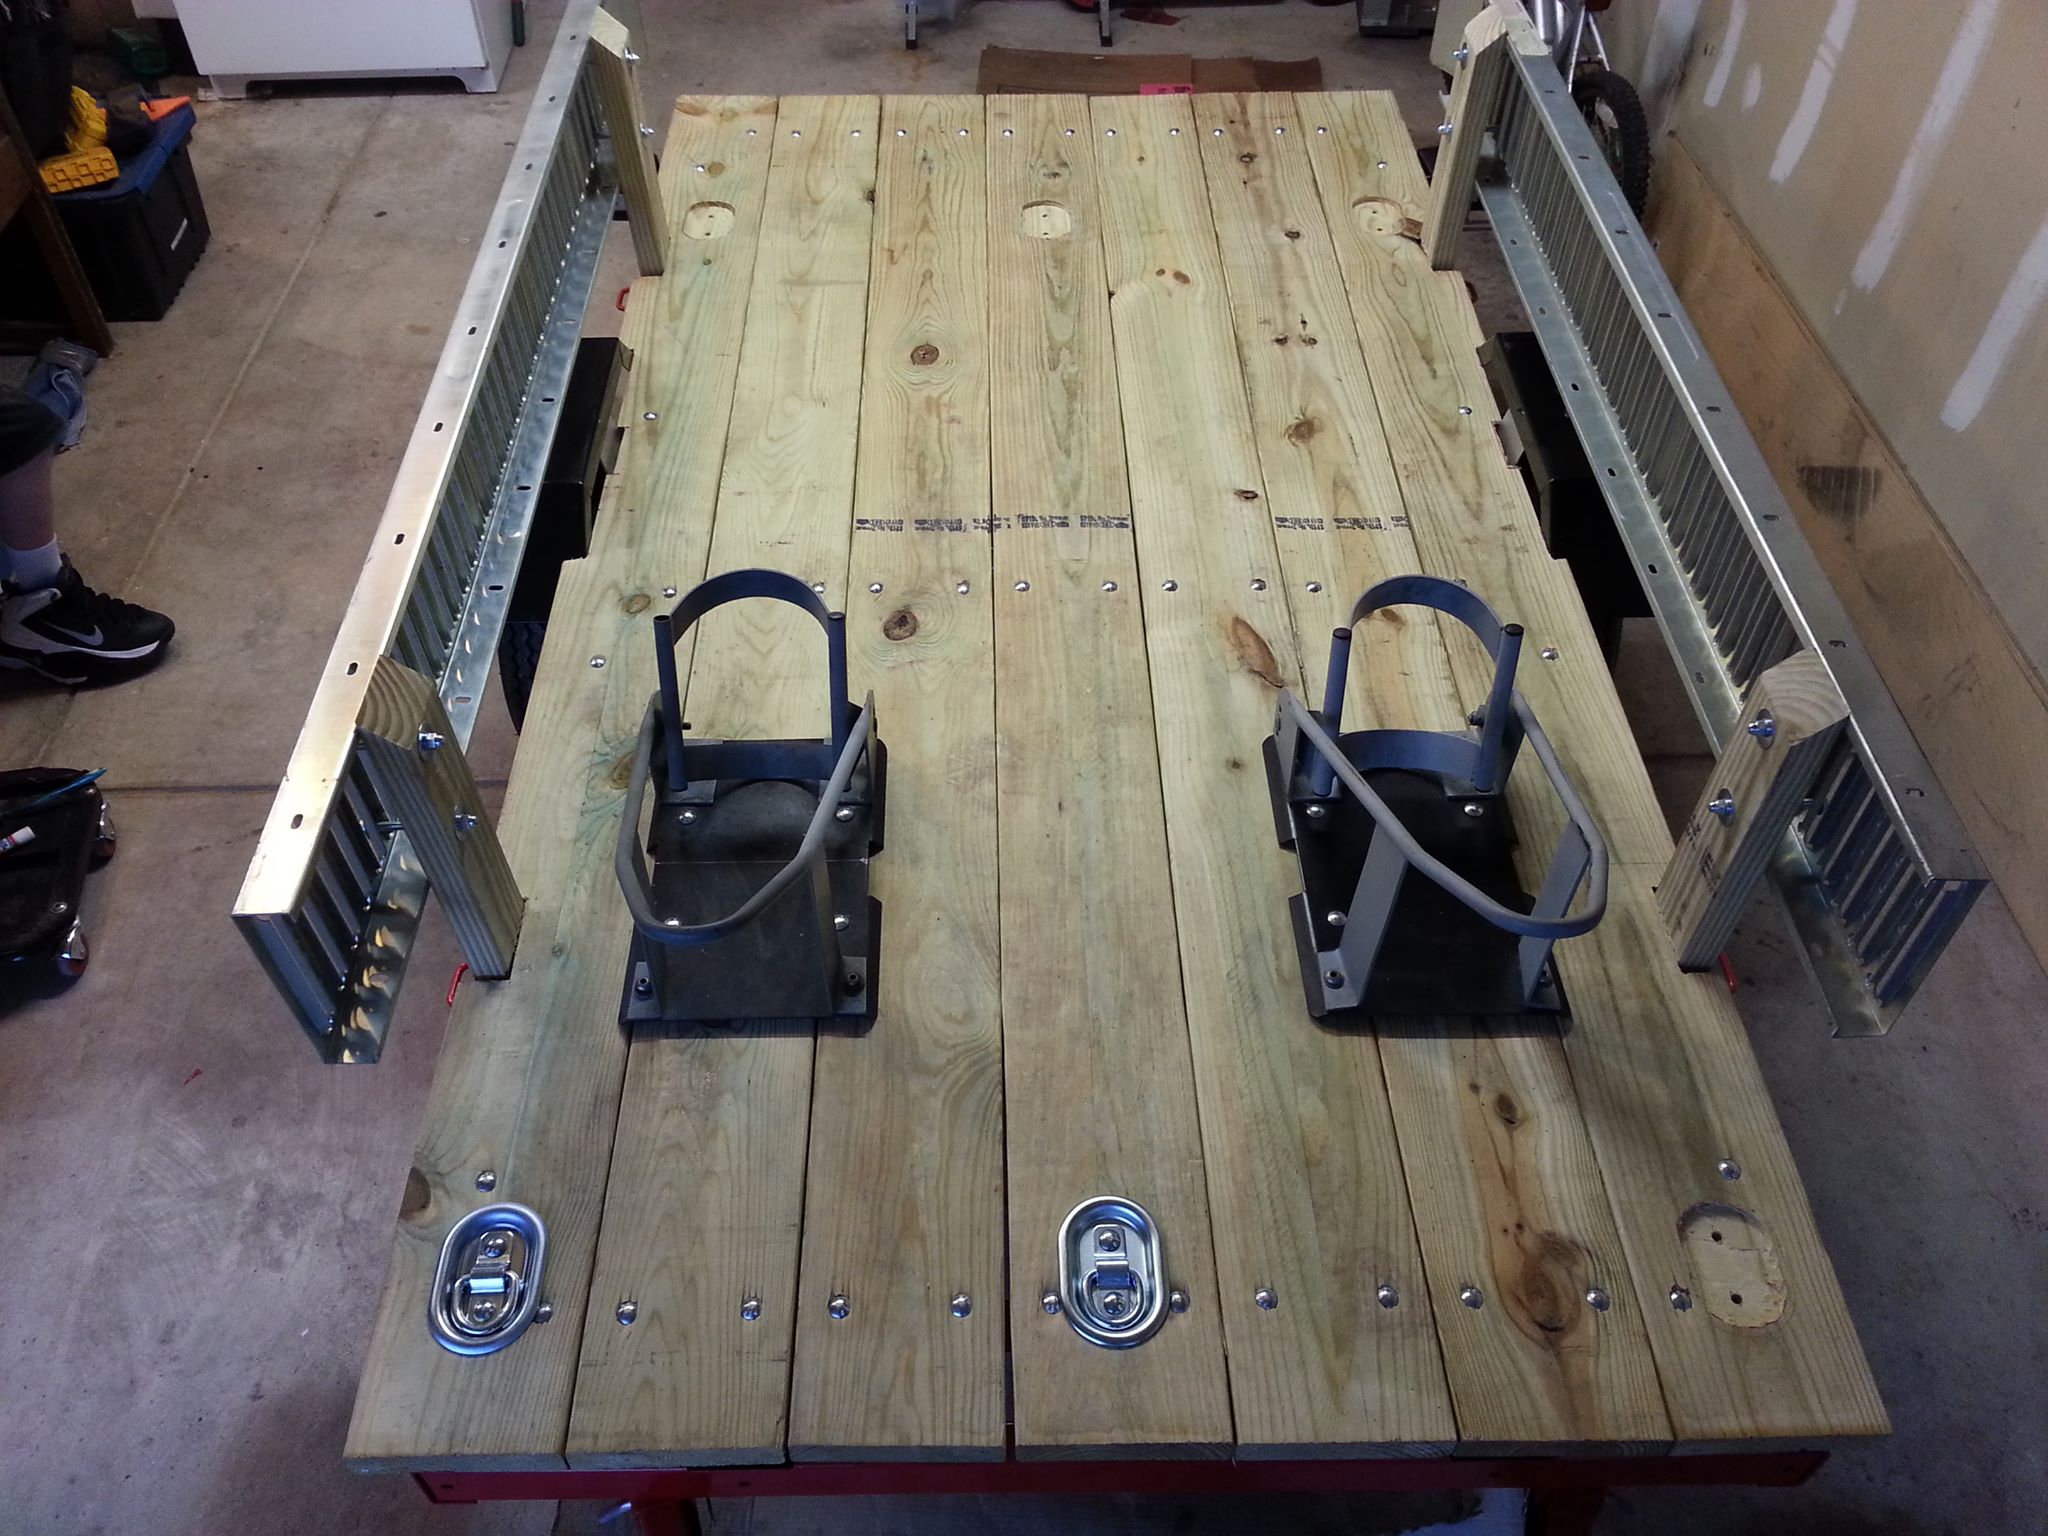
To transport my ramps I bolted two small stakes to these ramps (from Harbor Freight as well) and insert them into the stake holders I welded on. Plenty of clearance all around and held in with 1/2" hitch pin. To remove the ramps I simply remove the R-clip from the backside of the 1/2" hitch pin. I then remove the hitch pin and the pressure treated 2X4 slides up and out with the ramp. You can also see the front chocks we mounted later on in the project, for now they are eyeballed and set in place. Once again, these are from Harbor Freight and do a wonderful job.
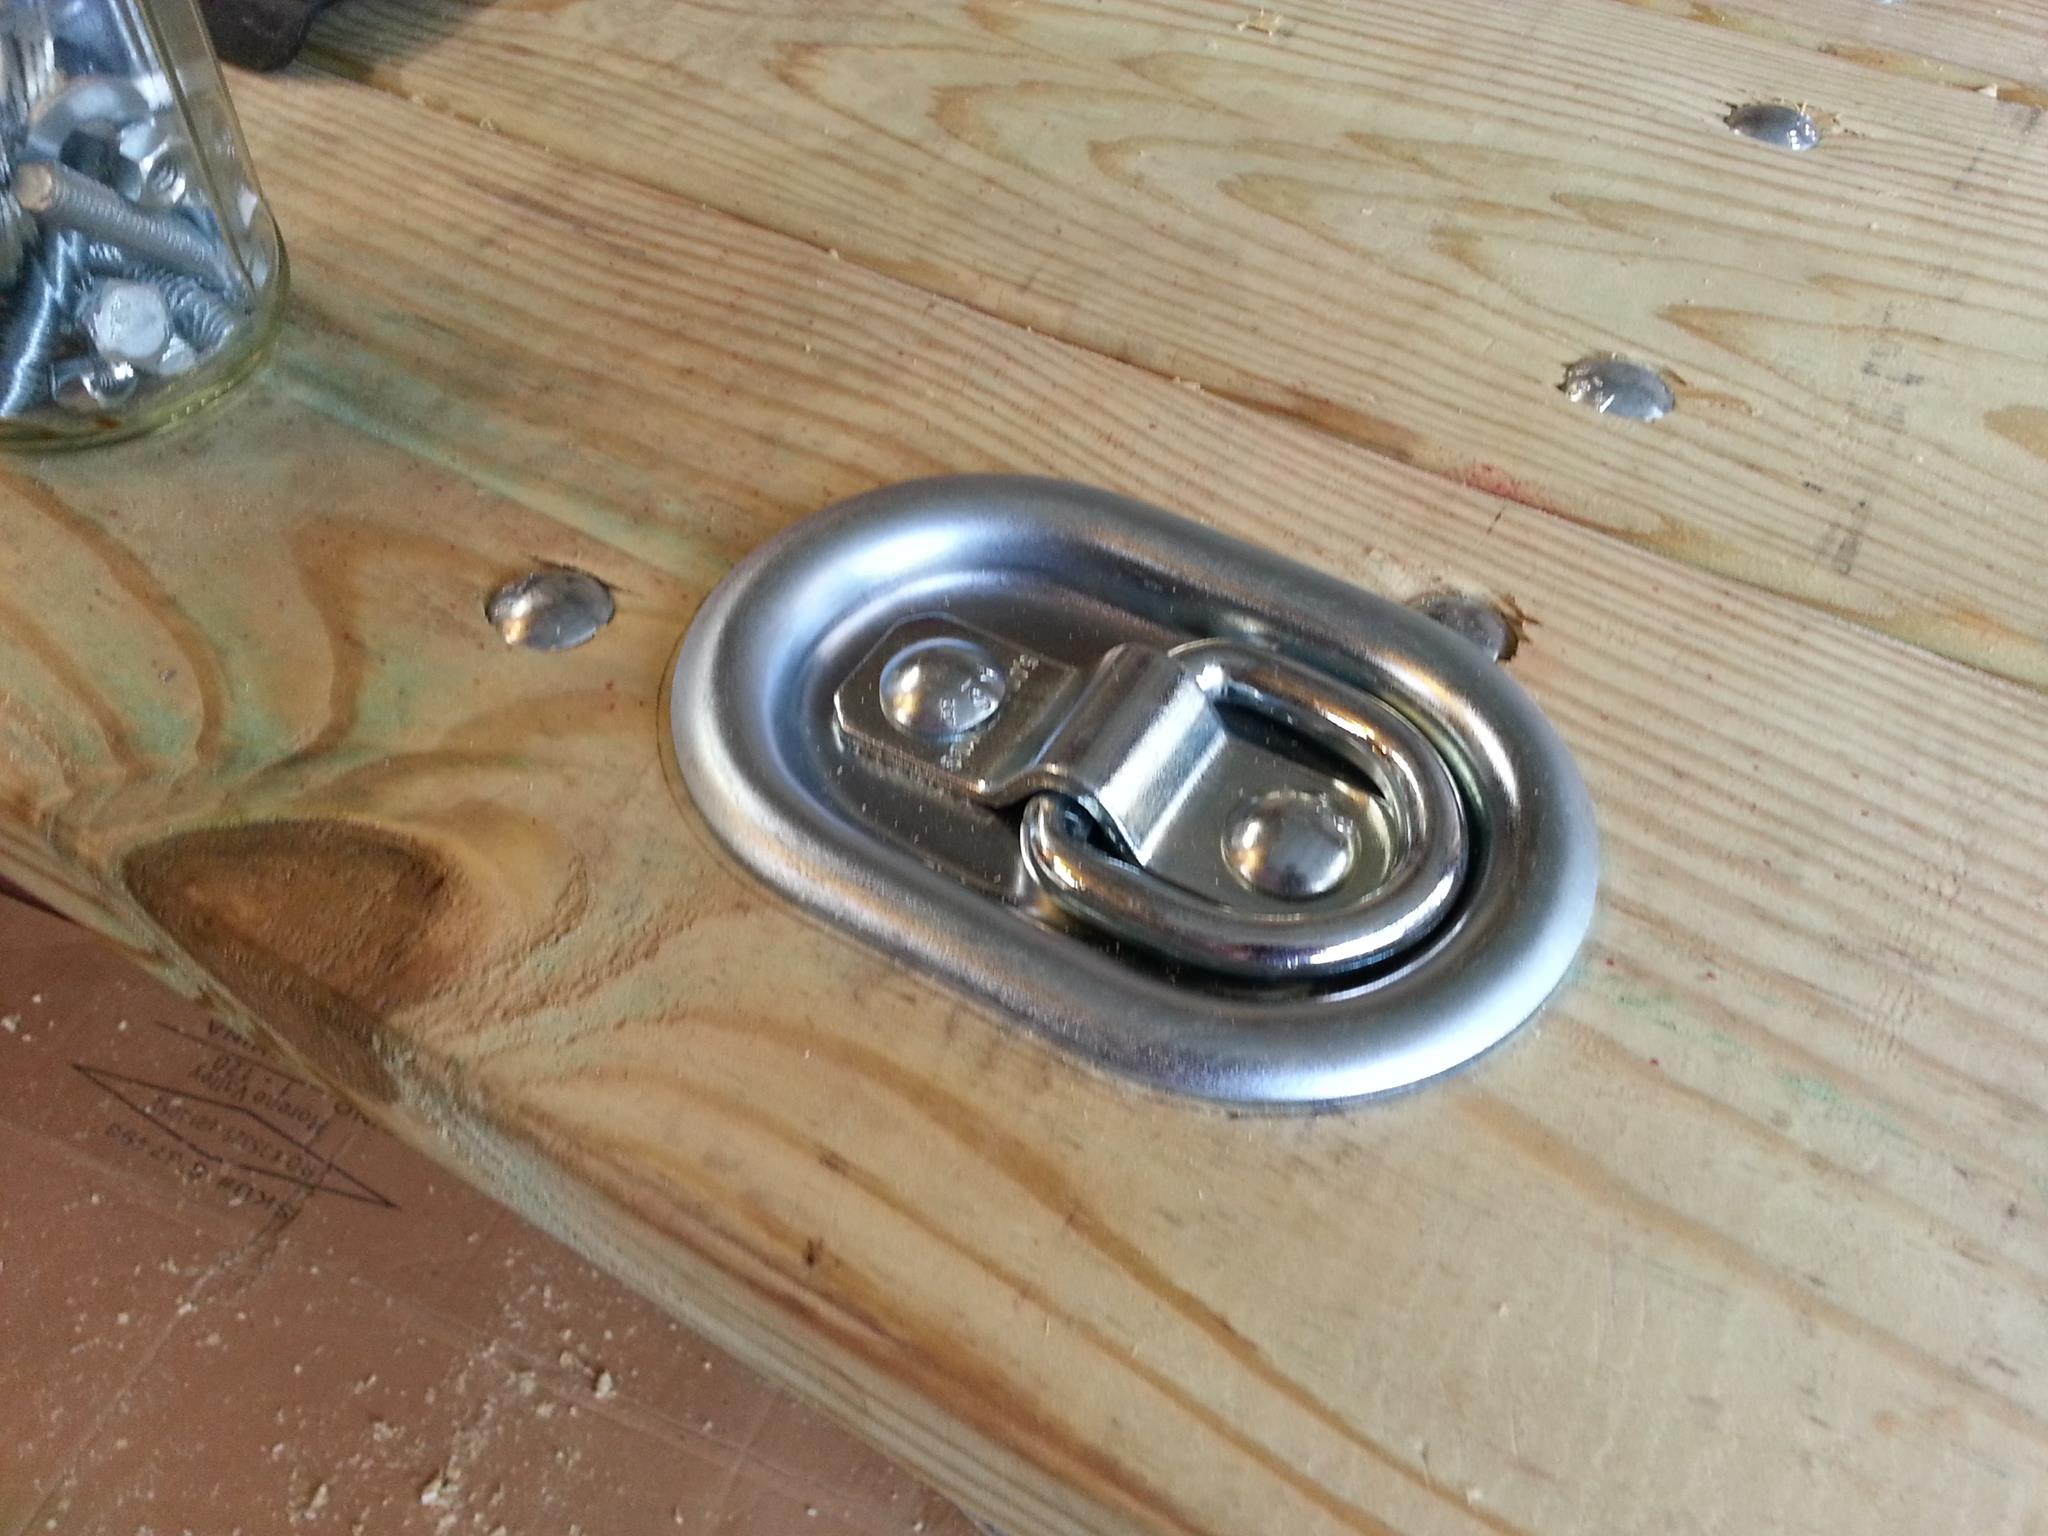
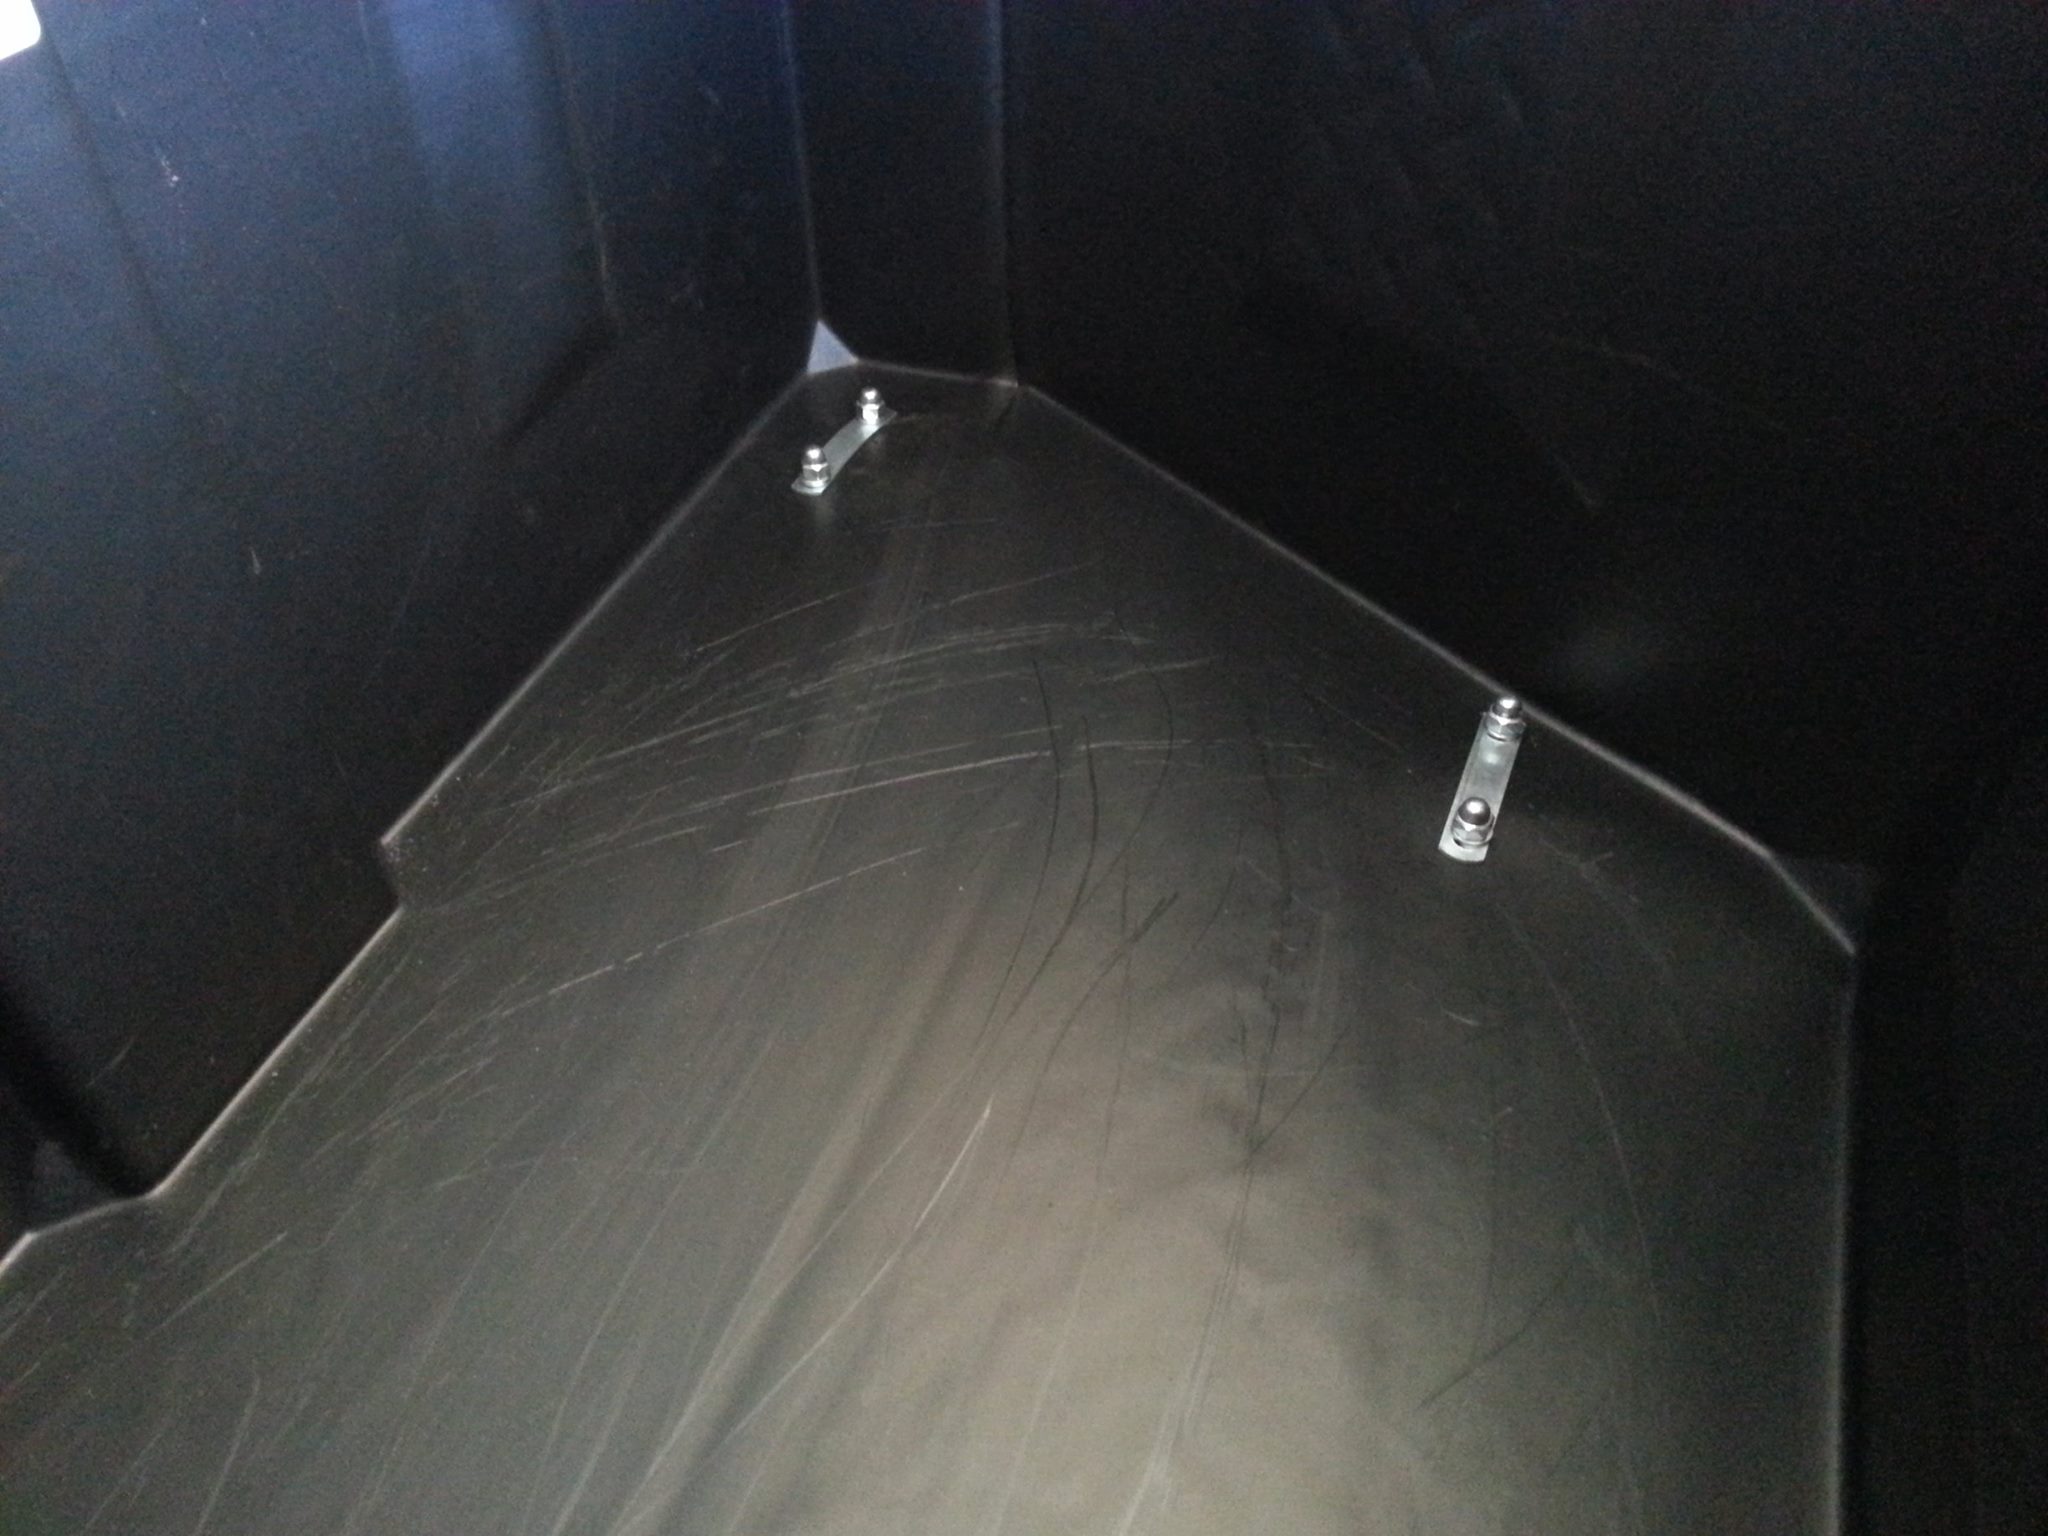
For attachment points I decided to install D-rings directly into the 2X8s. The D-Ring was counter sunk using a router into the 2x8 and then fastened with carriage bolts, washers and lock nuts. The front bolt also goes through the angle iron I welded on earlier in the project. 5000lb breaking strength on these....the wood should fail before the D-Rings do.
My friend and I loaded the bikes on the trailer and using a scale with the trailer level we positioned the bikes for both tongue weight and poper spacing before finally attaching the chocks. The weight currently is about 80lbs which will allow for the other items that will be attached to the tongue.
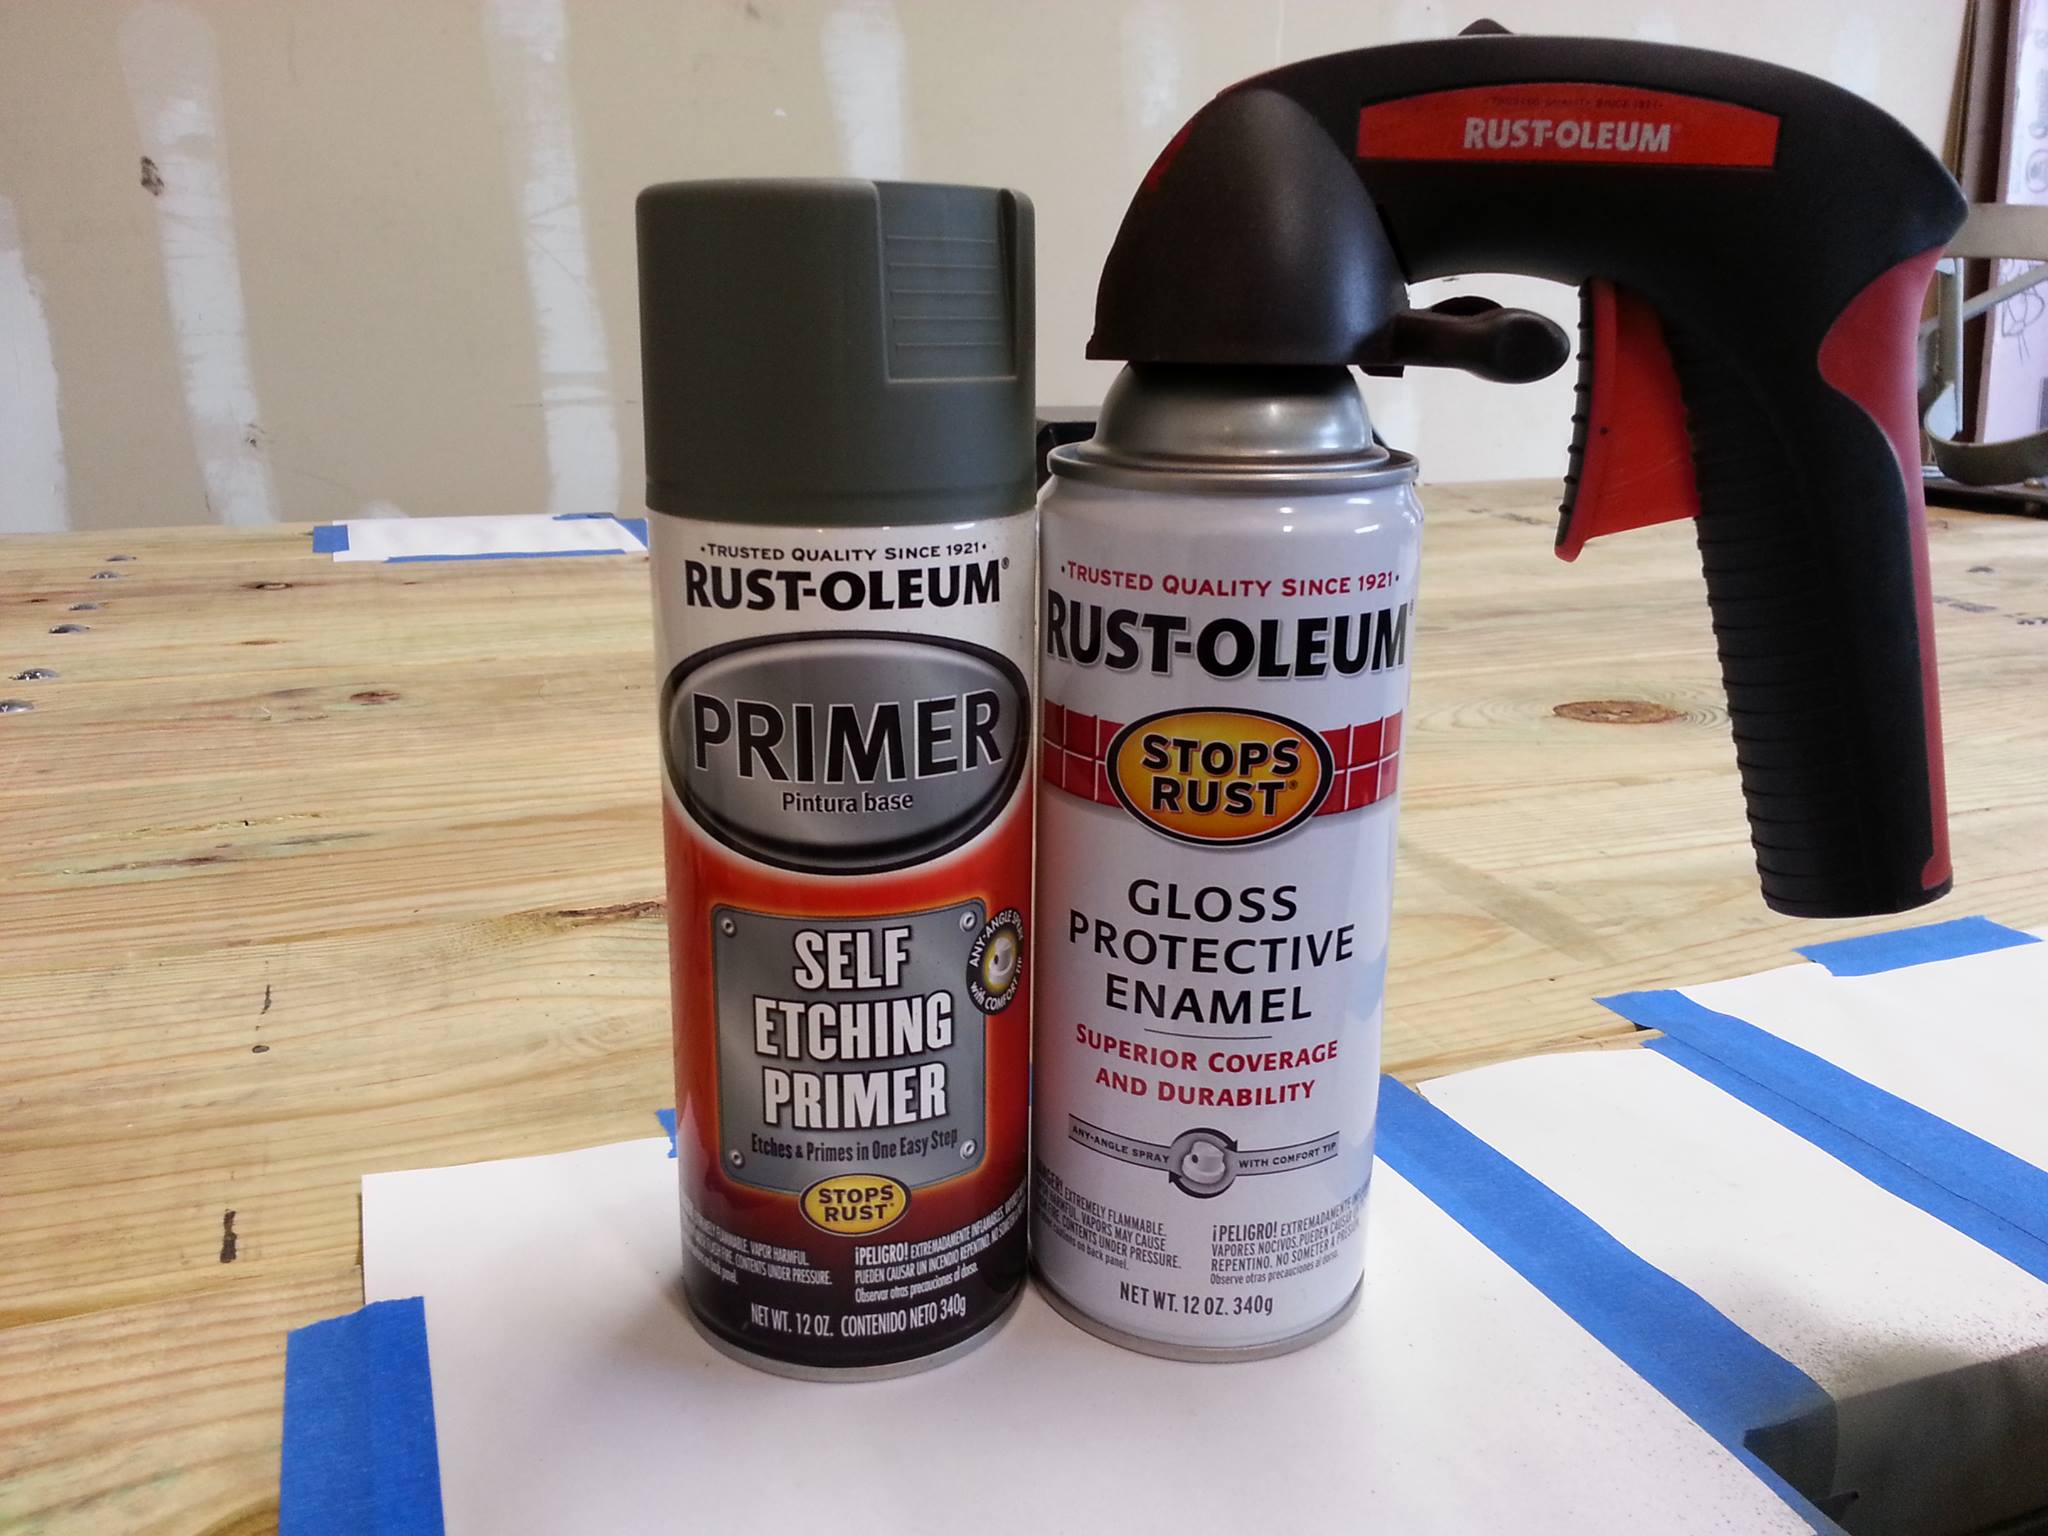
I really have to hand it to Rust-Oleum as I have been extremely pleased with these rattle cans. The self etching primer has been very impressive in handling the flash rust and gives a wonderfully uniform coat. The enamel is not forgiving on mistakes but I am pretty good with rattle cans so it is doing good for me. If you put on too heavy of a coat it likes to give a crackle effect to the surface.
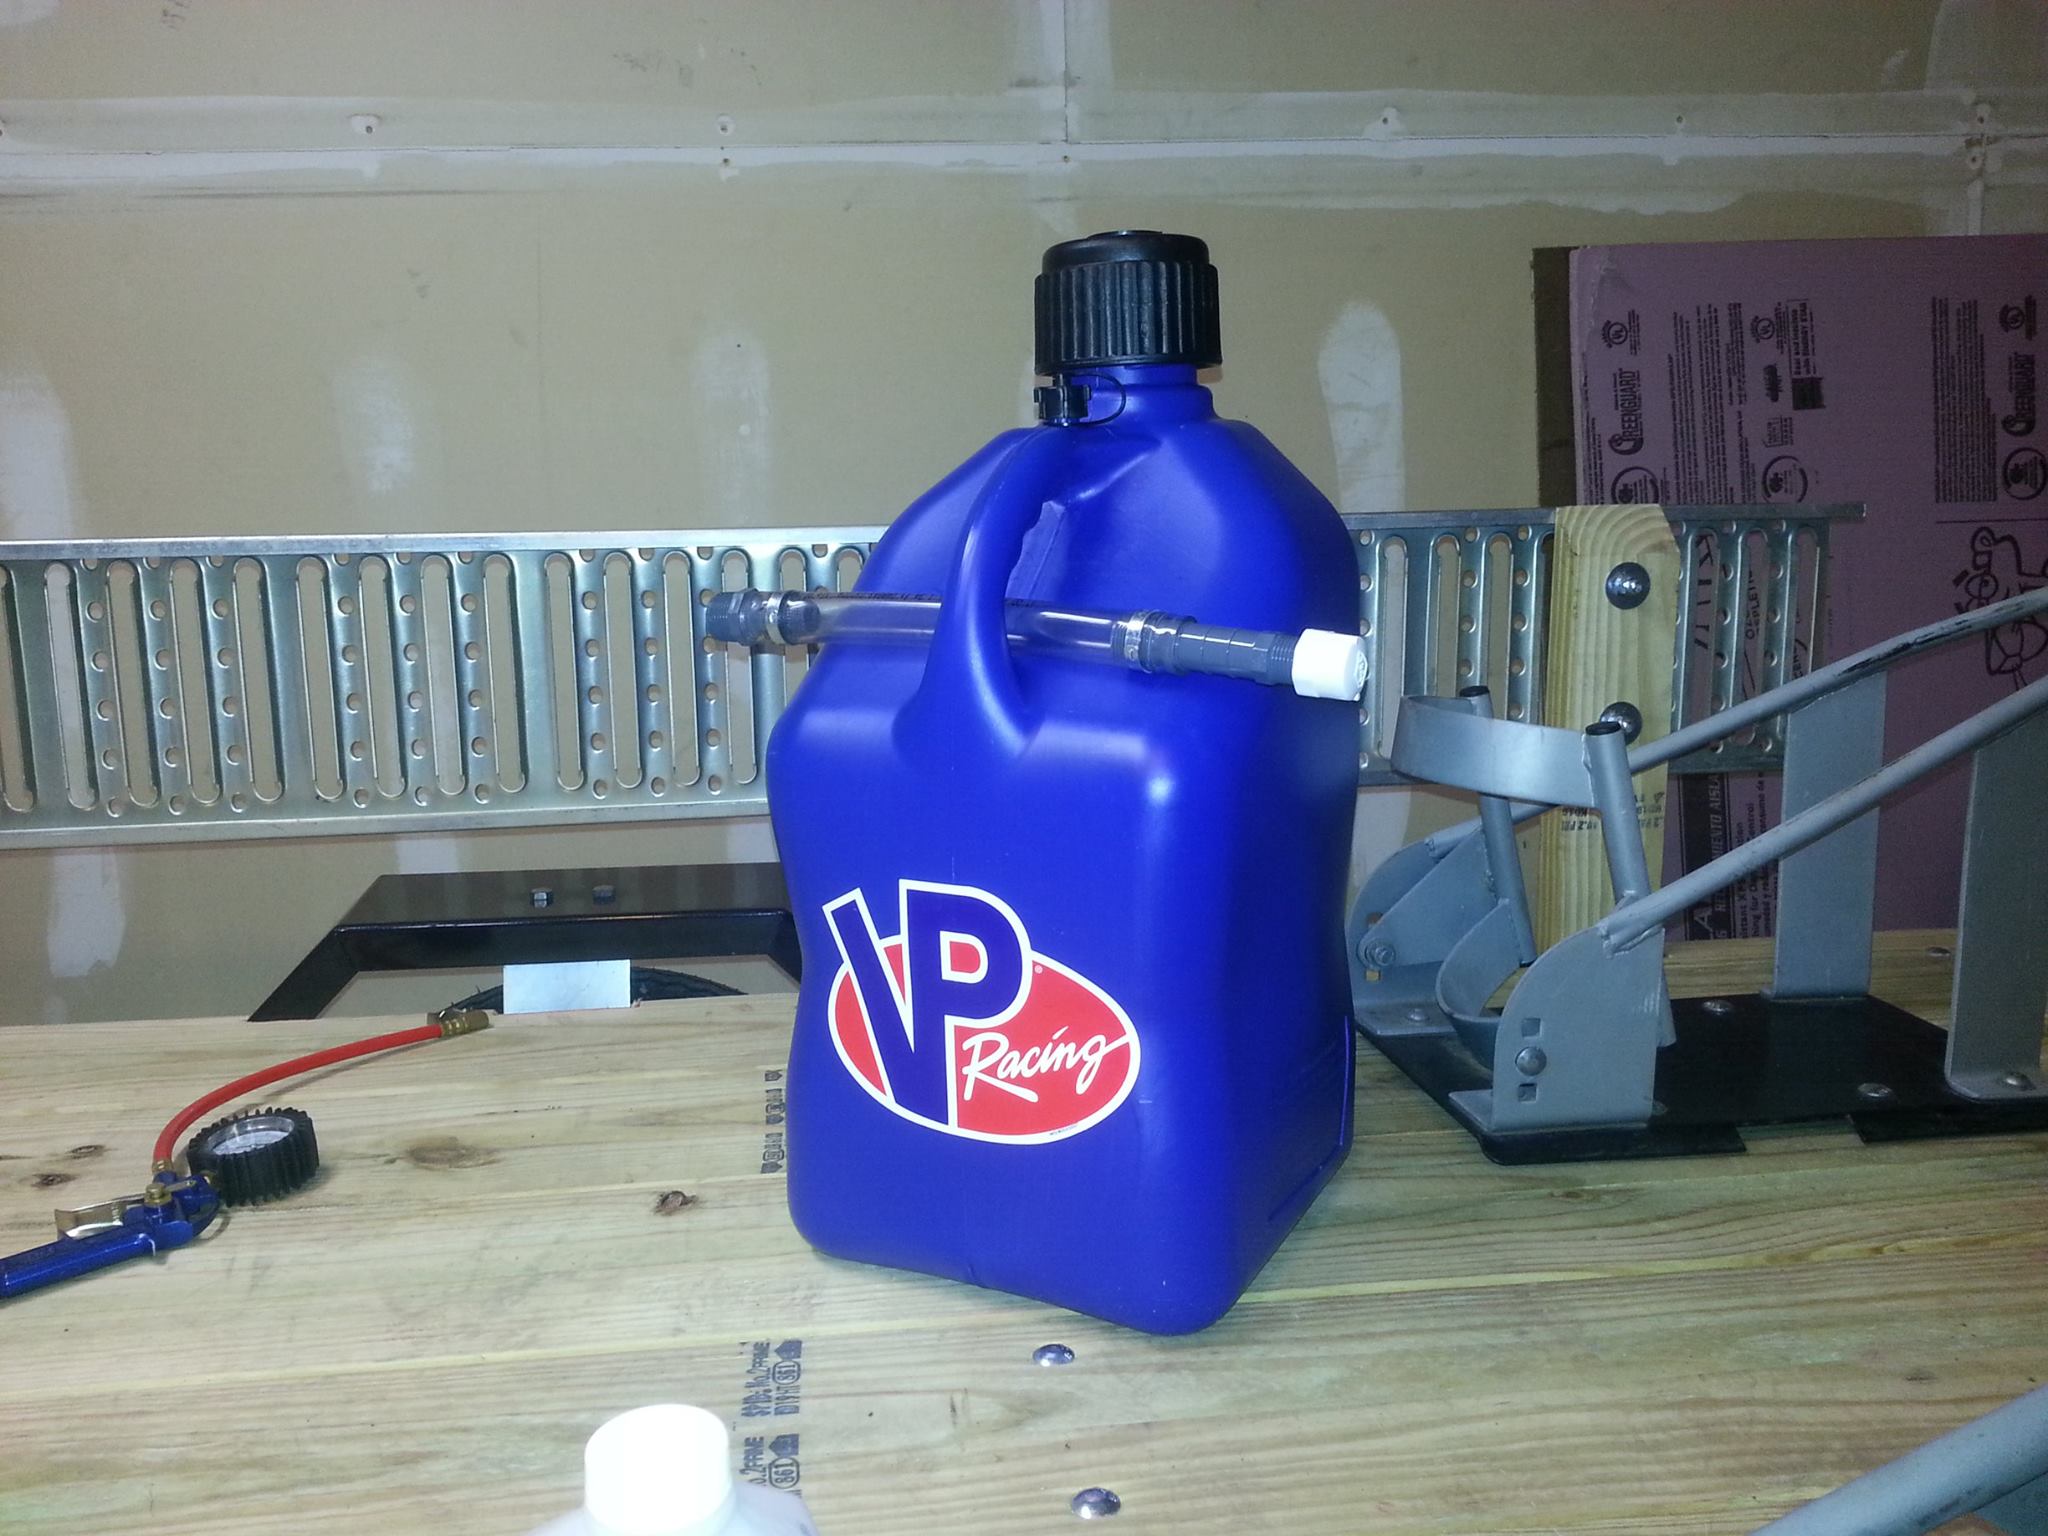
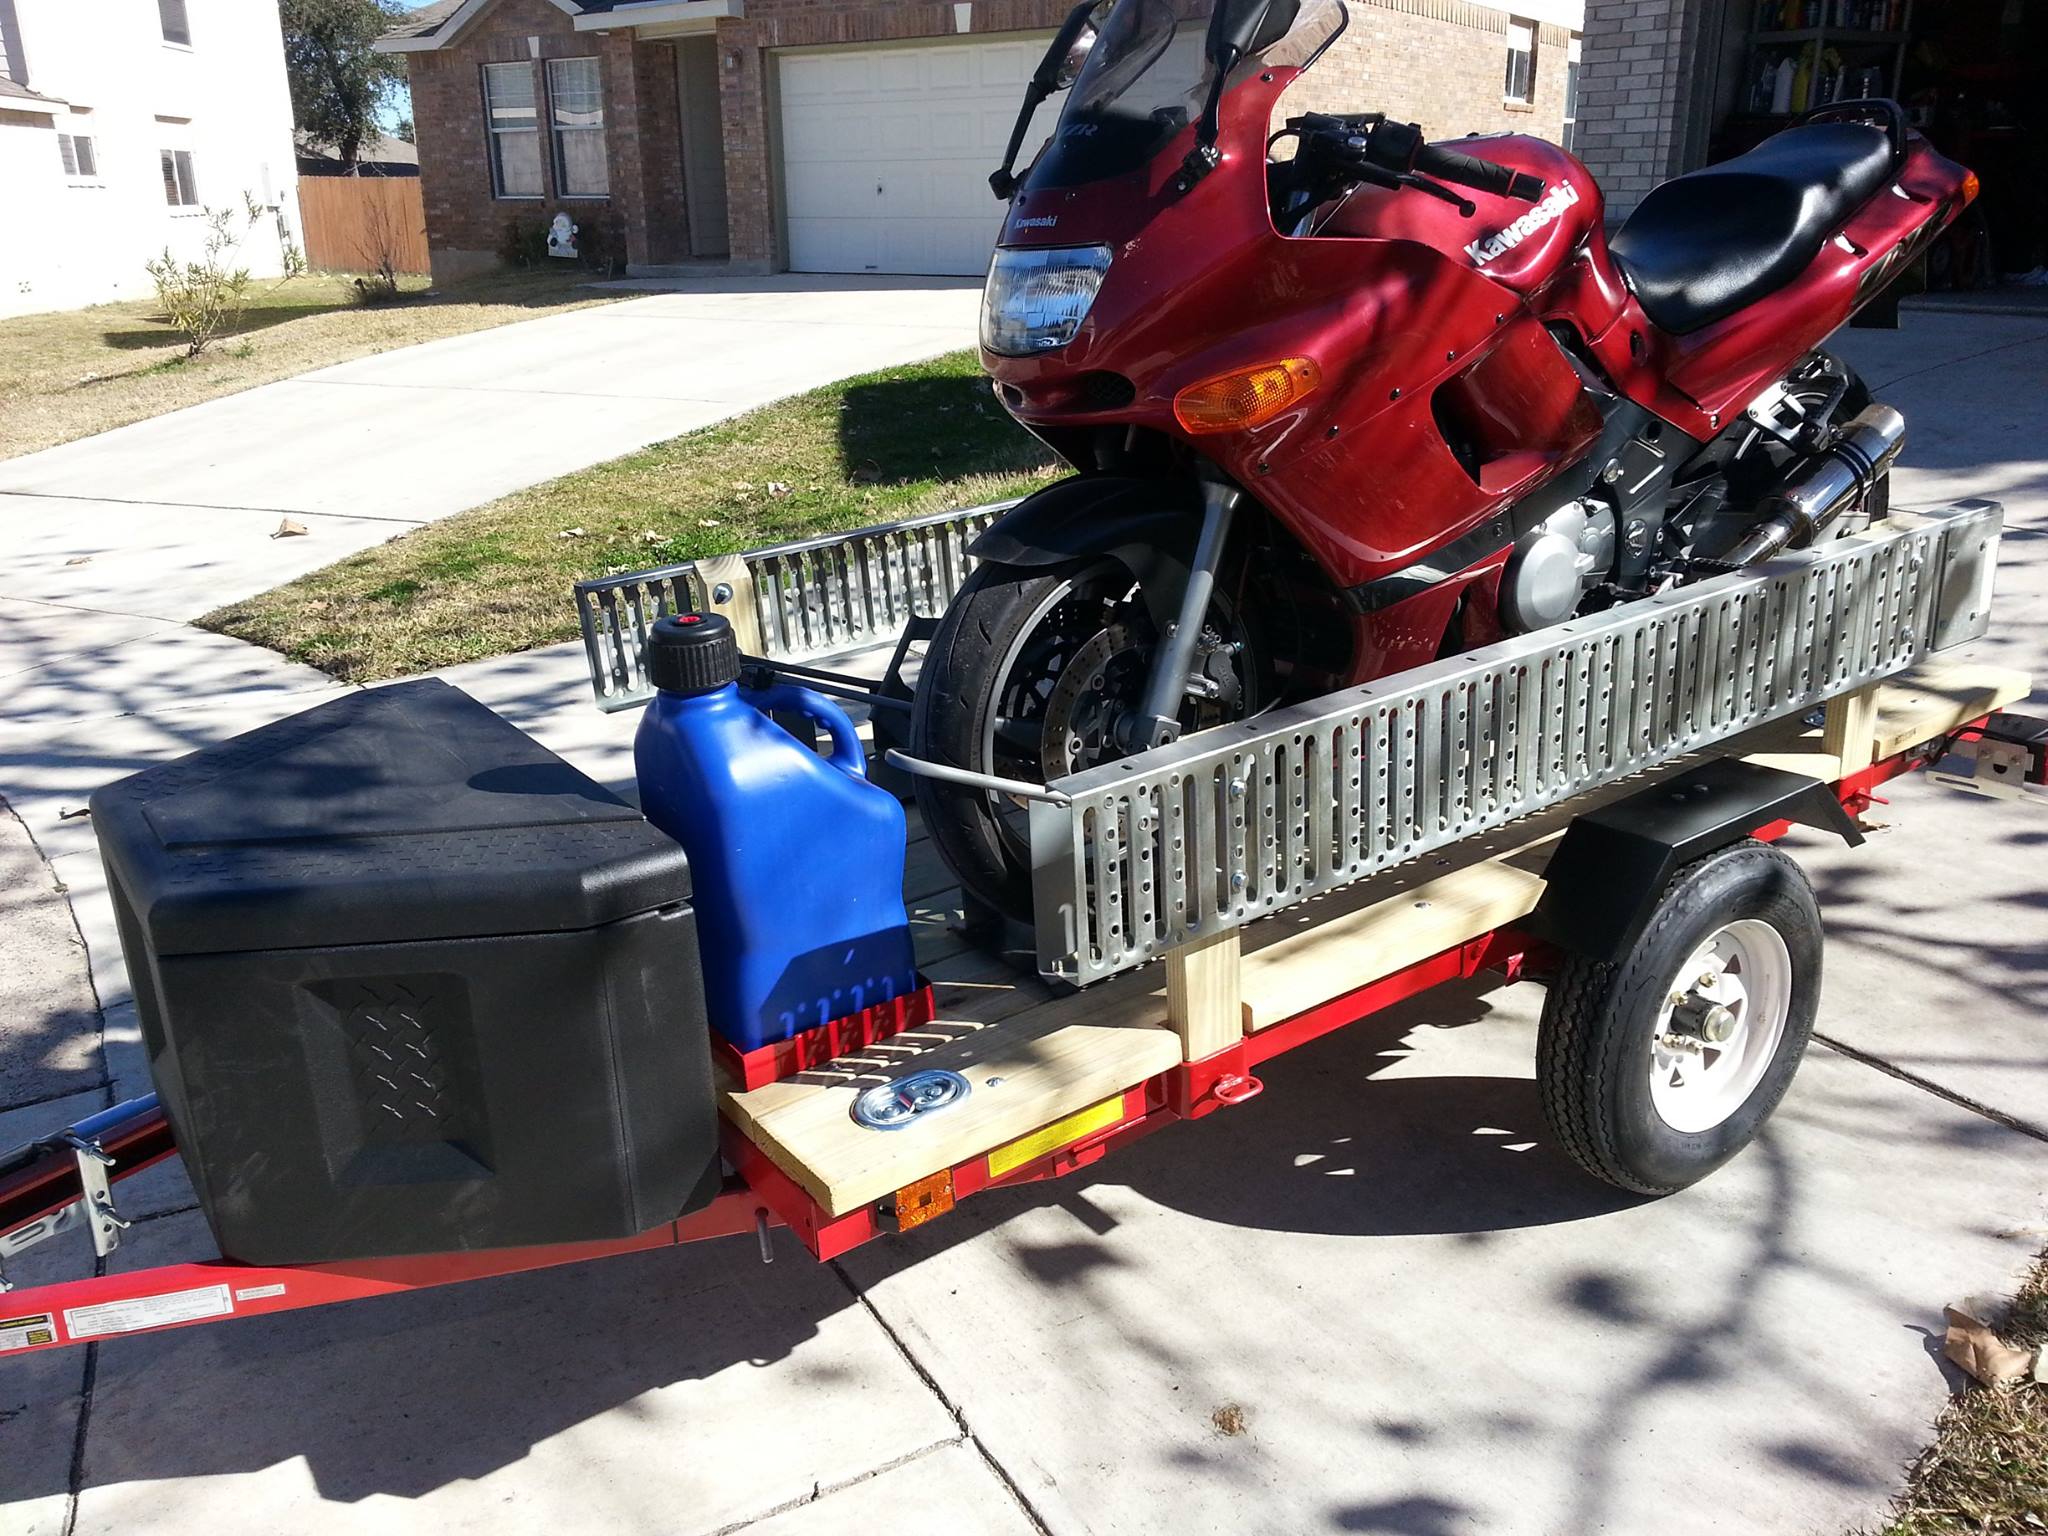
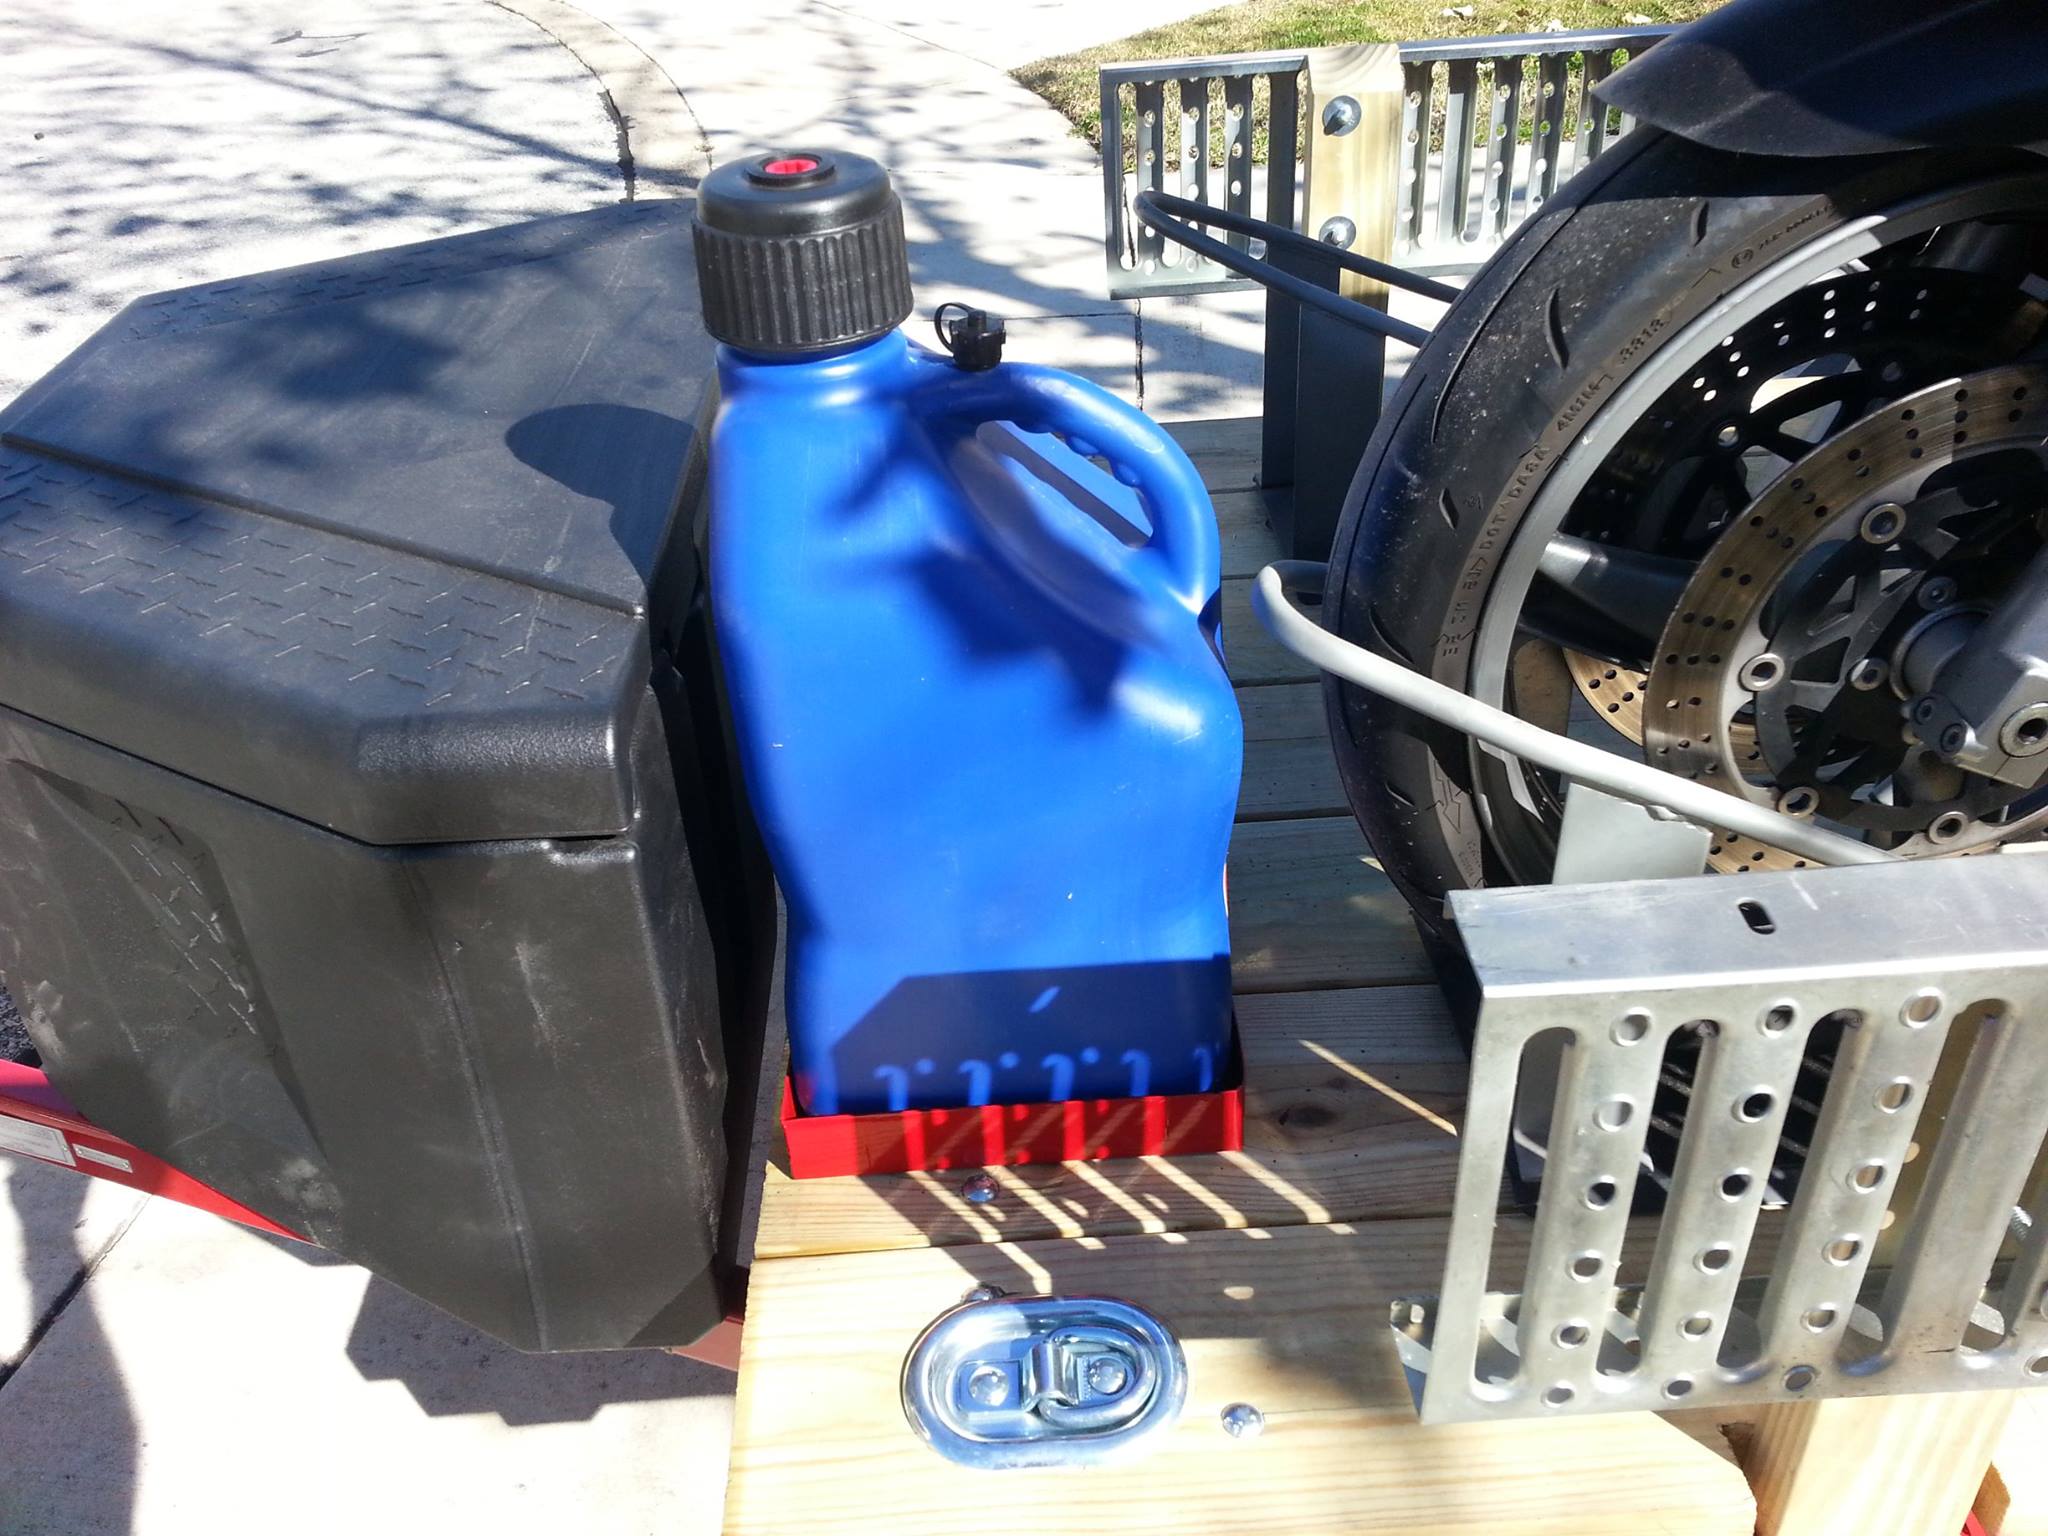
For fuel transportation we decided to go with these square VP racing fuel jugs (we got a set). I made a square base for each side which is screwed to the 2X8 decking. The top of the jugs have bunge cords that run through them to the D-rings to hold them in place while in motion.
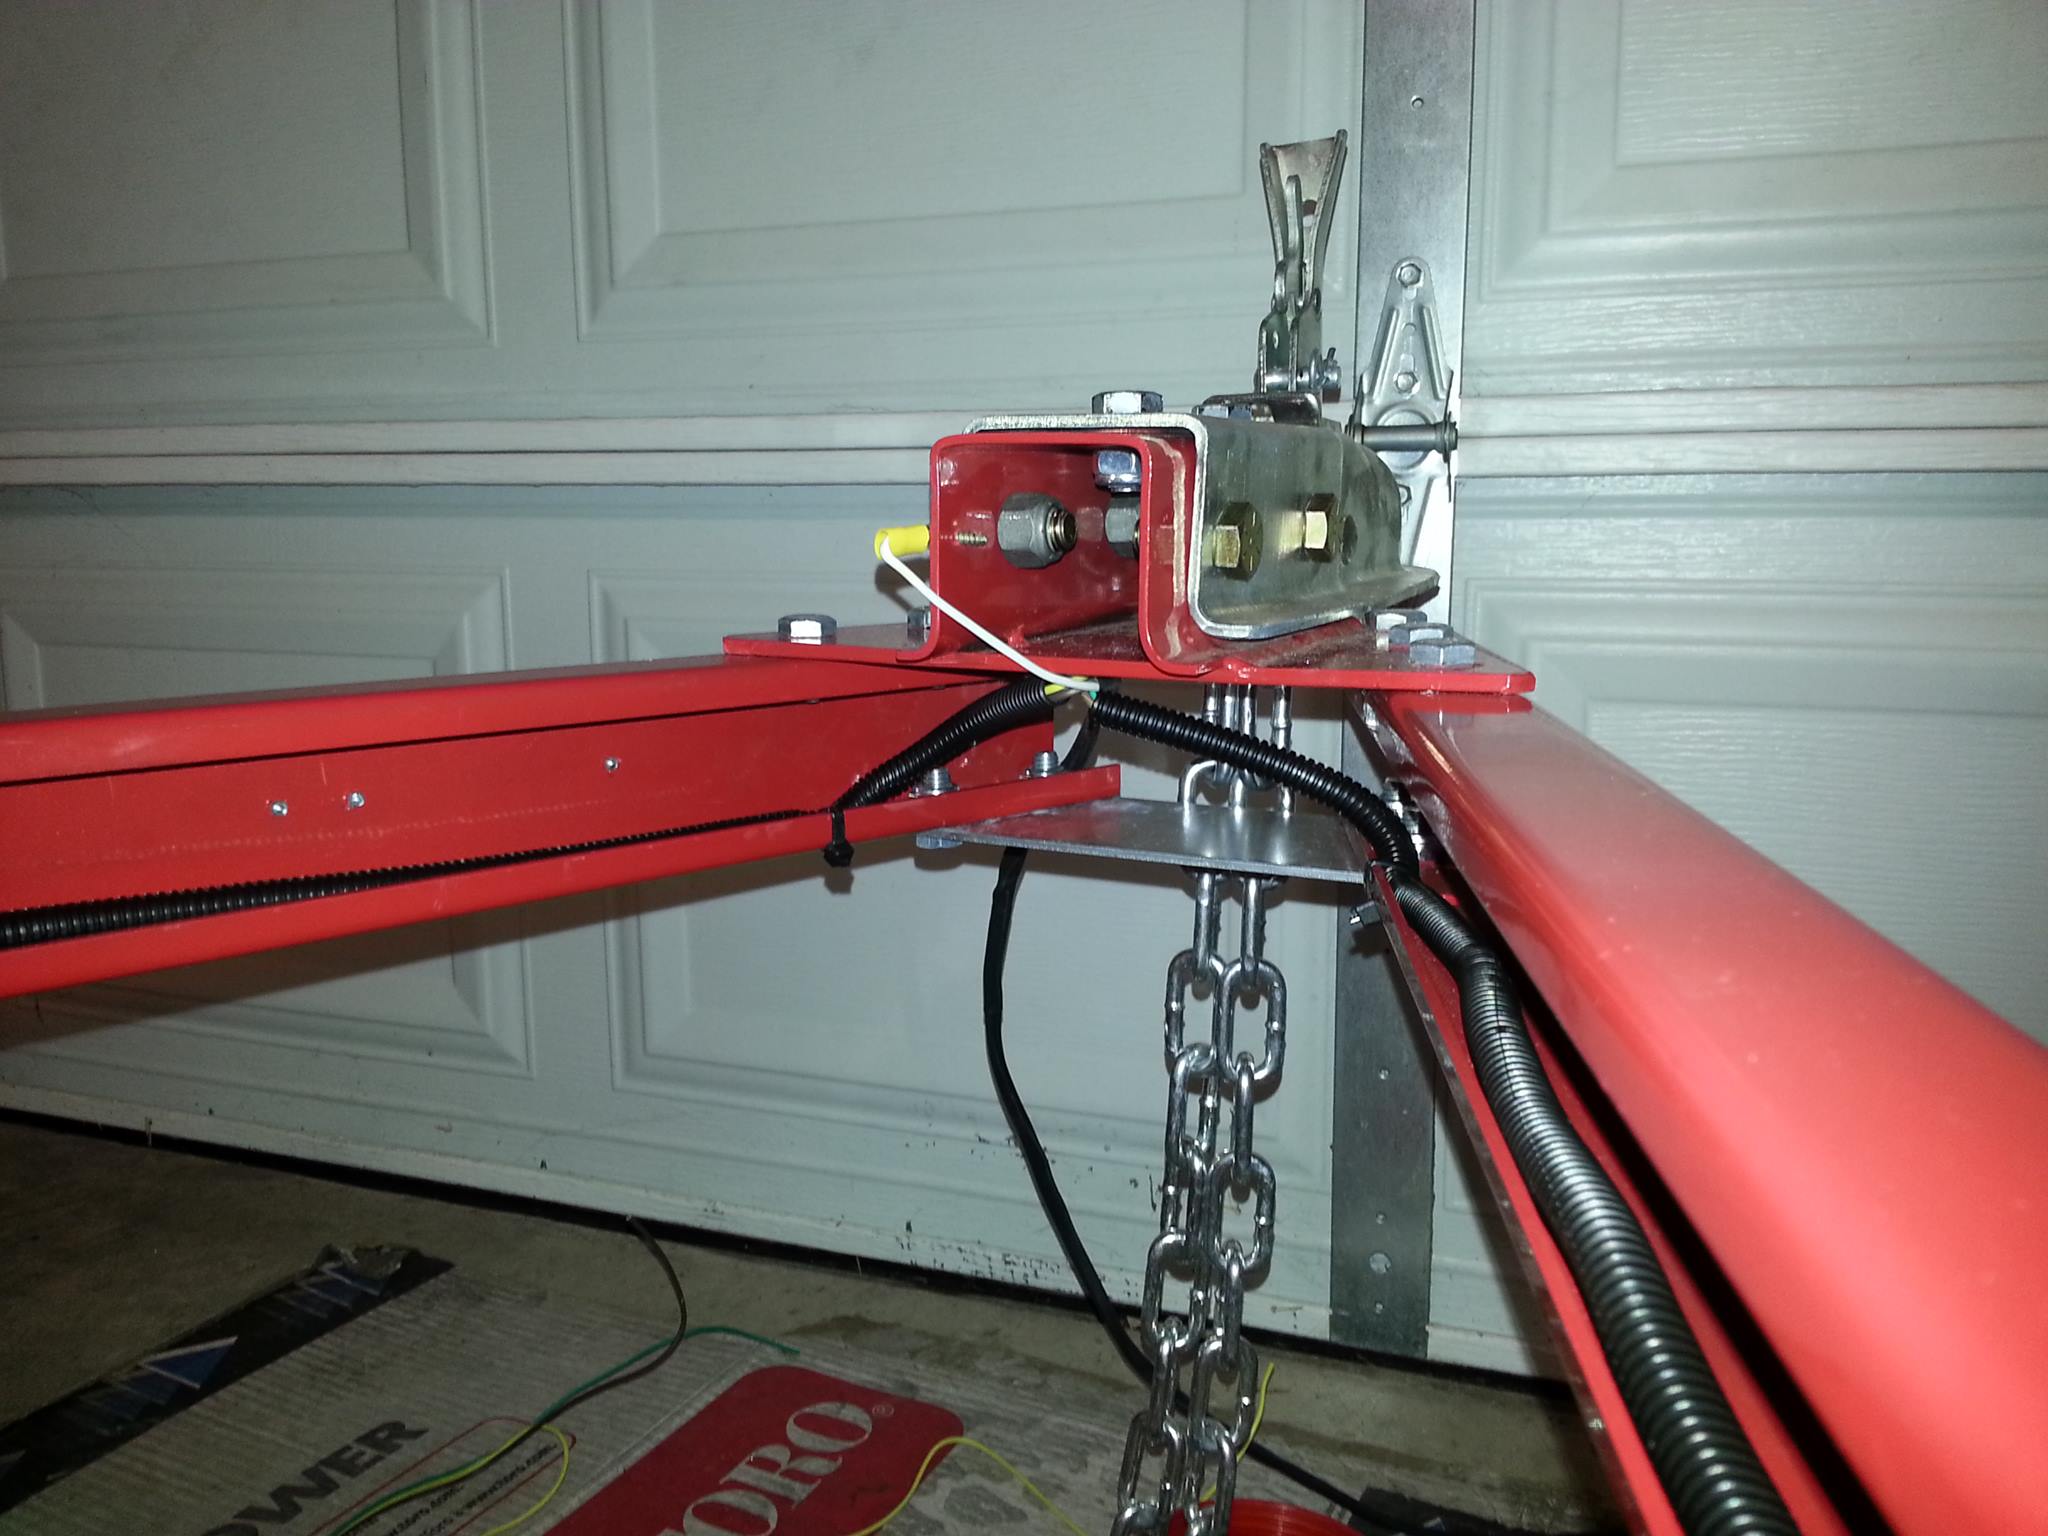
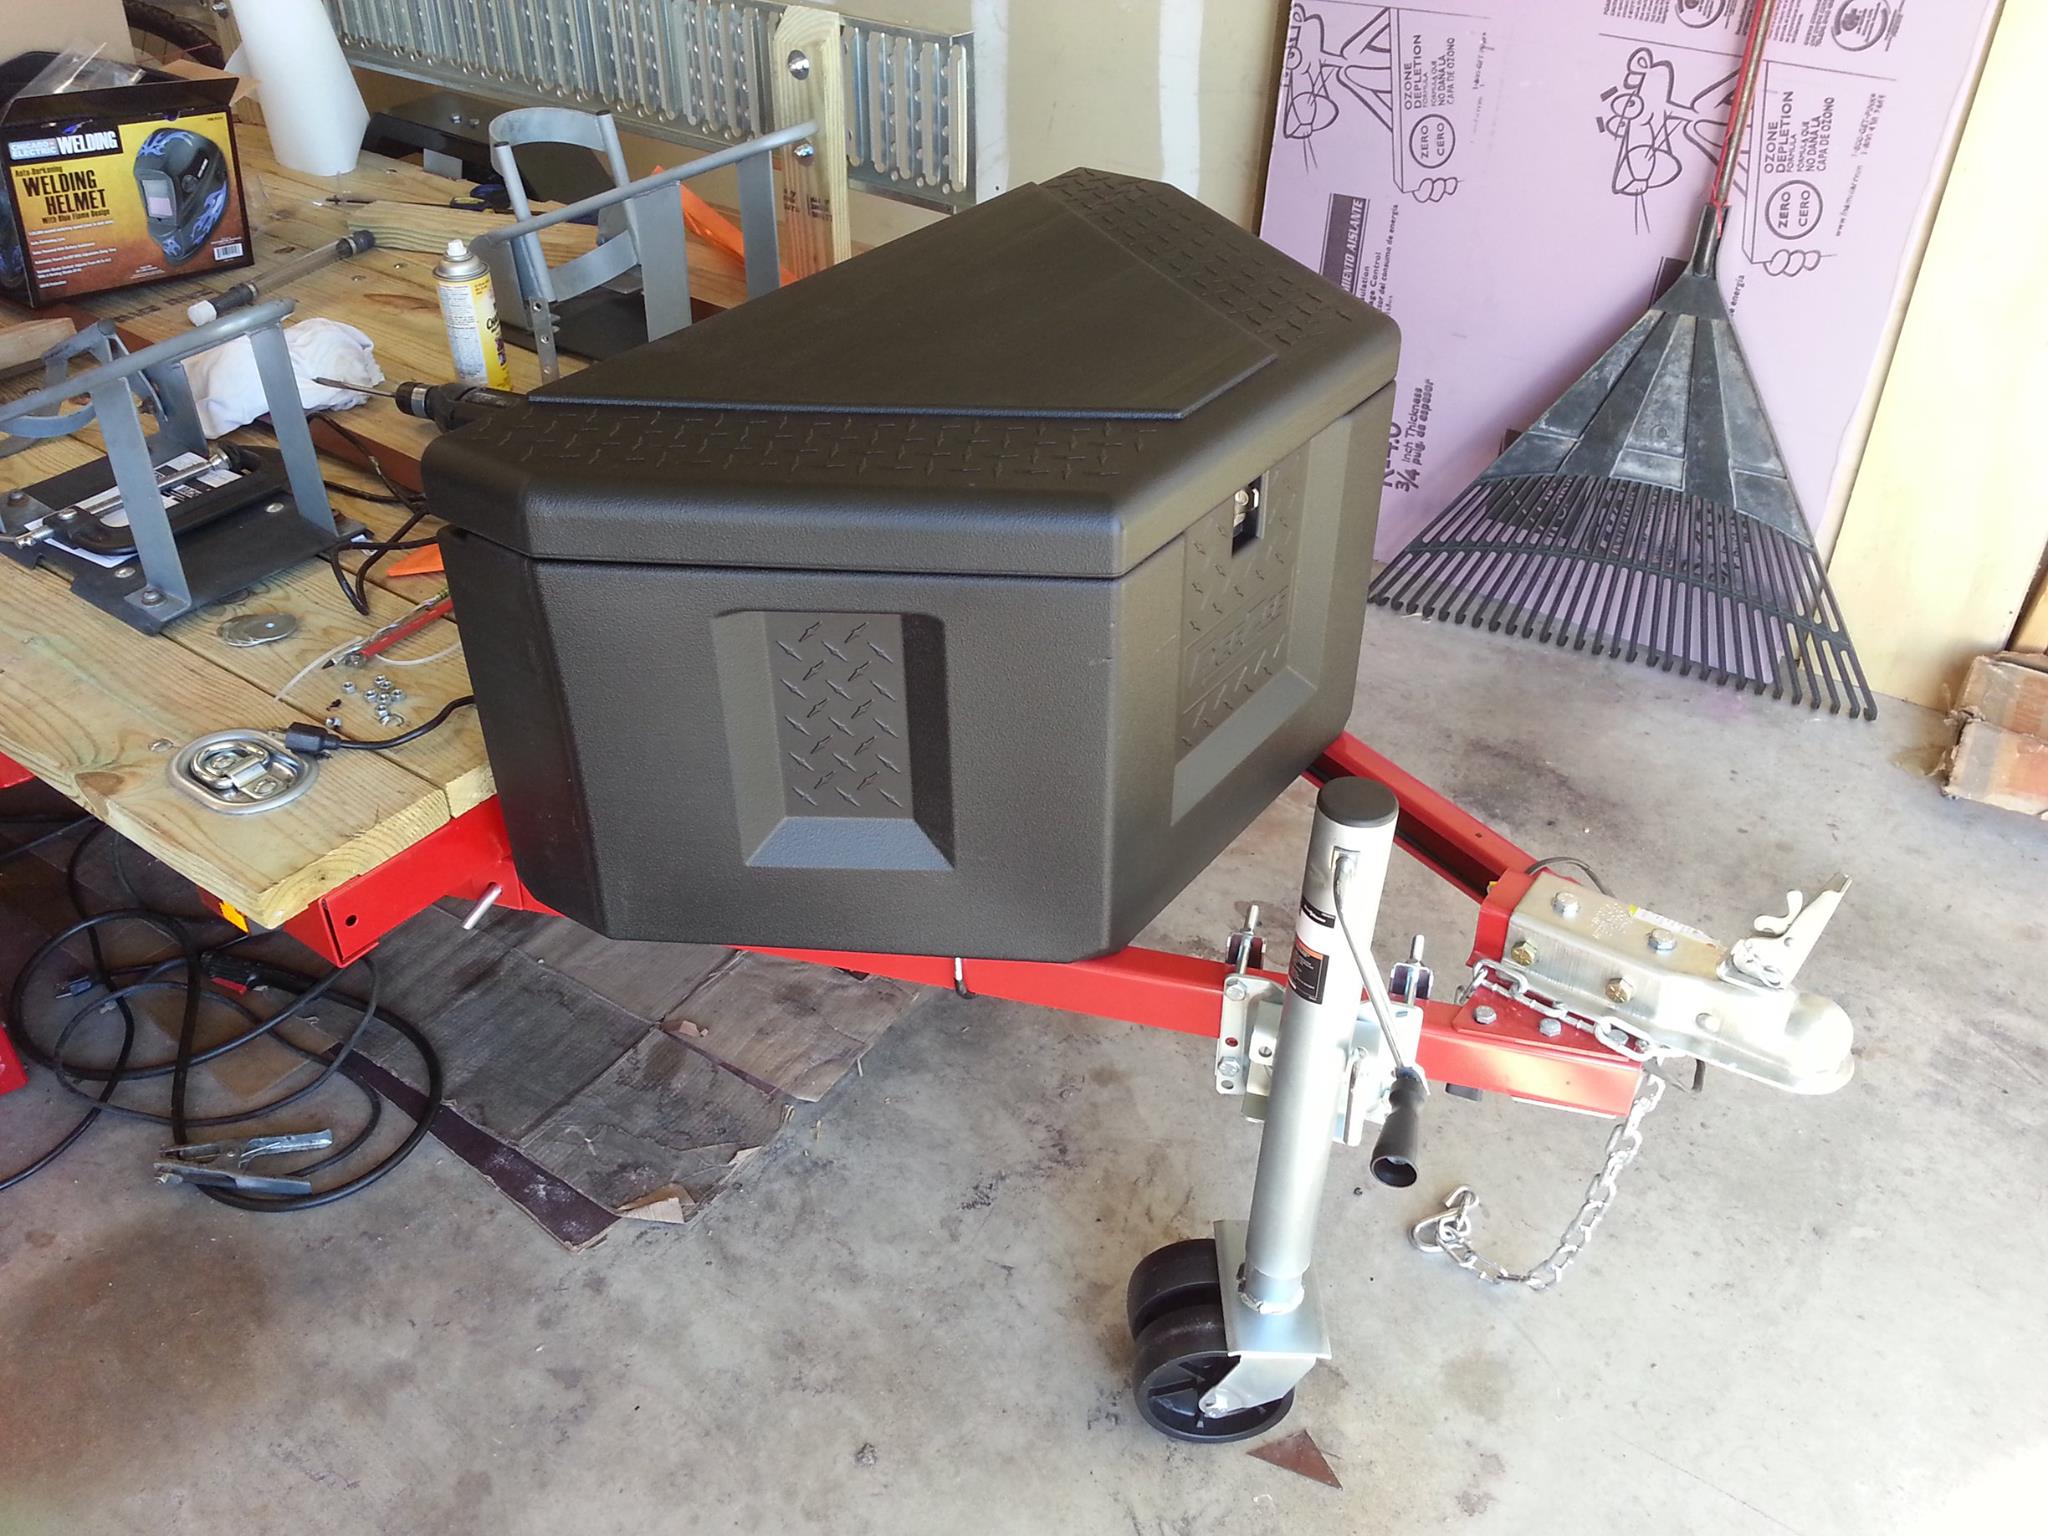
I found this very light-weight plastic trailer tongue box which has 6 cubic feet of lockable storage space. It came with 4 self-tapping screws but I opted to not reduce any structural stability with the tongue so I decided to use some U-Bolts. First I drilled through this thick plastic with a spade wood drill bit which did a great job of giving me clean holes, followed by thick rubber around the 'u' bend in the bolt to prevent rusting. You can also see the trailer jack that I put on the front which allows me to easily roll the trailer around with this massive two-wheel jack (overkill really).
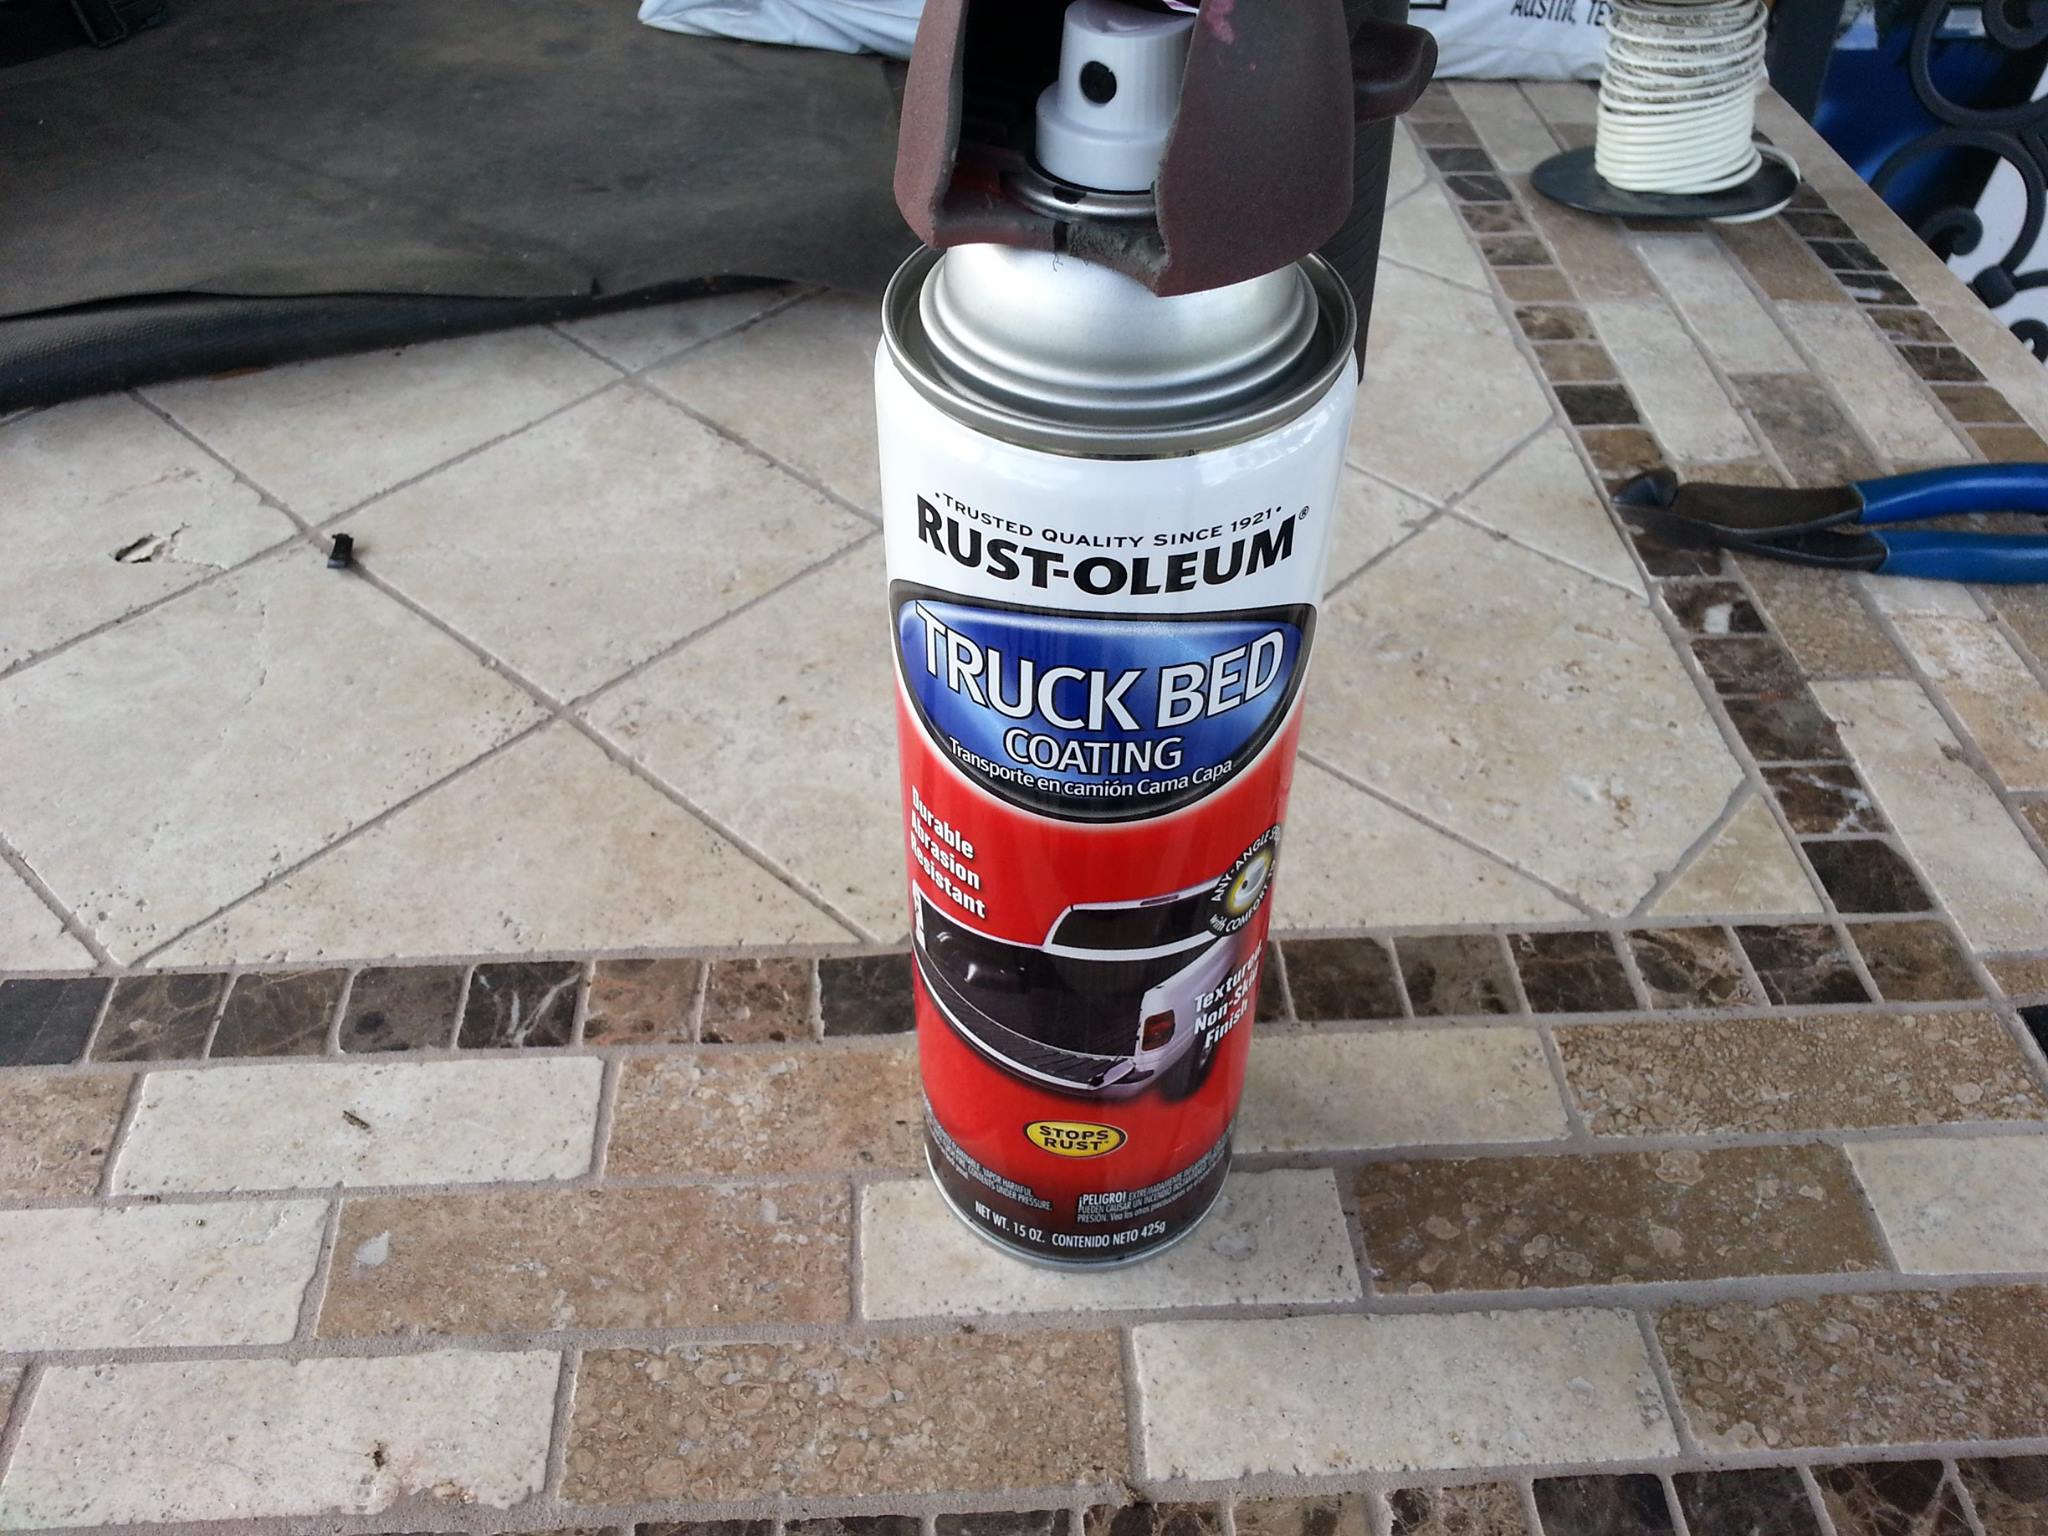
The powder coating on the fenders had already started to show signs of wear when I opened the box and I didn't want my fenders rusting so I used 400 grit sandpaper and did a wet sand over the entire surface. Then I dried, cleaned and followed up with the same self etching primer I used on the rest of this project. I finished them off with truck bed spray paint which is crazy hard to paint with. Normally there is a lot of forgiveness on distance to the object being painted but not with this stuff! If you aren't spot on with the distance than it either puts on a light dusting or it instantly starts to run.

Finished product with a single bike.
1720 lb. Capacity 48 in. x 96 in. Super Duty Trailer
$370
1500 Lb. Capacity Dual Wheel Swing-Back Boat Trailer Jack
$30
1/2 in. Easy Grip Hitch Pin
$4 (x 4)
1000 lb. Capacity 10 in. x 84 in. Steel Loading Ramps, Set of Two
$73
Dee-Zee tongue box
$110
2X8 Pressure Treated Wood from Home Depot
$9 (x 7)
Misc bolts, nuts, wire-loom, paint, etc
$100
All items I purchased through Harbor Freight I also used 25% off coupons with. I had to make a lot of daily trips in order to do this but with the discount the Harbor Freight total was less than $400.
Total on the build: ~$660